Wraparound Pincushion – Fabric Pattern

The Wraparound Pincushion – Fabric Pattern is a practical and creative sewing project that combines comfort, organization, and handmade charm into one useful sewing accessory. Whether you are a beginner learning simple quilting techniques or an experienced crafter searching for a quick and functional project, creating a Wraparound Pincushion – Fabric Pattern is both enjoyable and rewarding.
Making a Wraparound Pincushion – Fabric Pattern allows you to transform fabric scraps, quilting cotton, and soft stuffing materials into a wearable pincushion that keeps sewing pins easily accessible while working on quilting and craft projects. Wraparound pincushions are especially popular because they are comfortable to wear around the wrist or arm, making sewing more organized and efficient.
One of the best things about the Wraparound Pincushion – Fabric Pattern is its versatility. You can customize the fabric colors, closure style, shape, and decorative details to perfectly match your sewing room and personal style. In this guide, you will learn step by step how to create a wraparound pincushion while discovering creative ways to personalize your project.
Selecting the right materials is essential for creating a durable and comfortable Wraparound Pincushion – Fabric Pattern. Since pincushions are designed for daily use, soft yet sturdy fabrics work best.
Cotton quilting fabric is one of the most recommended options because it is easy to sew and available in countless prints and colors.
Canvas or linen fabric can also be used for extra durability and texture.
Soft stuffing materials such as polyester fiberfill help create a comfortable and supportive pincushion surface.
Interfacing may be added to strengthen the wristband and maintain its shape over time.
Essential sewing tools include fabric scissors, rotary cutter, quilting ruler, sewing machine, thread, pins or clips, measuring tape, and an iron for pressing seams.
Optional materials such as hook-and-loop fasteners, elastic bands, snaps, buttons, lace trim, or decorative embroidery can make your Wraparound Pincushion – Fabric Pattern even more stylish and practical.
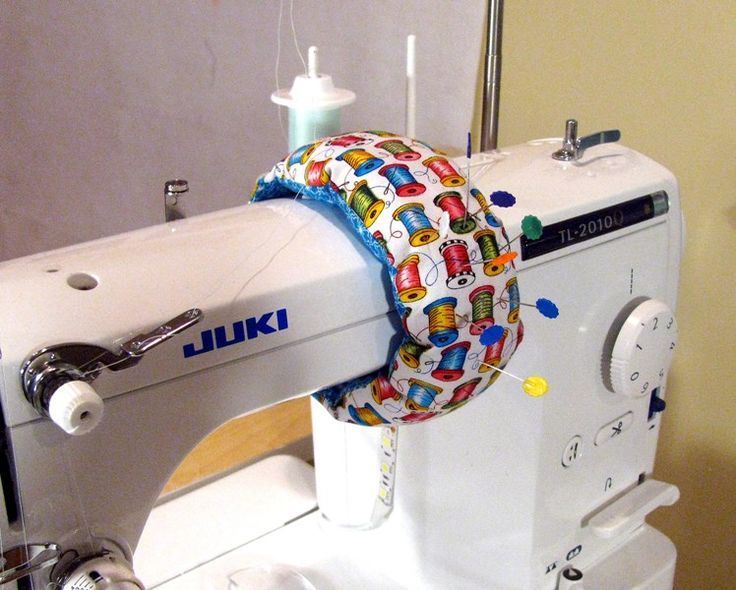
Before starting your project, it is important to understand how the Wraparound Pincushion – Fabric Pattern is constructed. Most wraparound pincushions include a soft padded cushion attached to a fabric wristband or adjustable strap.
The pincushion section is usually stuffed lightly to hold sewing pins securely while remaining comfortable to wear.
The wristband wraps around the arm or wrist and fastens using elastic, snaps, or adjustable closures.
Some designs include quilted stitching or layered fabric sections for extra texture and durability.
The compact structure allows easy movement while keeping sewing tools close at hand.
Understanding the structure beforehand helps ensure your Wraparound Pincushion – Fabric Pattern turns out comfortable, secure, and functional.
Once your materials are prepared, you can begin creating your Wraparound Pincushion – Fabric Pattern. Accurate measurements and careful stitching will help achieve a polished handmade result.
Start by measuring the wrist or arm size to determine the correct strap length.
Cut the fabric pieces for the pincushion section, wristband, and optional lining or interfacing.
Sew the pincushion pieces together while leaving a small opening for stuffing.
Fill the pincushion lightly with polyester fiberfill or your preferred stuffing material.
Close the opening securely using hand stitching or machine stitching.
Create the wristband by sewing the strap sections and attaching the closure system.
Attach the pincushion securely to the center of the wristband using reinforced stitching techniques.
Press all seams carefully and trim loose threads to complete your Wraparound Pincushion – Fabric Pattern.
The finishing stage is where your Wraparound Pincushion – Fabric Pattern becomes truly unique. Personal details allow you to create a sewing accessory filled with creativity and personality.
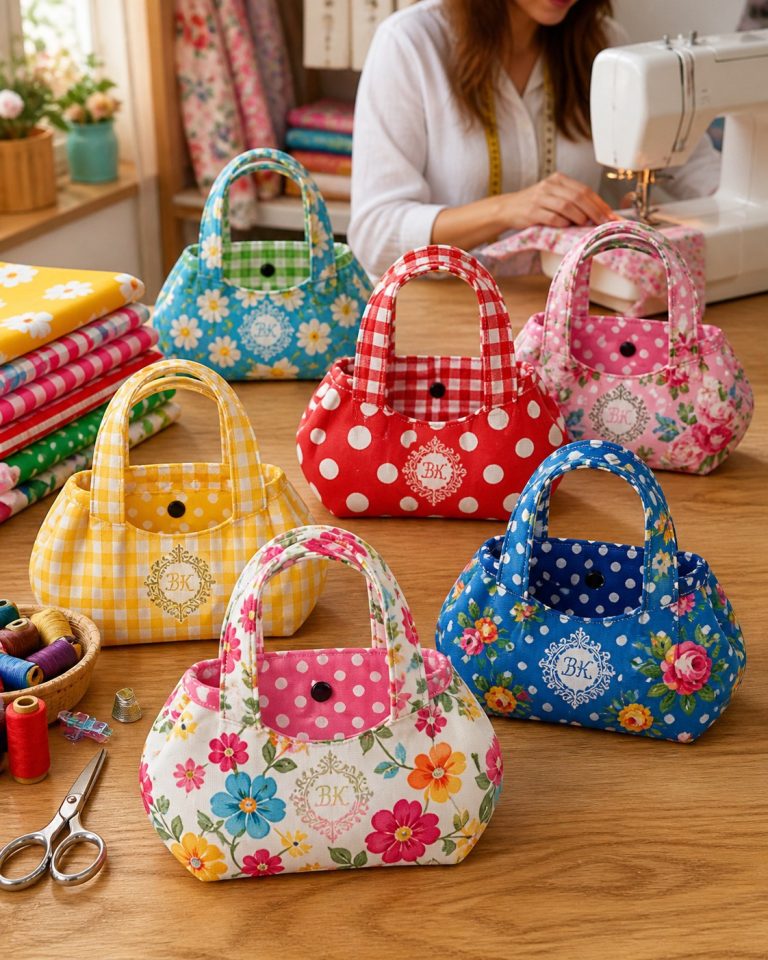
Bright floral prints create a cheerful and colorful sewing tool perfect for craft rooms.
Vintage-inspired fabrics and lace trims produce a delicate and classic appearance.
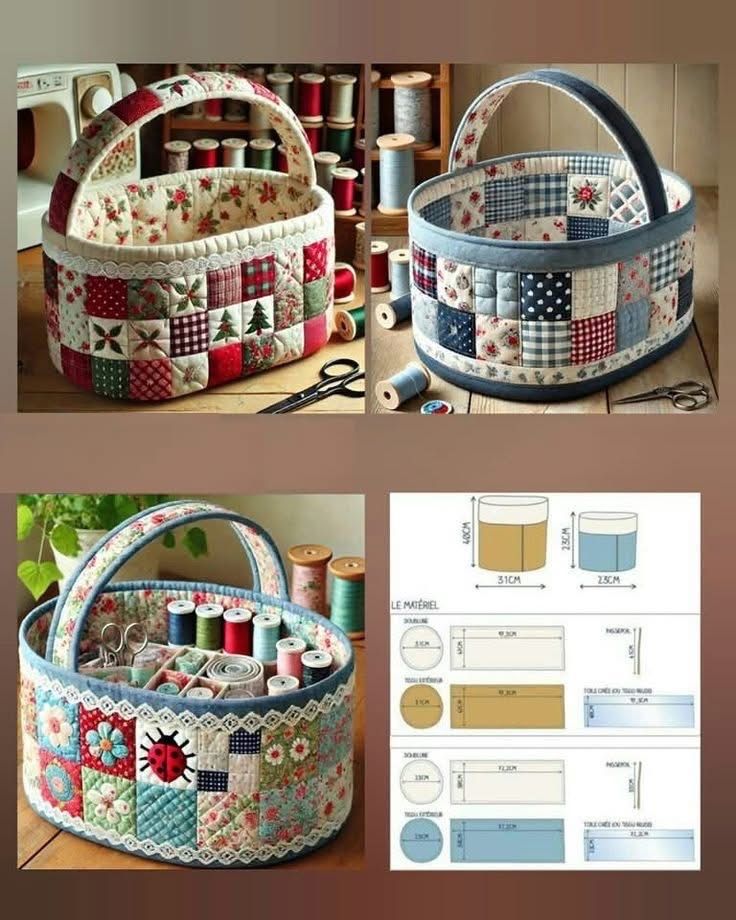
Patchwork fabric combinations can add extra texture and visual interest to the pincushion design.
Embroidery, appliqué flowers, or decorative buttons can personalize the pincushion even further.
Seasonal fabric themes are another fun option. Holiday prints create festive sewing accessories, while soft pastel shades work beautifully for spring-inspired designs.
Matching sewing accessories such as needle books, fabric baskets, or scissor holders can help create a coordinated handmade sewing collection.
The versatility of the Wraparound Pincushion – Fabric Pattern makes it one of the most practical and enjoyable sewing projects for quilters and crafters.
Yes, wraparound pincushions are simple sewing projects suitable for beginners with basic sewing knowledge.
Cotton quilting fabric and linen are highly recommended because they are durable and easy to sew.
Polyester fiberfill is commonly used because it is soft, lightweight, and holds pins securely.
Yes, hook-and-loop tape, snaps, elastic, or buttons can be used for adjustable sizing.
Most pincushion projects can be completed within a few hours depending on the design complexity.
Yes, handmade sewing accessories are very popular in craft fairs and online handmade marketplaces.
Creating a Wraparound Pincushion – Fabric Pattern is a wonderful way to combine sewing skills, creativity, and practical organization into one meaningful handmade project. From selecting fabrics and understanding the structure to sewing and decorating the final pincushion, every step contributes to a functional and charming result.
This project is perfect for sewing rooms, quilting projects, gifts, or even small handmade businesses. A wraparound pincushion offers comfort, convenience, and handcrafted charm that make sewing more enjoyable and organized.
We hope this guide has inspired you to create your own Wraparound Pincushion – Fabric Pattern with confidence. If you have already made one or are planning to start, feel free to share your honest opinion and suggestions—we would love to hear your creative ideas and experiences.