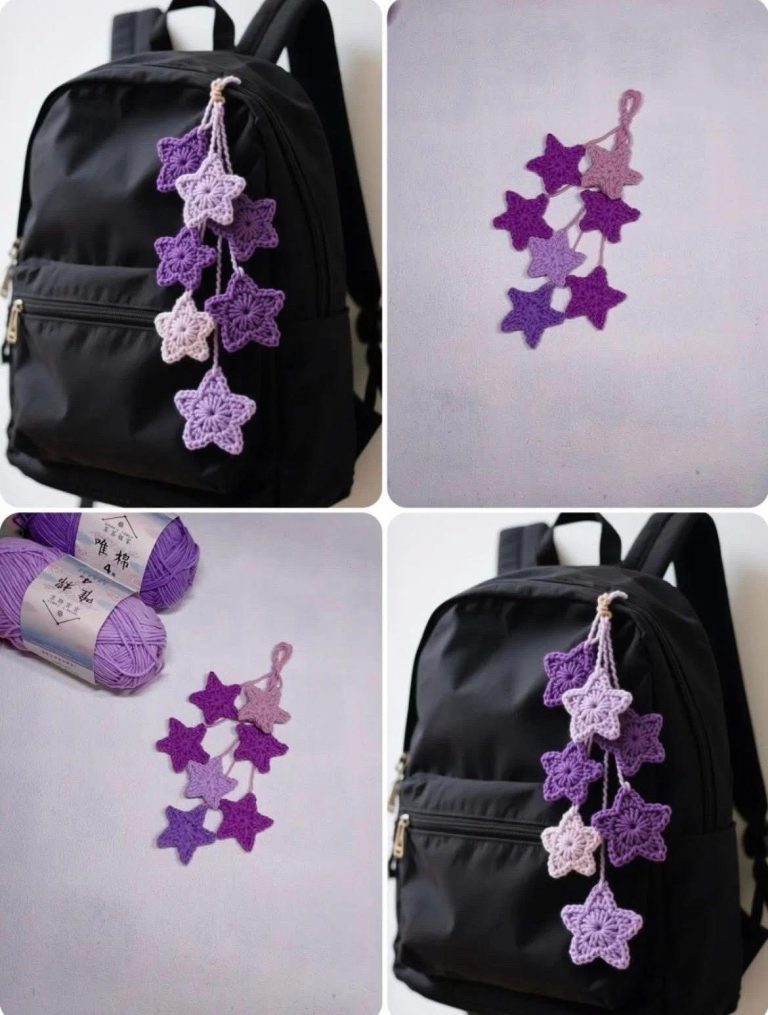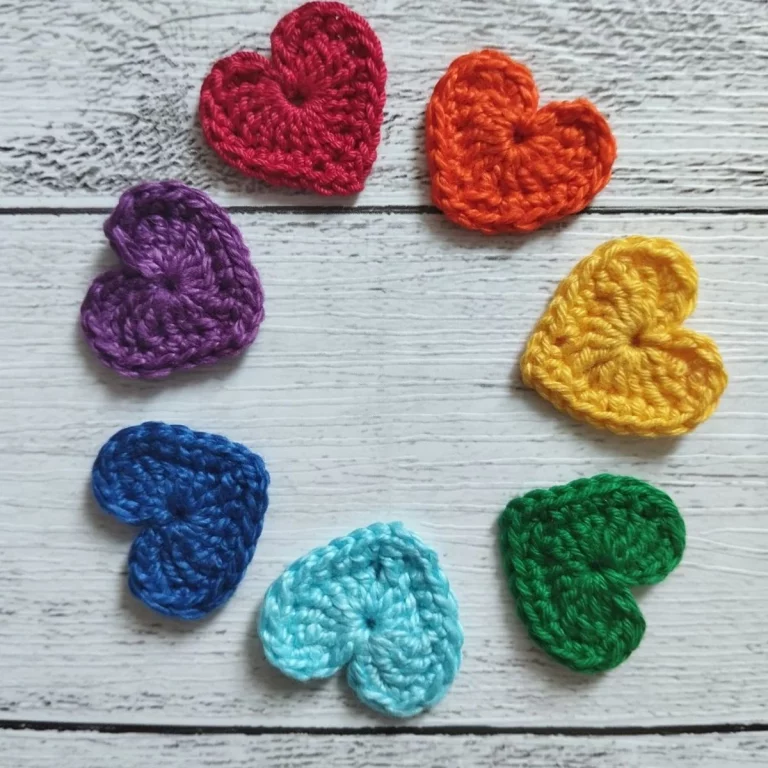
Crochet Heart Pattern – Tutorial

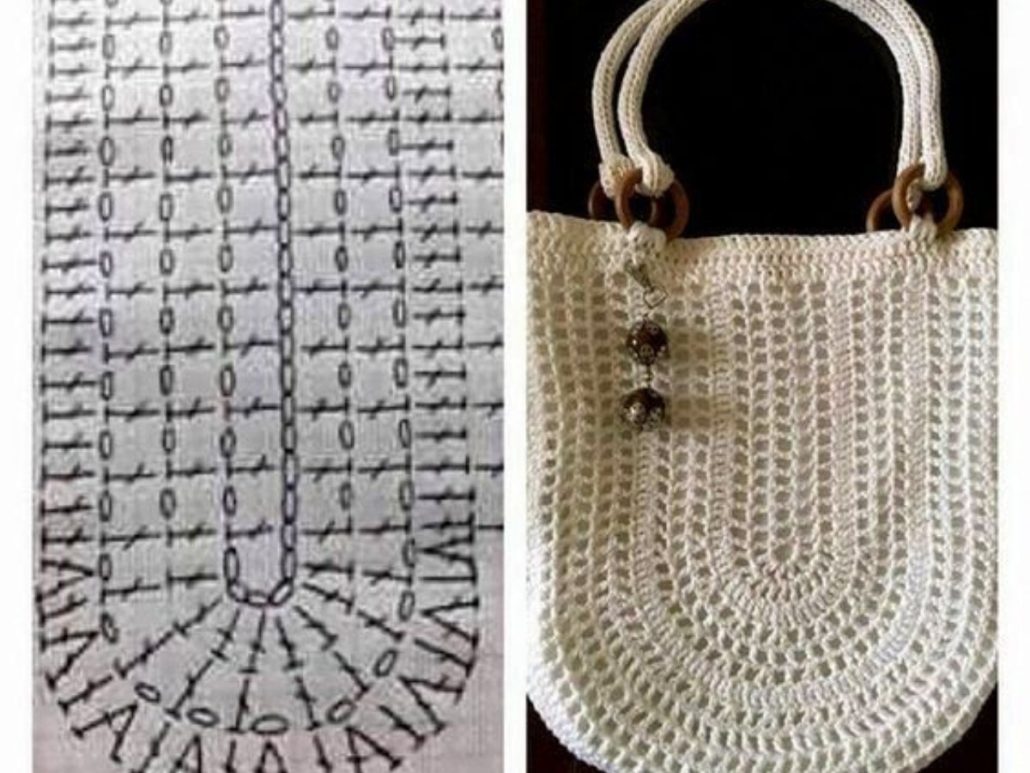
If you love stylish handmade accessories, this Round Crochet Bags with Graphic – Tutorial will inspire you to create your own fashion statement. These unique round crochet bags are not only beautiful but also practical and trendy. With simple stitches, colorful yarns, and a clear pattern graphic, you can easily make a bag that complements your personality and style. Whether you’re new to crochet or an experienced crafter, this step-by-step guide will help you design a chic and functional accessory that turns heads wherever you go.
The Round Crochet Bags with Graphic – Tutorial focuses on combining creativity with practicality. The round shape gives the bag a modern and elegant look, while the graphic pattern allows endless design possibilities. You can experiment with colors, textures, and motifs, making each bag a true reflection of your taste. From bohemian styles to minimalist designs, these bags can match any wardrobe.
Crocheting your own bag is not only satisfying but also environmentally friendly. You’re crafting something reusable, durable, and stylish from just yarn and a hook. Plus, handmade crochet bags make fantastic gifts for friends or family — they carry a personal touch that store-bought items simply can’t replicate. Ready to begin? Let’s dive into this exciting crochet journey!
Before starting your Round Crochet Bags with Graphic – Tutorial, make sure you have all the materials ready. Preparation helps the project flow smoothly and saves time. The main materials include cotton yarn (medium-weight is ideal), a 3.5mm or 4mm crochet hook, a yarn needle, scissors, and a lining fabric (optional for the bag’s interior).
Choose yarn colors that complement each other, especially if you plan to follow a graphic design. Cotton yarn gives structure to the bag and holds its shape well. If you prefer a softer texture, try blended yarns, but be aware that they may stretch more.
You’ll also need a zipper or magnetic snap closure, depending on your preference. Some crocheters like to add wooden handles or leather straps for an elegant touch. These accessories not only enhance the look but also make your bag sturdier.
If your design includes a graphic pattern, print it out or have it on hand while working. Following the chart ensures your stitches align correctly, maintaining the balance and beauty of the round shape.
Organize your materials before you start crocheting. Having everything within reach makes the experience relaxing and enjoyable. Once you’ve prepared your workspace, you’re ready to start crafting your own round crochet bag masterpiece.
Now let’s start the practical part of the Round Crochet Bags with Graphic – Tutorial. Begin with a magic ring — this technique helps you form a perfect circle without a hole in the center. Use single or half-double crochet stitches, depending on your desired texture, and increase evenly in each round to keep the shape flat and balanced.
As you crochet the base, follow your graphic pattern. This might include color changes or special stitches that form the visual design. Use a stitch marker to mark the beginning of each round — it helps you track your progress and maintain symmetry.
Once your circle reaches the desired size (usually around 20–25 cm in diameter for a medium bag), you’ll stop increasing and start building the sides. Crochet several rounds without increases to give the bag its depth. This step forms the body, giving your creation a nice rounded structure.
If you want to add a lining, now is a good time to prepare it. Cut your fabric slightly larger than the bag’s diameter and sew it later inside the finished crochet piece. It adds durability and prevents stretching.
Remember to crochet two identical round panels — one for the front and one for the back. These will later be joined together to form the complete bag. Keep your tension consistent throughout to ensure both sides match perfectly.
By now, you’ll see your Round Crochet Bag with Graphic taking shape beautifully. It’s satisfying to watch your design grow with each round!
In this part of the Round Crochet Bags with Graphic – Tutorial, you’ll bring all the pieces together. Once both panels are ready, place them back to back and join them using single crochet stitches or slip stitches along the edge. Make sure to leave an opening at the top for your zipper or magnetic snap.
For extra durability, you can crochet an inner border around the opening or add a fabric reinforcement. If you’re including a lining, sew it carefully inside using small, invisible stitches. This gives your bag a clean, professional finish.
Now comes the fun part — adding handles or straps. Depending on your style, you can attach a short handle made of crochet stitches or use leather straps for a modern look. For crossbody designs, use a long adjustable strap that matches the bag’s color scheme.
To make your Round Crochet Bag even more eye-catching, consider embellishments like tassels, pompoms, or small beads. These little details bring personality and charm to your project.
Don’t forget to double-check all seams and closures to make sure your bag is sturdy. A well-finished piece not only looks beautiful but also lasts for years. Once complete, you’ll have a functional, fashionable bag that you’ll be proud to carry anywhere.
The best part about this Round Crochet Bags with Graphic – Tutorial is that you can fully personalize your creation. From colors and patterns to handles and decorations, every element can be tailored to fit your unique taste.
Experiment with geometric patterns, floral motifs, or even abstract graphics. Changing yarn colors within each round gives you endless creative possibilities. You can also use variegated yarn for a naturally blended effect without changing skeins.
If you want your bag to match specific outfits, choose colors that complement your wardrobe. Neutral shades like beige, cream, and brown are versatile, while bright colors like turquoise, coral, or mustard make bold fashion statements.
You can also adapt the size — create mini versions for coin purses or larger ones for shoulder bags. Adjust the number of rounds and strap length accordingly.
For an eco-friendly twist, consider using recycled cotton or sustainable yarns. This not only makes your project environmentally conscious but also adds meaning to your handmade creation.
Finally, make your Round Crochet Bag truly one of a kind by adding your initials or a small handmade label. Each bag tells a story — your story — through its colors and craftsmanship.
Q1: Is this project suitable for beginners?
Yes! The Round Crochet Bags with Graphic – Tutorial uses basic crochet stitches like single crochet and slip stitch, making it ideal for beginners with patience and creativity.
Q2: What type of yarn should I use?
Cotton yarn is recommended because it’s sturdy and keeps the bag’s shape. You can also use jute or polyester blends for different textures.
Q3: How big should the bag be?
It depends on your preference. A medium size (about 25 cm in diameter) works well for everyday use, but you can adjust the number of rounds to make it larger or smaller.
Q4: Can I wash my crochet bag?
Yes, hand wash gently in cold water and let it air dry. Avoid wringing or machine drying to maintain the bag’s shape and color.
Q5: Can I sell bags made from this tutorial?
Of course! Handmade crochet bags are popular items at craft markets and online shops. Just remember to mention that your design was inspired by a Round Crochet Bags with Graphic – Tutorial.
The Round Crochet Bags with Graphic – Tutorial is a wonderful way to blend art, fashion, and function. You’ve learned how to create a round base, assemble the structure, and customize it with stylish details. Whether you’re making it for yourself or as a heartfelt gift, this project allows you to express creativity with every stitch.
Handmade bags carry a personal touch that no factory-made item can match. We hope this tutorial inspired you to start your next crochet project today! Please leave your honest opinion and suggestions — we’d love to hear from you and see your amazing round crochet bag creations!