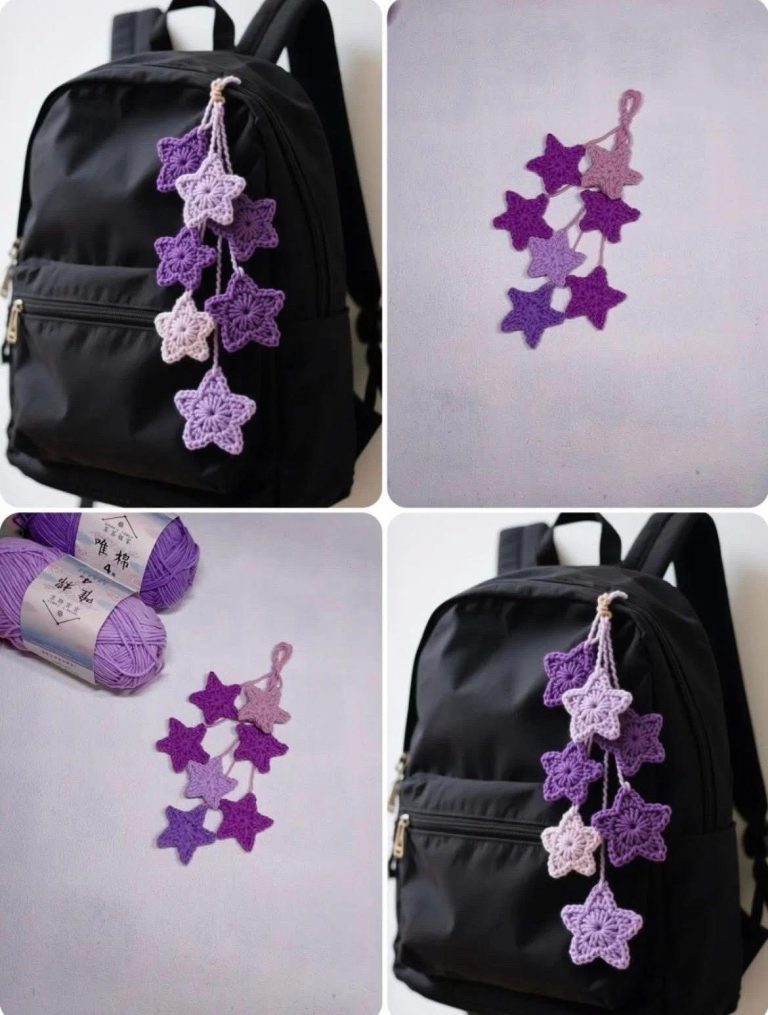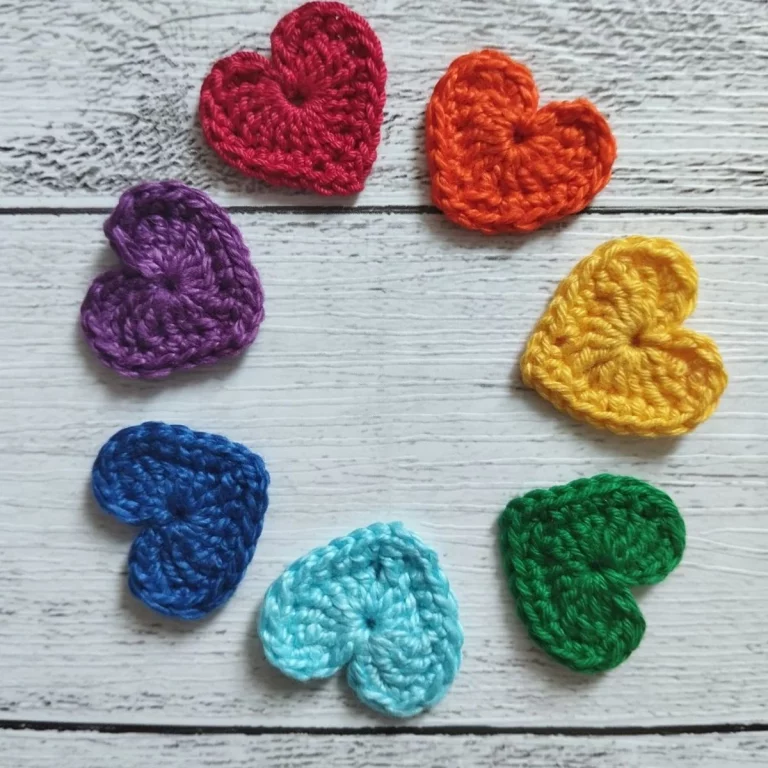
Crochet Heart Pattern – Tutorial

If you’re looking for a quick, beautiful, and creative project, this Mini Crochet Flower – TUTORIAL is the perfect choice. These tiny flowers are not only adorable but also extremely versatile — you can use them to decorate hats, bags, blankets, or even greeting cards. Whether you are a beginner or an experienced crocheter, these mini flowers will add a charming touch to all your handmade creations.
The Mini Crochet Flower – TUTORIAL will guide you through each step so you can easily make these little blooms using minimal yarn and time. They’re great for using leftover yarn scraps and can be completed in just a few minutes. Once you learn the technique, you can create a whole garden of flowers in different colors, sizes, and textures.
Crocheting these mini flowers is not only fun but also relaxing. It’s a wonderful way to unwind and express your creativity through color and design. Follow along as we explore how to make your own beautiful and unique mini crochet flowers with this simple and inspiring Mini Crochet Flower – TUTORIAL.
Before you begin, gather your supplies to ensure a smooth and enjoyable crochet experience. For this Mini Crochet Flower – TUTORIAL, you’ll need a small amount of yarn in your chosen color, a matching crochet hook (usually 2.5mm–4mm for fine work), a pair of scissors, and a yarn needle for finishing touches.
Cotton yarn works beautifully for small crochet projects because it gives the flowers a neat and defined look. However, you can experiment with acrylic or wool yarn to achieve different textures and effects.
Choosing the right hook size is important. A smaller hook will create tighter and smaller flowers, while a larger hook will produce looser and softer petals. You can try different sizes to find your preferred look.
If you want to add extra detail, consider using multiple colors. For instance, make the center of the flower one shade and the petals another. This gives your mini crochet flowers a vibrant and realistic appearance.
Keep a small yarn needle handy to weave in ends once your flower is complete. Clean finishing makes your project look professional and ready for use.
Lastly, prepare a cozy workspace with good lighting. Crocheting small pieces requires focus, so make sure you’re comfortable and relaxed while you create your mini masterpieces.
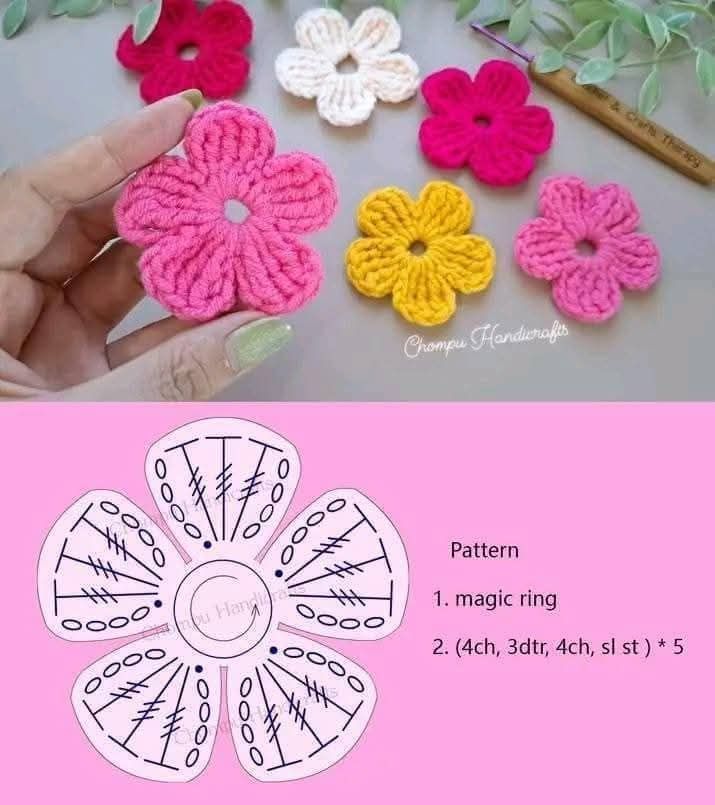
To begin the Mini Crochet Flower – TUTORIAL, start with a magic ring. This technique allows you to pull the center tight, giving your flower a neat and polished finish. If you’re new to this method, you can also begin with a chain of four stitches joined into a ring.
Next, crochet several double crochets or half-double crochets into the center of the ring. The number of stitches will determine how many petals your flower will have — typically five or six creates a beautiful and balanced look.
Once you have the base circle, chain a few stitches and then slip stitch back into the same space to form your first petal. Repeat this step around the ring until all petals are complete. Each petal should be evenly spaced for a symmetrical appearance.
After finishing the last petal, close the round with a slip stitch into the first stitch and fasten off your yarn. Pull the magic ring tight to close the center and cut your yarn, leaving a small tail for weaving in.
Use your yarn needle to neatly hide the loose ends on the back of your flower. This step ensures your finished flower looks tidy from all sides.
Once complete, give your flower a gentle press with your fingers to shape the petals. Congratulations — you’ve just finished a Mini Crochet Flower that’s ready to brighten up any project!
The best part about this Mini Crochet Flower – TUTORIAL is how many ways you can use your creations. These small flowers can be added to almost anything to bring a handmade touch of charm and color.
Attach them to hats, scarves, or headbands to create custom accessories that reflect your personal style. They look lovely when grouped together or used individually for a minimalist design.
Use them as embellishments for crochet blankets, sweaters, or bags. A few mini flowers can transform a plain project into something truly special and eye-catching.
Another idea is to glue or sew them onto greeting cards, gift wraps, or bookmarks. Handmade decorations like these make any gift more personal and memorable.
If you enjoy home décor, you can also create a floral garland or a bouquet by attaching your flowers to strings or wires. Mix colors to make cheerful seasonal decorations for your home or craft fair booth.
Lastly, these flowers make great practice pieces for beginners. Once you’re comfortable, you can adapt the Mini Crochet Flower – TUTORIAL to create larger or more detailed floral designs.
When working on small crochet items, precision and tension control are important. Keep your stitches even and consistent so your Mini Crochet Flower looks neat and professional.
If your petals curl too much, try using a slightly larger hook or looser tension. Experimenting with different yarn weights can also affect how the petals form.
Blocking your flowers can help them lay flat and maintain their shape. Simply dampen them slightly and let them dry under a flat surface or with gentle pins to shape the petals.
Don’t be afraid to mix and match yarn types. Shiny threads like mercerized cotton give a delicate finish, while textured yarns create a more rustic, handmade look.
Color choice makes a big impact. Try pastel shades for a soft and romantic vibe or bold tones for a vibrant, cheerful appearance. You can even add small beads or buttons to the center for an extra decorative touch.
Finally, remember that practice makes perfect. The more Mini Crochet Flowers you make, the faster and more confident you’ll become. Before you know it, you’ll have a beautiful collection ready to use or gift!
1. Can beginners make the Mini Crochet Flower?
Yes! The Mini Crochet Flower – TUTORIAL is ideal for beginners. It’s simple, quick, and uses basic stitches that help improve your crochet skills.
2. What yarn is best for making mini flowers?
Cotton yarn works best because it holds shape well, but acrylic or lightweight wool can also be used depending on your preference.
3. How long does it take to make one flower?
Each flower usually takes about 5–10 minutes, making it a perfect quick project for any time of day.
4. Can I join multiple flowers together?
Absolutely! You can connect several flowers to create garlands, blankets, or large floral motifs.
5. How can I attach the flowers to other crochet projects?
You can sew them directly onto your finished items or use fabric glue if sewing isn’t an option.
6. Can I wash my crochet flowers?
Yes, if made with washable yarn. Gently hand wash and lay flat to dry to keep their shape intact.
Making a Mini Crochet Flower is one of the most delightful and rewarding crochet projects you can do. It’s fast, fun, and endlessly versatile. You’ve learned how to make these tiny blooms step-by-step, how to customize them, and how to use them in creative ways.
PATTERN VIDEO:
Now it’s your turn to try this Mini Crochet Flower – TUTORIAL and bring a little handmade beauty into your world. Share your honest opinion and suggestions below — we’d love to hear how your mini flowers turned out!