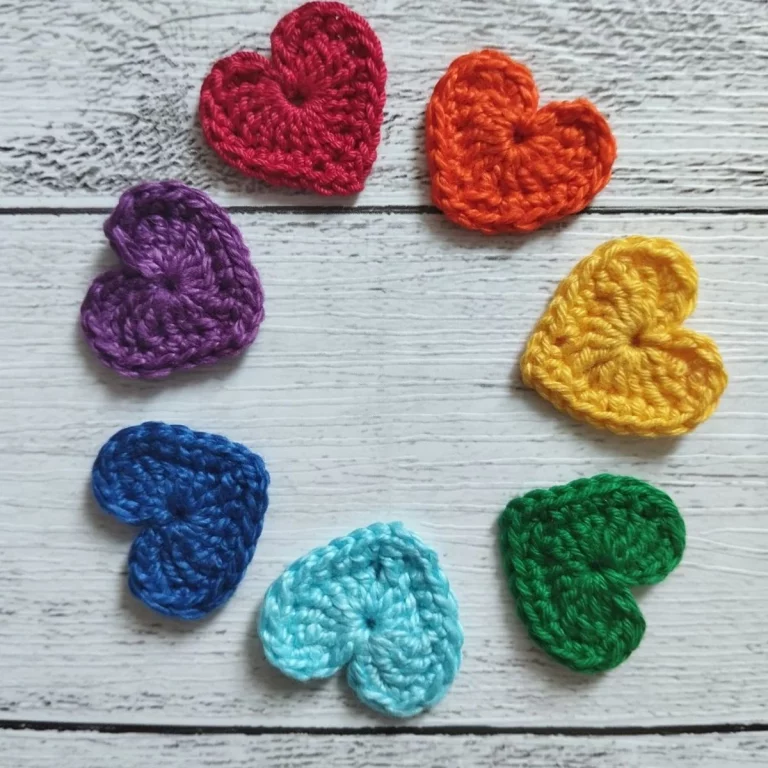
Crochet Heart Pattern – Tutorial

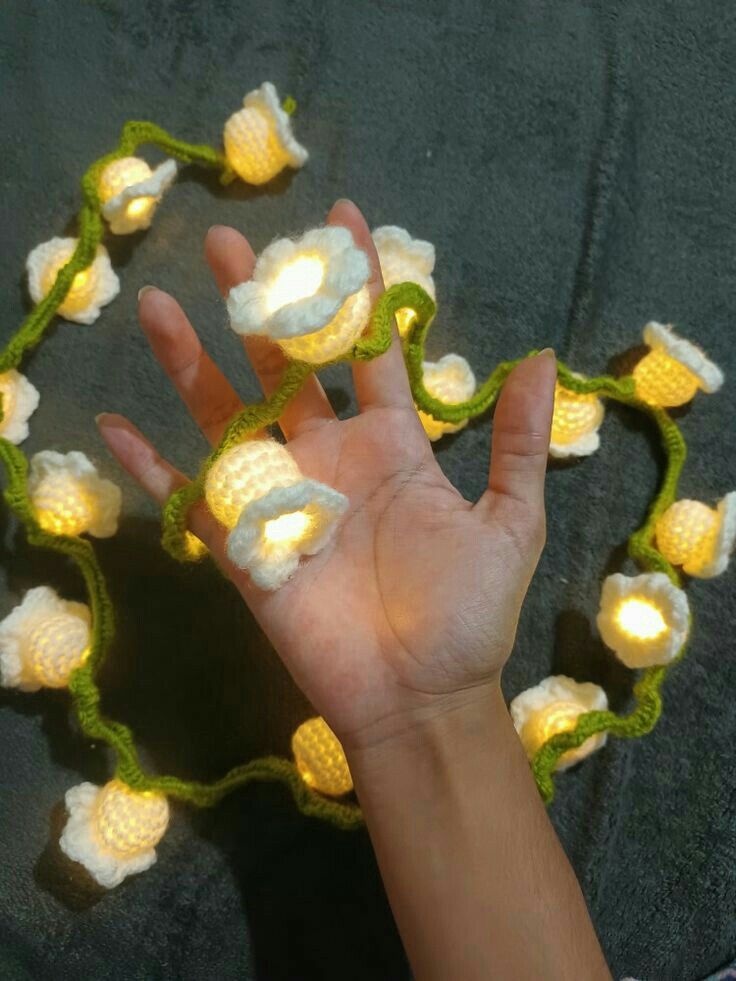
The Lily of the Valley Fairy Lights – Crochet Pattern is one of the most enchanting and creative ways to add a handmade touch to your home décor. With its delicate flowers inspired by the Lily of the Valley plant, this pattern combines crochet artistry with the warm glow of fairy lights, creating a magical atmosphere perfect for any season. Whether you want to brighten up your living room, decorate for a special event, or simply enjoy a cozy craft project, this pattern offers endless possibilities for creativity.
Crochet patterns like this one are not only beautiful but also versatile. You can adjust colors, sizes, and even the type of lights to match your personal style or seasonal themes. From festive spring decorations to cozy winter accents, the Lily of the Valley Fairy Lights – Crochet Pattern makes a timeless addition to your handmade collection. Beginners will enjoy its simplicity, while experienced crocheters will appreciate the opportunity to add delicate details.
In this tutorial, we will explore everything you need to know to get started. From the materials and stitches required to customization tips and creative uses, this article is designed to inspire and guide you through every step. By the end, you’ll feel confident enough to bring your own set of fairy lights to life, turning yarn into glowing blossoms that light up your home.
When beginning the Lily of the Valley Fairy Lights – Crochet Pattern, gathering the right materials is the first step. Fortunately, this project requires only a few essentials that are easy to find.
Start with lightweight cotton yarn, which gives the flowers a natural look and provides durability. White or cream are traditional colors for Lily of the Valley, but pastel shades can create a more whimsical effect.
You will also need a crochet hook that matches the yarn size, typically in the 2.5 mm to 3.5 mm range. A smaller hook helps maintain the delicate details of the blossoms.
Fairy lights are, of course, the centerpiece of this design. Battery-powered LED lights are recommended because they don’t generate heat, ensuring both safety and long-lasting use.
Additionally, you’ll need a yarn needle for sewing pieces together and weaving in ends. Scissors are also essential for trimming your threads neatly.
Lastly, consider adding optional embellishments like beads or sequins if you want your lights to sparkle even more. These small touches can transform a simple crochet piece into a stunning decorative highlight.
The Lily of the Valley Fairy Lights – Crochet Pattern begins with creating the flower blossoms. These tiny bell-shaped flowers are iconic and instantly recognizable.
Start by crocheting a small foundation chain, usually four to six stitches, and then join them into a circle. This forms the base of the flower.
Next, work in rounds to build the bell shape. Simple stitches like single crochet and half double crochet are typically used, making this pattern beginner-friendly.
As you progress, you will create scalloped edges at the base of each flower, mimicking the natural curves of the Lily of the Valley. This detail is what gives the blossoms their realistic and delicate appearance.
Repeat this process to make multiple flowers, usually one for each light on your fairy string. Depending on the length of the light string, you may need anywhere from 10 to 30 flowers.
Once the flowers are complete, you can carefully attach them to the lights by sliding each LED bulb into the crocheted blossom, ensuring a snug but not overly tight fit.
To make the Lily of the Valley Fairy Lights – Crochet Pattern more realistic, adding crocheted leaves is a wonderful finishing touch. These can be attached directly to the fairy light string between the blossoms.
Begin with a foundation chain of about 10 to 15 stitches, then work back along the chain with single crochet, half double crochet, and double crochet stitches to form the shape of a leaf.
The leaves can vary in size for a natural effect. Some may be small and subtle, while others are longer and more dramatic. Mixing sizes adds depth and realism to the design.
Once complete, sew or crochet the leaves directly onto the fairy light string in between the flowers. This creates a garland effect that’s both charming and authentic.
Consider weaving in all yarn ends neatly to keep the design clean. A tidy finish enhances the overall beauty of your crochet work.
Finally, test the lights to ensure that all flowers and leaves are securely attached and that the glow shines evenly through each blossom.
One of the best things about the Lily of the Valley Fairy Lights – Crochet Pattern is its versatility. These handmade lights can be used in a variety of creative ways around your home.
They make stunning table centerpieces for weddings, spring parties, or baby showers. Draping them across a dining table instantly adds elegance.
For everyday décor, try hanging the lights along a mantel, bookshelf, or window frame. The gentle glow creates a warm and welcoming atmosphere.
Children’s rooms are another perfect place to showcase these fairy lights. The soft light combined with handmade crochet flowers makes a cozy and magical nightlight.
During holidays, you can adapt the colors to match seasonal themes. For example, use red and green flowers for Christmas or pastel shades for Easter.
You can even turn them into a thoughtful handmade gift. Friends and family will appreciate the personal touch of handcrafted fairy lights that brighten any space.
Q: Is this pattern suitable for beginners?
Yes, the stitches used in this pattern are simple, making it accessible for beginners with basic crochet knowledge.
Q: What type of lights work best for this project?
Battery-operated LED fairy lights are recommended since they are safe, cool to the touch, and long-lasting.
Q: Can I use different yarn types?
Yes, though cotton yarn is preferred for durability, you can experiment with acrylic or blends to achieve different textures.
Q: How many flowers do I need to make?
The number depends on the length of your light string. Typically, one flower is made for each light bulb.
Q: How do I clean crochet fairy lights?
Avoid machine washing. Instead, gently dust them or spot clean with a damp cloth if necessary.
Q: Can I customize the colors?
Absolutely. While white and cream are traditional, any color combination can be used to fit your personal style or event theme.
The Lily of the Valley Fairy Lights – Crochet Pattern is a delightful and versatile project that brings together the charm of crochet with the beauty of soft glowing lights. By following this tutorial, you can create enchanting decorations that brighten any space, making them ideal for home décor, special occasions, or thoughtful gifts.
PATTERN VIDEO:
We hope this guide has inspired you to try this unique crochet project. Now it’s your turn—start creating your own fairy light garland and let your creativity shine. Don’t forget to share your experiences, leave a sincere opinion, and suggest new ideas for future projects. Your feedback helps keep the crochet community vibrant and inspiring.