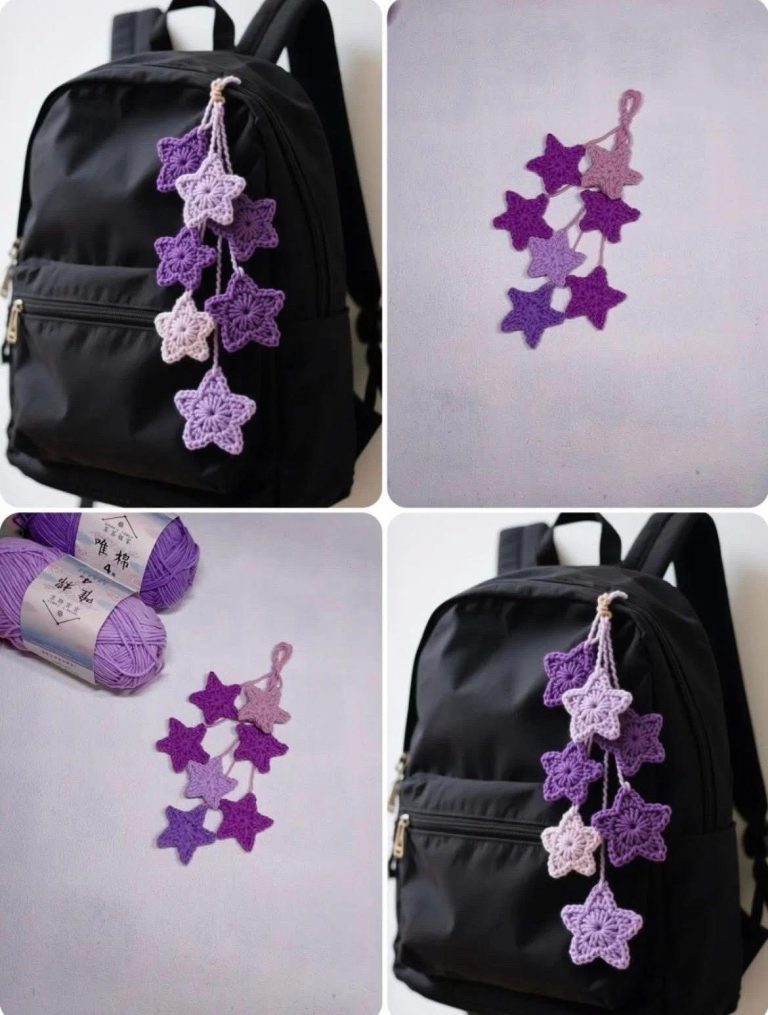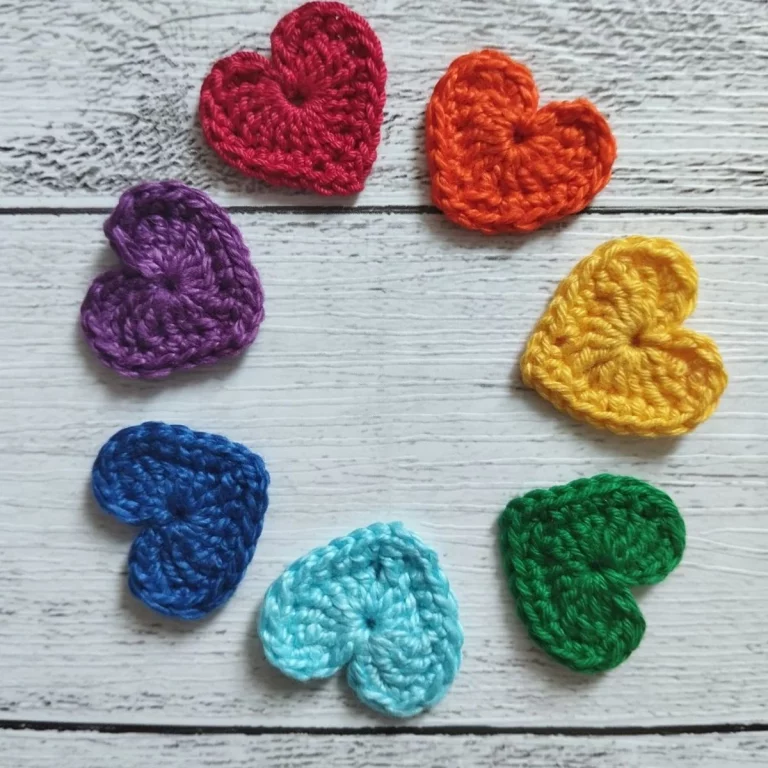
Crochet Heart Pattern – Tutorial

Starting your creative journey with crochet is always exciting, and the project “Learn How to Make This Baggy Hat” is the perfect gateway to fun, comfort, and style. This guide explores everything you need to know about crocheting this cozy and relaxed accessory, using the keyword boldly throughout the text for optimal SEO and reader clarity. Whether you’re a beginner or an experienced crafter, the Learn How to Make This Baggy Hat tutorial offers a relaxing and fulfilling experience. With its versatile design, soft texture, and trendy appearance, this baggy hat is a wonderful project for gifts, markets, or personal use.
Because this piece requires only basic stitches and simple shaping, the Learn How to Make This Baggy Hat pattern is accessible to everyone. Its loose and slouchy silhouette provides comfort and style in equal measure, making it a favorite for cold seasons or all-year accessorizing. By following a structured approach and the steps outlined below, you will be able to create a high-quality crochet hat with a professional finish. This article also includes answers to frequently asked questions to support you through each stage of the project.
Additionally, mastering the Learn How to Make This Baggy Hat pattern helps you strengthen essential crochet skills such as tension control, stitch consistency, and working in the round. Whether you’re crocheting for yourself, working on handmade gifts, or building inventory for craft fairs, this tutorial equips you with enjoyable techniques and helpful insights. Let’s dive into the instructions and learn how to make this cozy and cute baggy hat.

The foundation of the Learn How to Make This Baggy Hat tutorial begins with understanding its basic construction. Baggy hats are typically stitched from the top down, allowing you to create the slouch effect with ease. This method makes it simple to adjust size and fit since you can stop when the circumference is perfect. The pattern usually starts with a magic ring and continues with steady increases.
Another important aspect is the lightweight, soft yarn often chosen for this style. Acrylic, wool blends, or alpaca yarn work extremely well. The yarn thickness determines whether your hat will have a dense or airy texture, but both results are excellent depending on preference. Because baggy hats are meant to fall loosely, maintaining soft tension is essential.
Color variety is another fun feature of the Learn How to Make This Baggy Hat pattern. You can choose a solid color for elegance or incorporate stripes, color changes, or even textured yarn to personalize the look. Experimenting with different combinations adds personality to your handmade accessory.
Stitch selection also plays a role in shaping. Most baggy hats use basic stitches such as single crochet, half-double crochet, or double crochet. These simple stitches create a smooth drape and a comfortable feel. The relaxed structure is perfect for everyday wear and suits all ages.
The finishing process is equally simple. After reaching the desired slouch and length, you typically add a ribbed band that stretches comfortably around the head. This band ensures that your hat stays secure while still feeling cozy. Optional decorations include pom-poms, appliqués, and buttons.
Finally, the entire pattern aims to combine ease and creativity. The Learn How to Make This Baggy Hat tutorial is not only an enjoyable project but also a fantastic way to build confidence as a crocheter.
To embark on the Learn How to Make This Baggy Hat project, gathering the right materials ensures a smooth crafting experience. Yarn choice is essential; medium-weight yarn is the most popular for this kind of hat. It provides warmth, structure, and flexibility without being too heavy or stiff. Choose a soft texture for a comfortable finish.
Your crochet hook size should match the yarn label recommendations. Most baggy hats require a 5.0 mm or 6.0 mm hook, depending on the desired drape. Using a larger hook creates an even slouchier hat with a relaxed feel. Make sure your hook glides easily to promote smooth stitching.
You will also need scissors and a yarn needle. The scissors are for cutting yarn ends, while the needle helps weave in loose tails cleanly. A stitch marker is optional but extremely helpful for marking rounds, especially if you are new to crocheting in circles.
Another recommended tool is a measuring tape. It allows you to measure circumference and length as you go, ensuring your Learn How to Make This Baggy Hat fits perfectly. Whether you want a standard slouch or an oversized one, measurements guide your progress.
Keeping your workspace tidy and well-lit is beneficial as well. Clear visibility helps you maintain consistent tension and avoid mistakes while shaping the hat. Crafting becomes much more enjoyable when your tools and materials are within easy reach.
Lastly, consider selecting additional decorative materials. Pom-pom makers, buttons, or applique supplies can add charm and personalization to your finished baggy hat.
To begin the Learn How to Make This Baggy Hat, start with a magic ring. This adjustable loop helps you create a neat and tight beginning. Add your initial stitches into the ring, following the pattern guidelines. As you tighten the ring, the opening closes neatly, forming the top of the hat.
Next, increase evenly in each round until the circle reaches your desired width. This shaping step determines the hat’s circumference. Ensure your increases are spread evenly to avoid uneven shaping or unwanted bumps in the fabric.
Once the top is complete, continue stitching without increasing. This creates the signature slouch of the baggy hat. Crocheting in rounds without increases allows the fabric to drape naturally. Maintain consistent tension for a smooth and cohesive look.
When the hat reaches the length you prefer, you can begin the ribbing. Ribbing is usually made with front-post and back-post stitches or alternating simple stitches such as single crochet and slip stitch. It adds stretch and structure to the hat opening.
Fasten off your work once the ribbing is complete. Leave a long tail for sewing in or attaching decorations. Weaving in the tail cleanly prevents unraveling and enhances the professional finish of the Learn How to Make This Baggy Hat project.
Optional embellishments such as pom-poms, faux fur balls, or decorative patches bring personality and flair to the final piece.
Stay mindful of your tension throughout the project. Baggy hats are known for their soft drape, so avoid overly tight stitches. Relax your hands and let the yarn glide naturally through your fingers.
Another useful tip is to try on the hat as you work. Because the Learn How to Make This Baggy Hat pattern is flexible, checking the fit ensures satisfaction. If you want more slouch, simply add more rounds.
Blocking the finished hat is optional but can improve shape and softness. Light steaming or damp blocking helps relax stitches and even out the fabric. Be sure to follow fiber-specific care instructions to avoid damage.
Experimenting with yarn textures is a great way to personalize your piece. Fuzzy yarns give a cozy winter vibe, while smooth yarns create a sleek and modern appearance. The choice influences the hat’s style.
Color changes can be inserted at any point. Gradients, stripes, or ombre effects elevate the visual appeal of your handmade hat. Crocheting is a form of creative expression, so enjoy experimenting.
Finally, store your hat properly to maintain its shape. Avoid crushing or folding it tightly in drawers. Gentle handling keeps the Learn How to Make This Baggy Hat looking beautiful for years.
What skill level is needed for this baggy hat?
This project is beginner-friendly and uses basic crochet stitches. Even new crocheters can complete it with ease.
How long does it take to finish the hat?
Depending on your pace, it typically takes 2–4 hours to complete. Beginners may take slightly longer.
What yarn is best for this pattern?
Medium-weight yarn works best for structure and comfort. Soft acrylic or wool blends are ideal choices.
Can I adjust the size?
Yes, the pattern is highly adjustable. Increase or decrease the circumference and length to achieve the perfect fit.
Is a pom-pom necessary?
No, it is optional. Many people enjoy adding pom-poms, but the hat looks great without one too.
Can I sell hats made from this pattern?
Generally, yes. Handmade sellers often use tutorials like this to create products, but always check the designer’s conditions if using an official pattern.
The Learn How to Make This Baggy Hat tutorial provides a simple, enjoyable, and creative experience for crafters of all levels. With just a few materials and basic stitches, you can make a stylish accessory that blends comfort and personality.
This article guided you through structure, materials, steps, tips, and common questions, helping you feel confident in your crochet journey. If you enjoyed this tutorial, please leave a sincere comment about your experience and share suggestions for future crochet guides.