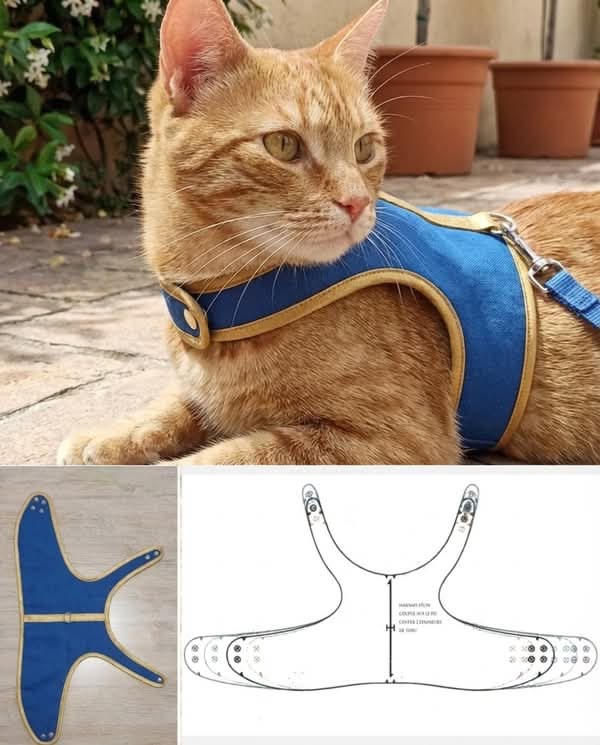
Easy Pet Collar - Tutorial

The Fabric Headband – PATTERN is a stylish and practical sewing project that combines comfort, versatility, and handmade charm. Whether you are a beginner exploring simple sewing ideas or an experienced quilter looking for a quick accessory to create, making a Fabric Headband – PATTERN is both fun and rewarding.
Creating a Fabric Headband – PATTERN allows you to transform fabric into a wearable accessory that is perfect for everyday use, sports activities, or adding a fashionable touch to your outfit. Handmade headbands are also great gift ideas because they can be customized to match personal styles and preferences.
One of the best things about the Fabric Headband – PATTERN is how simple and adaptable it is. You can use different fabrics, widths, and designs to create everything from casual headbands to elegant statement pieces. In this guide, you will learn how to make a fabric headband step by step while exploring creative ways to personalize your design.
Selecting the right materials is essential for creating a comfortable and durable Fabric Headband – PATTERN. Since headbands are worn directly on the head, softness and flexibility are important.
Cotton fabric is one of the most popular choices because it is breathable, lightweight, and easy to sew. It is ideal for everyday wear and works well for both simple and decorative designs.
Stretch fabrics such as jersey or knit can also be used if you want a more flexible and snug fit. These materials are especially comfortable for active use.
For added structure, you may include interfacing, which helps the headband maintain its shape without becoming too stiff.
Elastic is often used in the back section of the headband to provide a secure and adjustable fit. This is especially useful for different head sizes.
Basic tools such as thread, scissors, pins, a sewing machine, and a measuring tape are also needed to complete your Fabric Headband – PATTERN successfully.
Before starting your project, it is helpful to understand how the Fabric Headband – PATTERN is constructed. Most designs include a main fabric band and an optional elastic section for flexibility.
The main band is the visible part of the headband and can be made in various styles, such as straight, twisted, knotted, or wide-band designs.
The elastic section is typically hidden at the back and allows the headband to stretch comfortably without slipping.
Some headbands are fully fabric-based without elastic and rely on ties or adjustable closures instead.
The width and length of the headband can be customized depending on your preference. Wider headbands provide more coverage, while thinner ones offer a subtle look.
Understanding the structure beforehand helps ensure your Fabric Headband – PATTERN is both comfortable and visually appealing.
Once your materials are ready, you can begin creating your Fabric Headband – PATTERN. Taking your time during each step helps achieve a clean and professional finish.
Start by measuring your head to determine the correct size. This ensures the headband fits securely without being too tight.
Cut the fabric pieces according to your chosen pattern. This usually includes the main band and a smaller piece for the elastic casing if applicable.
Fold the fabric lengthwise with the right sides facing inward and sew along the edge to form a tube. Turn the tube right side out for a smooth finish.
If using elastic, insert it into the smaller fabric piece and secure both ends with stitching. This creates the stretchable back section.
Attach the elastic section to the main band, making sure all seams are aligned and securely sewn.
Finally, close any remaining openings using a neat stitch and press the headband lightly with an iron for a polished appearance.
The final stage is where your Fabric Headband – PATTERN becomes unique and expressive. Personal touches allow you to create a headband that reflects your style.
Choosing different fabric prints is one of the easiest ways to customize your design. Floral patterns, geometric prints, or solid colors can completely change the look.
You can add decorative elements such as bows, knots, or twisted fronts to create a more fashionable and eye-catching accessory.
Quilted fabric designs can add texture and depth, making the headband feel more structured and visually interesting.
Seasonal themes are also a great option. Bright colors work well for summer, while darker tones and textured fabrics are perfect for colder seasons.
You can also create matching accessories like scrunchies or fabric bracelets using the same fabric for a coordinated look.
The beauty of the Fabric Headband – PATTERN is its versatility, allowing you to create endless variations with simple adjustments.
Yes, this is a great project for beginners because it involves simple cutting and straight sewing techniques.
Cotton is the most popular choice due to its comfort and ease of use. Stretch fabrics are also great for a more flexible fit.
Elastic is optional but recommended for a secure and comfortable fit, especially for everyday use.
Most fabric headbands can be completed in under an hour, making this a quick and satisfying project.
Yes, most headbands made from cotton or similar fabrics can be machine washed and air dried.
Yes, many crafters sell handmade headbands online and at local markets. Unique designs and quality finishing can increase their appeal.
Creating a Fabric Headband – PATTERN is a simple yet rewarding way to combine sewing skills, creativity, and practicality into one beautiful accessory. From choosing the right fabric and understanding the structure to sewing and decorating the headband, every step contributes to a stylish and functional result.
This project is perfect for personal use, handmade gifts, or even small business opportunities. A well-made fabric headband offers comfort and style that store-bought accessories often cannot match.
PATTERN VIDEO:
We hope this guide has inspired you to create your own Fabric Headband – PATTERN with confidence. If you have already made one or are planning to start, please share your honest opinion and suggestions—we would love to hear your creative ideas and experiences.