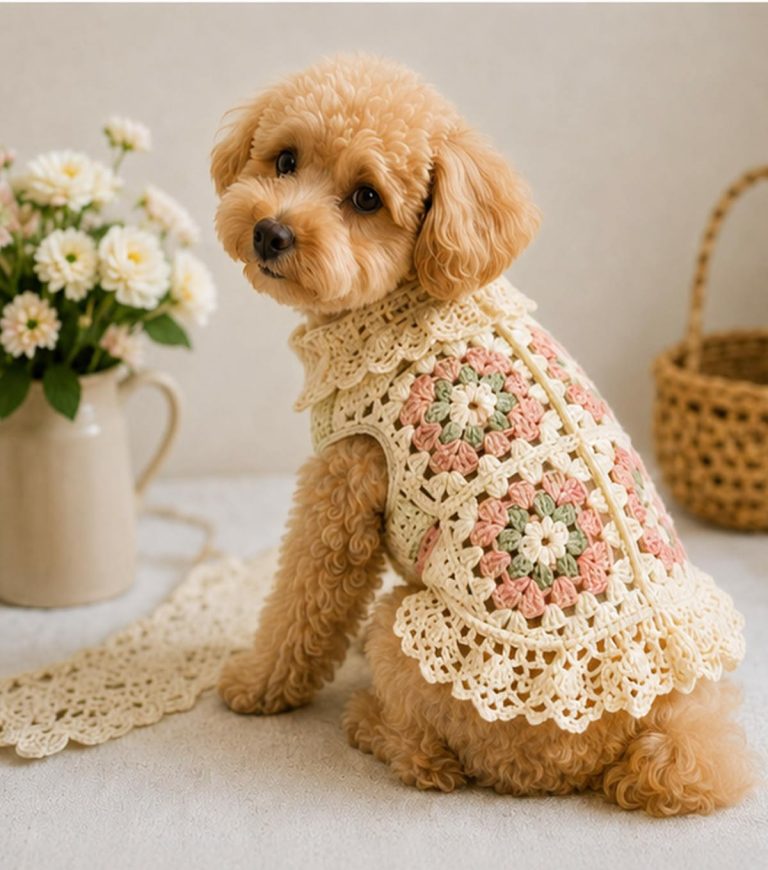
Easy Crocheted Dog Sweater

Crocheting fish decorations is a delightful and fun way to add a touch of charm to your home. Whether you’re looking to create a nautical theme for your space, add whimsy to a child’s room, or make a unique gift, the Crochet Fish Decoration is a perfect project.
The beauty of this pattern lies in its simplicity, allowing you to create vibrant, detailed fish in just a few hours.
In this tutorial, we will walk you through each step of the process, from gathering materials to finishing your fish decoration. Whether you’re a beginner or experienced crocheter, this pattern is easy to follow and provides plenty of room for creativity in terms of colors and shapes. Let’s dive in and start making your very own Crochet Fish Decoration!
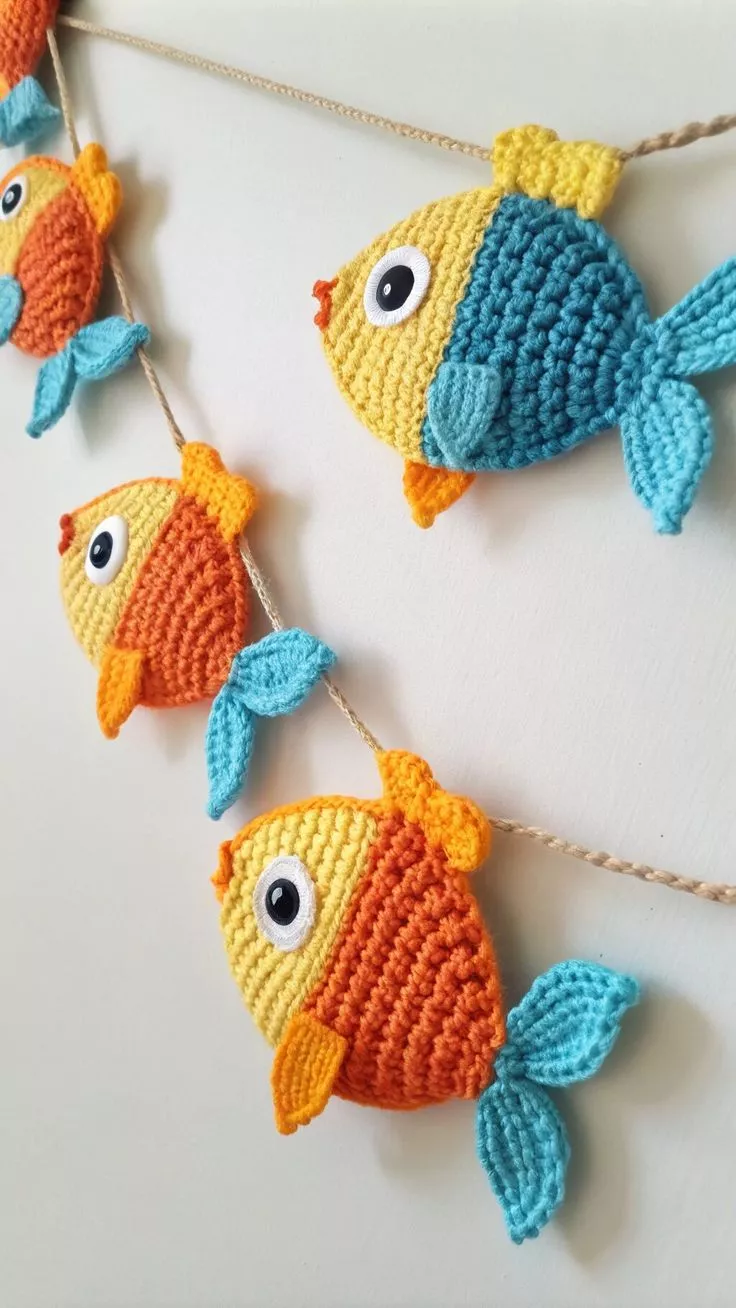
Image From Pinterest
Before you begin your Crochet Fish Decoration, it’s essential to have all the necessary supplies ready. Here’s a list of materials you’ll need to create your fish:
DISCOVER MORE FREE PATTERNS HERE!
Stitch markers are optional but can help you keep track of your rounds, especially if you’re working in the round. They ensure that your fish shape remains symmetrical.
For cutting the yarn at the end of each round and when finishing off your fish.
A yarn needle is essential for weaving in the loose ends after completing your fish decoration.
Now that we have everything ready, it’s time to start crocheting our fish!
The Crochet Fish Decoration is made up of a few basic stitches that come together to form the shape of the fish. Here are the main stitches you’ll use in this pattern:
The chain stitch is used to begin your foundation row and to move between rounds.
Single crochet is the primary stitch used for creating the dense, textured fabric of your fish. It’s worked into each stitch around, giving your fish body structure and definition.
An increase is when you work two single crochets (sc) into the same stitch to make your fish body expand. This is used to create the curved, round shape of the fish.
The slip stitch is used to join rounds or to finish off certain sections of the fish.
A decrease is used to taper the shape of the fish. You will be using this stitch to make the fish gradually shrink, particularly around the tail area.
These are the essential stitches for making your Crochet Fish Decoration. Now, let’s jump into the actual crochet process!
The steps for making the Crochet Fish Decoration are straightforward and beginner-friendly. Let’s start by making the body and then work on the fins and tail.
To begin, create a magic ring (or adjustable loop) to form the foundation of your fish.
Now that the fish body is growing, you’ll continue working in the round to shape it:
Now that you’ve created the body and tail, it’s time to add the fins.
The fins add a fun and detailed look to your fish. You can make the fins as big or as small as you like, depending on your fish design.
Once the fins are attached, it’s time to bring your fish to life!
Once all the details are in place, your Crochet Fish Decoration is complete!
One of the best aspects of this pattern is its versatility. You can customize your fish decoration in many ways to make it uniquely yours:
While the basic pattern uses one main color for the body and another for the tail and fins, you can use as many colors as you like! Make a multi-colored fish with stripes, spots, or even gradient effects by changing yarn colors in different rounds.
You can adjust the size of your fish by using a thicker or thinner yarn and adjusting your hook size accordingly. A larger fish can be made by increasing the number of rounds, while a smaller fish can be made with fewer rounds.
For an extra unique touch, add more fins to your fish, like dorsal fins or smaller tail fins. Simply crochet small fins using the same pattern, and attach them wherever you like.
1. Can I use a different type of yarn for the fish decoration?
Yes, you can use any yarn that’s compatible with the size of your crochet hook. For a more textured or soft look, try using fuzzy yarn or yarn with metallic threads.
2. How can I make my fish more realistic?
To make your fish look more realistic, add different shades of color to represent scales or create patterns on the body. You could also experiment with adding a metallic or glittery yarn for the scales.
3. Can I make the fish bigger or smaller?
Yes, by adjusting your yarn thickness or hook size, you can make your fish larger or smaller. Use thinner yarn and a smaller hook for a more delicate fish, or a thicker yarn and larger hook for a bigger fish.
4. Can I add a hanging loop to my fish decoration?
Absolutely! Simply crochet a small chain at the top of your fish decoration to create a loop, then hang it on a wall, door, or anywhere else you like.
5. How do I care for my Crochet Fish Decoration?
Since it’s made of yarn, your fish can be spot-cleaned or gently washed by hand if needed. Make sure to let it air dry.
Congratulations on completing your Crochet Fish Decoration! This fun and simple project is a great way to practice your crochet skills while creating something charming and customizable. Whether you’re decorating your home or making a special gift, your crocheted fish will be a unique and delightful addition.
Feel free to experiment with different colors, sizes, and embellishments to make your fish even more personal. If you have any questions or suggestions, leave a comment below—happy crocheting!