The Window Box Quilt Block is a versatile and beautiful design that can add a touch of charm to any quilting project. This block features a simple yet striking combination of geometric shapes, often using bright, vibrant colors to create a window-like effect that feels fresh and inviting. Whether you’re working on a full quilt or creating smaller projects like pillows or table runners, the Window Box Quilt Block is a timeless choice.
This quilt block gets its name from the appearance of a window box—where colorful flowers or plants are placed within a rectangular frame. The block’s design is composed of squares and rectangles arranged to mimic this effect. The pattern is not only visually appealing but also easy to make, making it a great option for quilters of all levels.
In this guide, we’ll walk you through everything you need to know to create your very own Window Box Quilt Block. From materials to step-by-step instructions, you’ll be well on your way to adding this beautiful block to your next quilt.
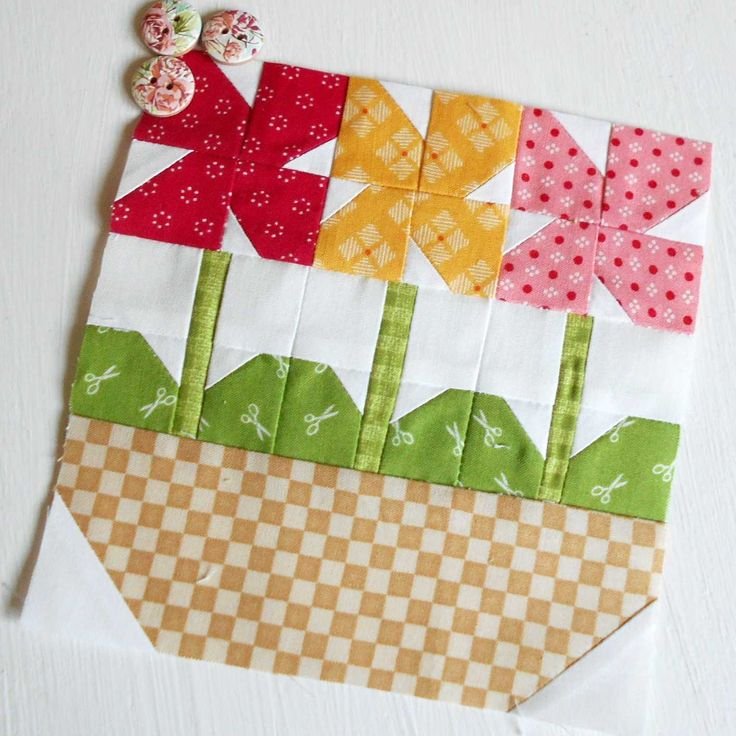
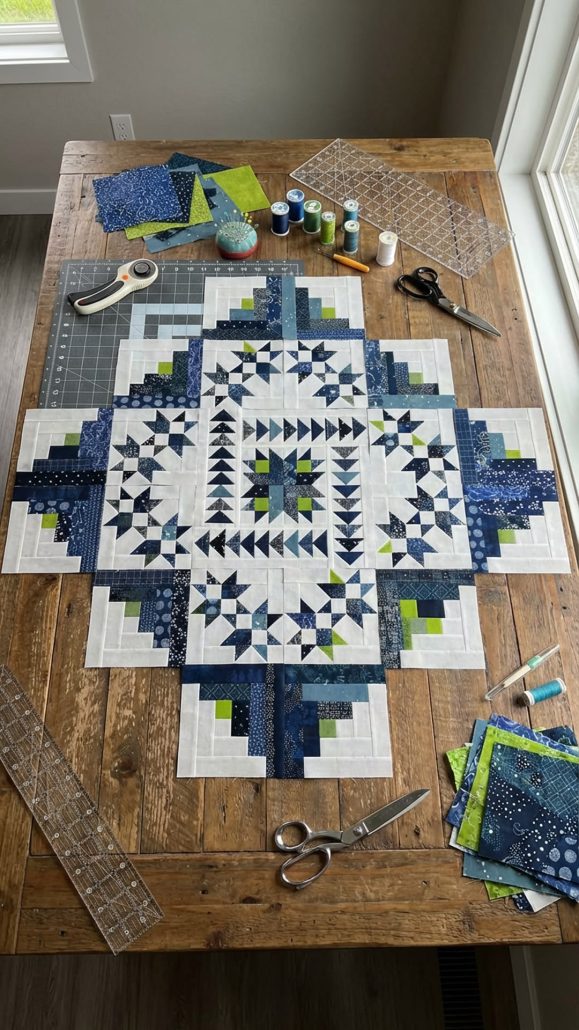
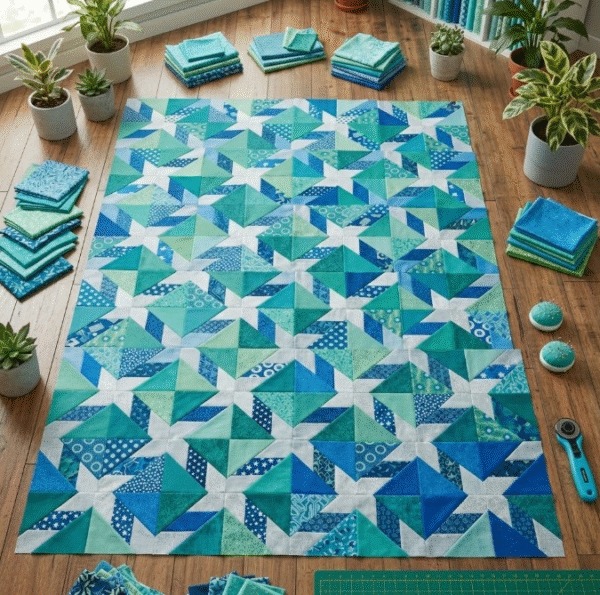
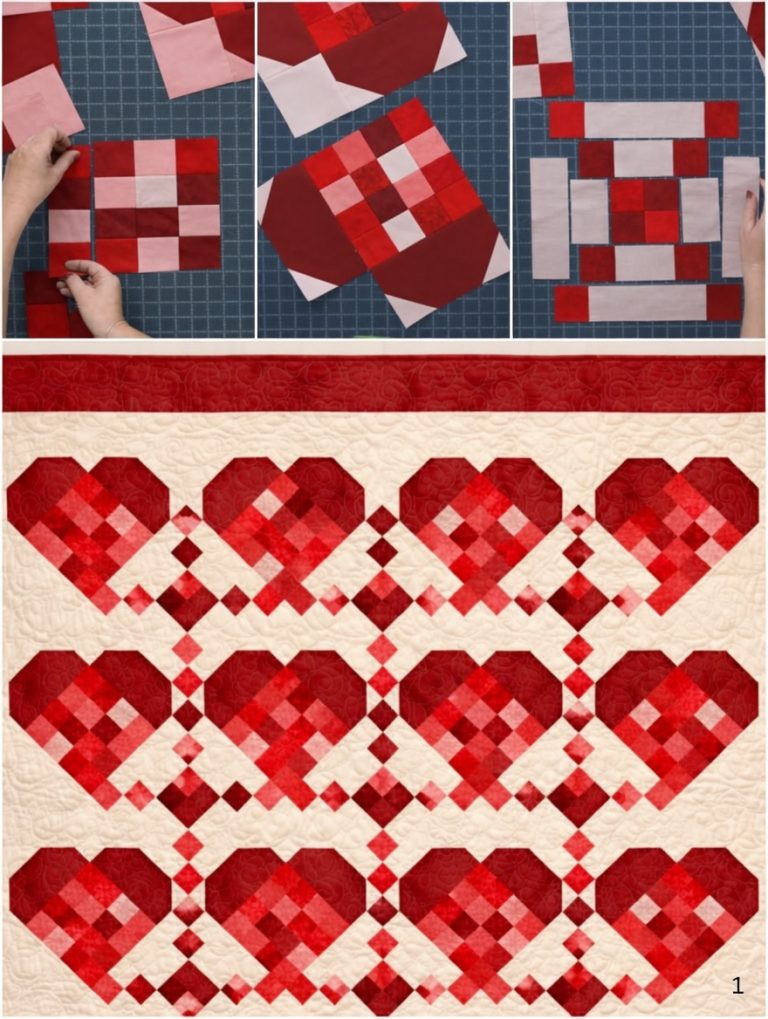
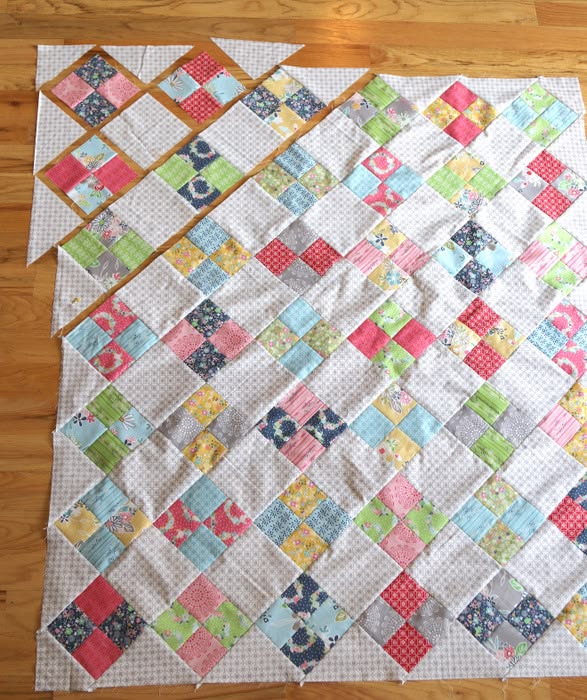
Image From Pinterest
1. Materials Needed for the Window Box Quilt Block
Before you begin, gather the following materials to ensure a smooth quilting experience. The beauty of the Window Box Quilt Block lies in its simplicity, and you’ll need a few basic supplies to get started.
SEE OTHER FACE PATTERNS HERE!
- Fabric: Choose fabrics in various colors to represent the “flowers” in your window box. Consider using fabrics with contrasting colors for the flower blocks and a neutral or muted fabric for the background. You’ll also need fabric for the borders of the block, typically in a solid color to make the design stand out.
- Quilt Batting: If you’re planning to turn the block into a small project, such as a table runner or pillow, you can add a small piece of quilt batting. This is optional, especially if you’re making a larger quilt.
- Sewing Machine: A sewing machine is essential to stitch the fabric pieces together. If you prefer hand piecing, you can do that as well, though using a machine will speed up the process.
- Rotary Cutter and Quilting Ruler: A rotary cutter and quilting ruler are great tools for cutting the fabric into the precise measurements needed for the block. These tools will ensure that your cuts are straight and accurate.
- Quilting Pins or Fabric Clips: Use quilting pins or fabric clips to hold your fabric pieces in place while you sew. This will keep everything aligned as you work.
- Thread: Choose a thread that complements your fabrics. A neutral-colored thread is often the best choice, but you can also select a contrasting thread for added effect.
- Iron and Ironing Board: Pressing your fabric pieces as you go is essential to achieving clean, crisp seams and a professional finish.
- Window Box Quilt Block Pattern: You can either download a pattern or create your own design based on the window box concept. If you prefer, you can use the block as part of a larger quilt layout or as a stand-alone project.
2. Step-by-Step Guide to Making the Window Box Quilt Block
Now that you’ve gathered your materials, it’s time to start piecing together your Window Box Quilt Block. Follow these easy steps to create this beautiful block.
2.1. Cutting the Fabric
- Cut the Background Fabric: Start by cutting the background fabric into four squares of equal size. These squares will form the larger part of your window box, serving as the backdrop for the flower blocks.
- Cut the Flower Blocks: Cut the fabric for the flower blocks into smaller squares or rectangles. These will be placed inside the window box and should be colorful to represent flowers or plants. Choose fabrics in different colors to create contrast and interest.
- Cut the Border Strips: Next, cut strips of fabric for the block’s border. These strips should be slightly wider than the squares and rectangles you’ve cut for the window box and flower blocks. The border will frame the block and give it structure.
- Optional Batting: If you’re adding batting, cut a piece to match the size of the finished block. This step is optional but can add texture and dimension.
2.2. Assembling the Window Box Block
- Sew the Flower Blocks: Begin by sewing the flower blocks together. You can create a simple four-patch or nine-patch block, depending on the size of your design. Arrange the fabric pieces to form a grid and sew them together using a quarter-inch seam allowance.
- Sew the Background Pieces: Once the flower blocks are ready, arrange the background pieces around them to form the window box. Sew the squares together to create a larger rectangle that will hold the flower blocks in place. Ensure the blocks align correctly to create the window box effect.
- Attach the Border: Once the window box and flower blocks are pieced together, it’s time to add the border. Cut the strips into the desired length and sew them onto the edges of the block, framing the design.
- Press the Seams: After each seam, press the fabric pieces with an iron to eliminate wrinkles and set the seams. This will ensure your block lays flat and has sharp, clean edges.
2.3. Adding the Quilt Batting
If you are making a larger quilt, you can skip this step. However, if you’re creating a smaller project like a pillow or table runner, adding batting will give the block some texture.
- Layer the Block: Lay your completed Window Box Quilt Block on top of the batting. If you plan to quilt the block, make sure the batting is large enough to cover the entire block and extend beyond the edges.
- Baste the Layers: Pin or baste the fabric layers together, securing the quilt top, batting, and backing in place.
2.4. Quilting the Block
- Choose a Quilting Design: Select a quilting design that complements the Window Box Quilt Block. You could choose a simple straight-line design, or if you’re feeling adventurous, you could quilt free-motion flowers or vines that echo the theme of the window box.
- Sew the Quilt Layers: Using your sewing machine, quilt the layers together. Be sure to quilt along the seams to keep the layers in place. You can quilt in a grid pattern or use other creative designs that suit your style.
- Press Again: Once you’ve completed the quilting, press the block one more time to smooth out any creases and ensure the quilted lines are sharp.
2.5. Finishing the Window Box Quilt Block
- Trim the Edges: Trim any excess batting and backing fabric around the edges of the block. This will ensure that the block is the correct size and ready for any project you plan to use it in.
- Binding: If you’re finishing the block on its own, add a quilted binding around the edges. This step will help frame your design and give it a clean, polished look.
3. Customizing the Window Box Quilt Block
While the Window Box Quilt Block is beautiful as it is, there are plenty of ways to customize the design and make it your own:
- Add More Flower Blocks: If you love the flower motif, add more flower blocks inside the window box or create multiple rows of flowers for a larger design.
- Use Different Fabrics: Play around with fabric choices. Try using seasonal fabrics, such as floral prints for spring or rich fall tones, to give your Window Box Quilt Block a different seasonal feel.
- Mix and Match Colors: Use a variety of colors for the flower blocks to create a more vibrant and eye-catching design. If you prefer a more subdued look, stick with one color for the flowers and use soft, muted background fabrics.
- Add Appliqué: For extra texture and dimension, consider adding appliqué flowers or leaves on top of the flower blocks. This will add a 3D element to the design.
4. Ways to Use the Window Box Quilt Block
Once your Window Box Quilt Block is finished, there are numerous ways to incorporate it into your projects:
- Full Quilt: Use multiple blocks to create a full quilt. Arrange the blocks in a grid or a more intricate pattern for a stunning quilt that will brighten any room.
- Pillows: Use a single block to create a decorative pillow that’s perfect for your couch or bed. The Window Box Quilt Block is a great way to add a charming touch to your home décor.
- Table Runner: Incorporate multiple blocks into a table runner for a lovely spring or summer centerpiece.
- Wall Hanging: A small quilted wall hanging featuring the Window Box Quilt Block would make a beautiful focal point in any room, especially in a kitchen, dining room, or entryway.
FAQ
1. Can I create a larger quilt with the Window Box Quilt Block?
Yes! To create a larger quilt, simply use more blocks and adjust the layout. You can arrange the blocks in rows and columns to suit your desired quilt size.
Join Now!!
🌟Join our exclusive Quilt broadcast list on Messenger! Receive the best patterns, tips, and updates directly in your inbox. Our team is ready to send you delightful content that will inspire your projects. Don’t miss this opportunity to stay updated and create amazing pieces. Join now and be part of this passionate quilt community!✨📩
2. How do I add more flowers to the Window Box Quilt Block?
You can add more flower blocks by increasing the number of small squares in each section or by adding additional rows of flowers to the block.
3. Can I make this block by hand?
Yes, while a sewing machine is recommended for efficiency, you can definitely hand-piece the blocks for a more traditional quilting experience.
4. What types of fabrics work best for this block?
Cotton fabrics are ideal for quilting, but you can use any fabric that is easy to work with and holds its shape well.
5. How do I finish the edges of the quilted block?
To finish the edges, you can add a quilt binding around the perimeter or use a decorative stitch for a polished look.
PATTERN HERE
Conclusion
The Window Box Quilt Block is a charming and customizable design that can be used in a variety of quilting projects. Whether you’re making a quilt, pillow, or table runner, this block will add a beautiful touch of color and creativity. By following the steps outlined in this guide, you’ll be able to create your own window box block and customize it to suit your style.
We’d love to hear your thoughts! If you’ve made a Window Box Quilt Block, feel free to share your experience, tips, and suggestions in the comments. Happy quilting!