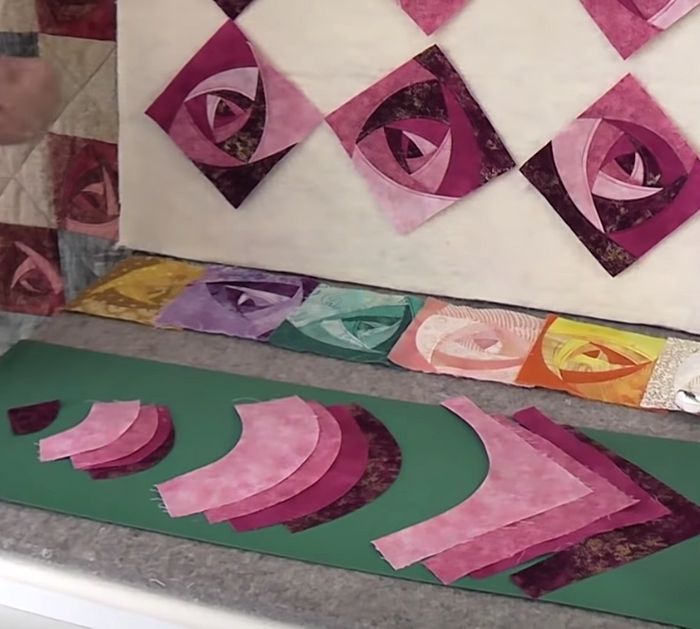
DIY Travel Makeup Bag

Turtle Door Weight – TUTORIAL projects are a wonderful blend of quilting creativity and practical home décor. This charming pattern allows quilters to create a decorative door weight shaped like a turtle, combining functionality with a playful handmade touch.
One of the reasons the Turtle Door Weight – TUTORIAL is so popular is its versatility. It works beautifully as a draft stopper, a door holder, or simply as a decorative accent in any room. The turtle design adds warmth and personality, making it suitable for family homes, children’s spaces, or craft-inspired interiors.
In this article, you will find a complete, original, and humanized guide to the Turtle Door Weight – TUTORIAL.
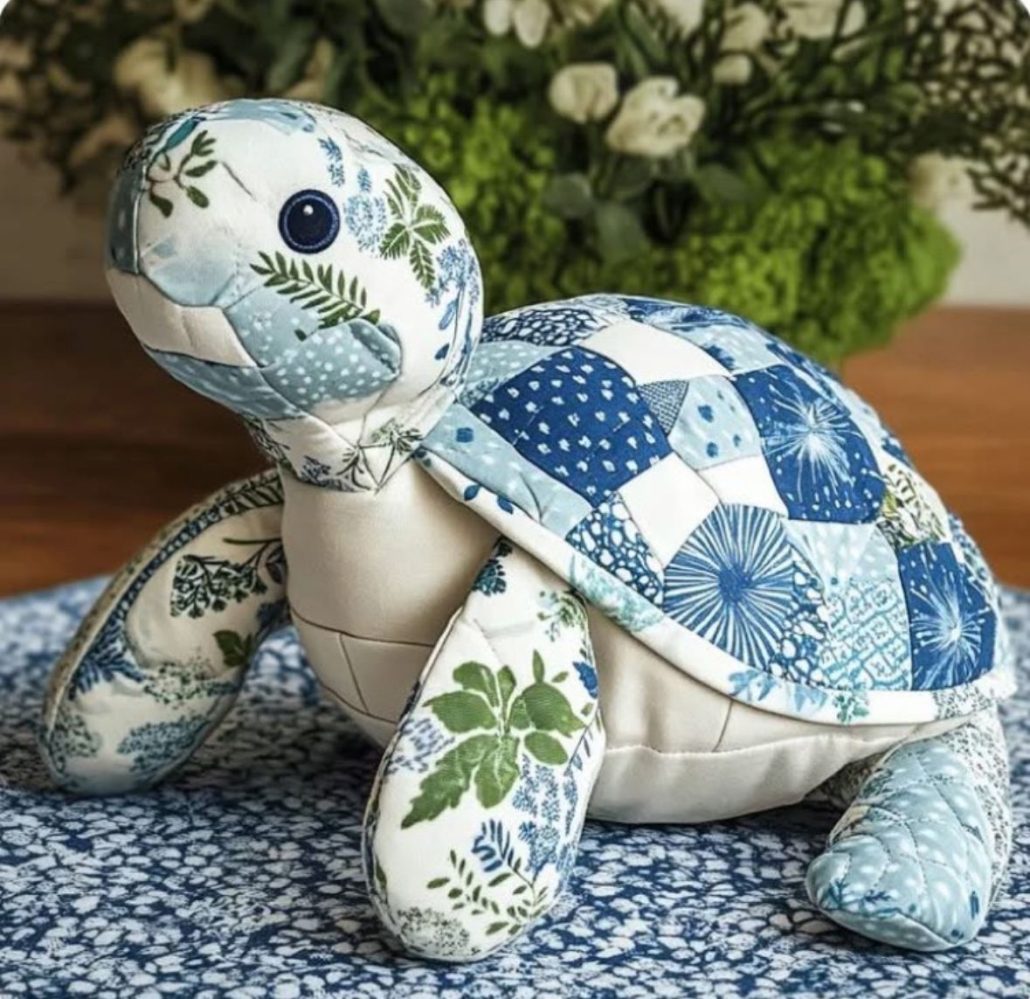
The Turtle Door Weight – TUTORIAL focuses on creating a quilted, weighted turtle designed to hold doors open or block drafts. Unlike flat quilt projects, this tutorial introduces soft sculpting techniques.
The turtle shape typically includes a rounded shell, head, legs, and tail. Each part contributes to the overall character and balance of the finished piece.
This pattern is especially appealing because it transforms simple quilting skills into a three-dimensional object. It is a rewarding step for quilters looking to expand their techniques.
The Turtle Door Weight – TUTORIAL often uses playful fabric combinations, allowing for creative expression through color and print choices.
Because it serves a practical purpose, this project is both decorative and functional, which increases its value as a handmade item.
Overall, the Turtle Door Weight – TUTORIAL is perfect for quilters who enjoy projects that go beyond traditional quilts while still using familiar methods.
Fabric selection plays an important role in the Turtle Door Weight – TUTORIAL. Quilting cotton is commonly used for its durability and ease of sewing.
For the turtle shell, patterned fabrics work especially well, while solid or coordinating prints are often chosen for the head and limbs.
The defining feature of this project is the weight. Many tutorials recommend using materials such as rice, sand, or gravel sealed securely inside an inner pouch.
Polyester stuffing is often added around the weight to give the turtle a soft, rounded shape while keeping it sturdy.
Basic quilting tools are required, including scissors or rotary cutters, pins, needles, and a sewing machine. Hand stitching may be used for finishing details.
Preparing all materials ahead of time ensures a smooth workflow when following the Turtle Door Weight – TUTORIAL.
The Turtle Door Weight – TUTORIAL usually begins with cutting fabric pieces according to a pattern or template. Accuracy at this stage ensures proper alignment later.
Next, the turtle’s shell is assembled, often using quilted layers to add texture and strength. This shell becomes the focal point of the design.
The head, legs, and tail are sewn separately, then attached carefully to the shell. Secure stitching is essential for durability.
Once the outer turtle shape is assembled, the weighted filling is inserted. This step requires attention to balance so the turtle sits evenly.
After adding stuffing around the weight, the opening is closed using hand stitching for a neat finish.
Final adjustments, such as shaping and smoothing seams, complete the Turtle Door Weight – TUTORIAL process.
Customization is one of the highlights of the Turtle Door Weight – TUTORIAL. You can adjust size, fabric choices, and facial details to create different personalities.
Seasonal fabrics or themed prints allow the turtle to match specific rooms or décor styles.
Some quilters add embroidery details or appliqué accents to enhance the turtle’s features.
The finished turtle door weight can be placed near doors, windows, or even used as a decorative shelf item.
Caring for this item usually involves spot cleaning, as weighted fillings are not always suitable for machine washing.
Storing the turtle in a dry environment helps preserve fabric quality and prevent damage over time.
Is the Turtle Door Weight – TUTORIAL suitable for beginners?
Yes, it is beginner-friendly for those comfortable with basic sewing and quilting techniques.
What can I use to weight the turtle?
Common options include rice, sand, or gravel sealed securely inside fabric pouches.
Can I change the size of the turtle?
Yes, the pattern can be scaled up or down depending on your preference.
Is this project safe for homes with children?
It is generally safe, but supervision is recommended if small parts are added.
Can I gift a turtle door weight?
Absolutely. The Turtle Door Weight – TUTORIAL makes a thoughtful and unique handmade gift.
Does the turtle need to be quilted?
Quilting the shell is optional but adds durability and visual interest.
This Turtle Door Weight – TUTORIAL article covered everything from understanding the concept to materials, construction, customization, and care. You now have a clear overview of how this charming quilt project combines creativity with everyday usefulness.
The Turtle Door Weight – TUTORIAL is an excellent way to explore three-dimensional quilting while creating a practical and decorative piece for your home.
We would love to hear your honest opinion about this tutorial. Please leave your feedback and share your suggestions, as your input helps improve future quilting content and inspires new creative ideas.