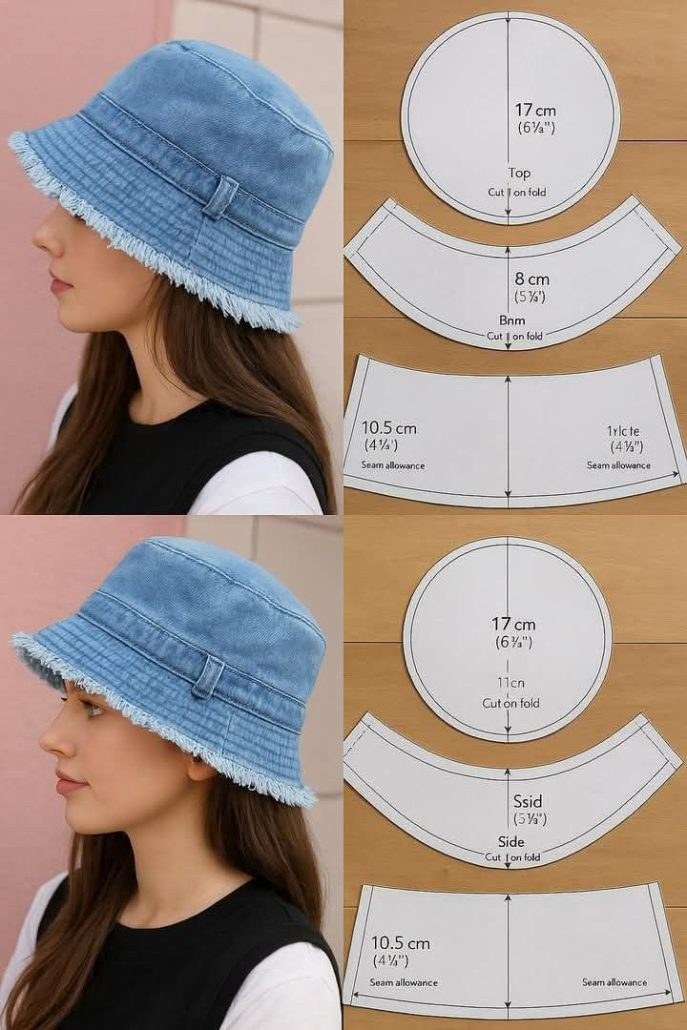
How to Cut and Sew a Bucket Hat

Creating a quilt block based on the concept of “The Tiny House” is a fun and creative way to capture the charm of small living spaces. The Tiny House Block offers quilters a unique design that brings together a sense of coziness, simplicity, and homey warmth.
Whether you’re a beginner or an experienced quilter, this tutorial will guide you through every step of constructing a tiny house block that you can incorporate into a full quilt or use for smaller projects like pillows or wall hangings.
The Tiny House Block features a quaint, detailed design that mirrors the tiny house movement—a celebration of living simply and efficiently in small spaces. This block uses patchwork techniques and simple shapes to create a miniature house that’s perfect for any quilt. In this step-by-step tutorial, we will break down everything you need to know about creating this adorable block and how to incorporate it into your quilt project.
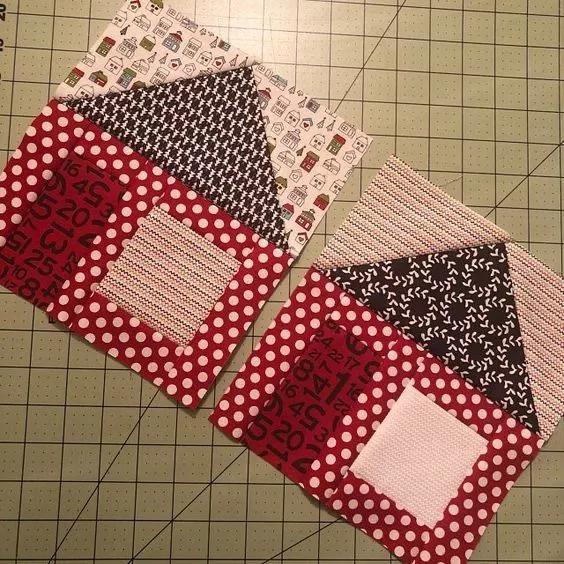
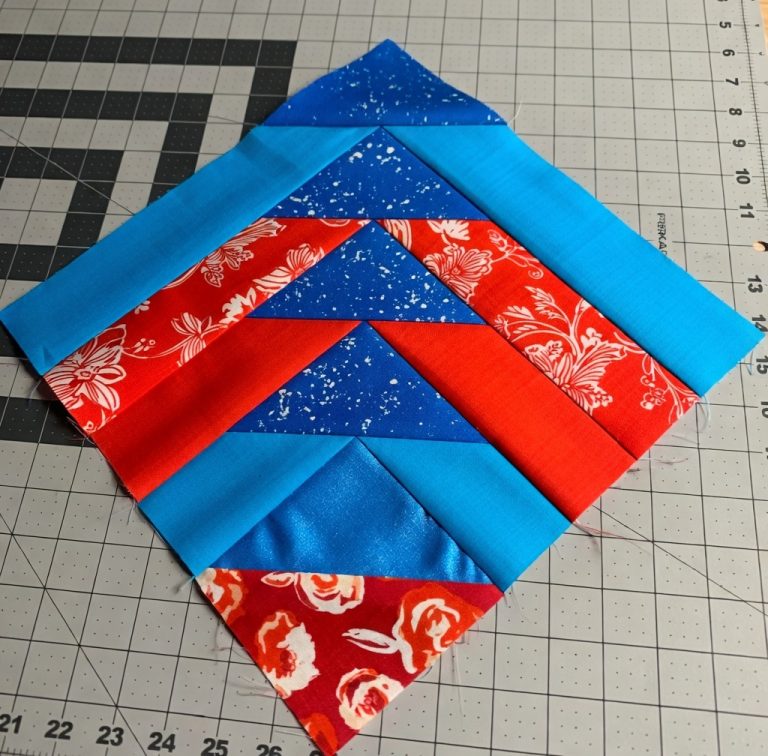
Image From Pinterest
Before you start stitching, it’s important to gather all the materials you’ll need for the Tiny House Block. Here’s what you will need to create your own tiny house quilt blocks:
Choose a variety of fabrics to represent the different elements of your tiny house. You can get creative with colors and prints, or keep it simple with a more traditional look. You will need:
Using a rotary cutter ensures that your fabric pieces are cut precisely. Pair it with a self-healing cutting mat to make the process smooth and safe.
A quilting ruler is necessary for measuring and cutting straight lines, especially for precise patchwork pieces.
A sewing machine will be essential for piecing together the blocks. If you have a machine with a quarter-inch foot, it will make your seams more consistent and precise.
Choose a neutral or coordinating thread for piecing and quilting. A light gray, beige, or white thread works well for most patchwork projects.
Pressing your fabric and quilt blocks as you go is vital for achieving crisp, neat seams. An iron and ironing board are indispensable tools for quilters.
If you plan on turning the Tiny House Block into a full quilt, you will need quilt batting for the inner layer, as well as backing fabric to complete the quilt.
Now that you have your materials ready, it’s time to start cutting the fabric and constructing the blocks.
To create your Tiny House Block, you’ll need to cut your fabric into several shapes. Here’s how to cut the pieces:
If you want to add additional features to your tiny house, such as a chimney or trees, now is the time to cut those small pieces. For example:
Now that you’ve cut your fabric, you’re ready to start sewing the block together!
The assembly process for The Tiny House Block involves piecing together the house, roof, windows, and door, and then adding the background and any accent pieces you want to include.
Take the two 6-inch by 3-inch roof rectangles and sew them together at the top of the 6-inch house square. You can sew them directly onto the house square, aligning the edges to form the peak of the roof. Press the seams after sewing.
Sew the 2-inch by 3-inch door fabric piece onto the center of the house square, making sure it’s positioned towards the bottom. Then, sew the 1.5-inch by 1.5-inch window pieces on either side of the door, approximately 1.5 inches from the door’s edges. Press the seams as you go.
Next, attach the 3-inch by 3-inch background squares to the sides, top, and bottom of the house block. These background pieces will create a border around the tiny house and give it a framed appearance.
If you’re adding a chimney, sew the 1-inch by 2-inch rectangle to the top of the roof. For trees or other accent elements, place the fabric pieces around the house in an arrangement you like, and sew them into place. You can use the remaining background fabric to fill in any gaps or add more features as you desire.
Once all the pieces are sewn together, press the entire block. This will help flatten the seams and give the quilt block a neat, polished look.
Once you’ve completed the Tiny House Block, you can incorporate it into a larger quilt or use it for smaller projects like pillows or wall hangings.
To turn your Tiny House Block into a full quilt, repeat the process to make multiple blocks. Arrange the blocks in a grid layout, with each block representing a different tiny house design. You can use various background fabrics and roof colors to create diversity in your quilt.
For an added touch, consider adding a border around the entire quilt once your blocks are sewn together. You can use a solid fabric that complements your blocks or create a scrappy border with leftover fabric from the blocks.
When your quilt top is assembled, add quilt batting and backing, then quilt the layers together. Use a quilting machine or hand-quilt your design with a simple straight-line stitch or a decorative free-motion quilting design. Be sure to add a quilt binding to finish off the edges of the quilt.
1. How many Tiny House blocks do I need for a full quilt?
The number of blocks depends on the size of the quilt you want to make. For a throw-sized quilt (about 50″ x 60″), you’ll need around 12-16 blocks. Adjust based on your desired quilt dimensions.
2. Can I use different fabrics for each house block?
Yes, you can mix and match fabrics for each block to create a diverse, whimsical look. Each tiny house can have its own personality with different roof colors, door designs, and window treatments.
3. What’s the best way to quilt the Tiny House Block?
A simple straight-line quilting pattern works great for this design, but you can also experiment with free-motion quilting to create more intricate patterns. Just make sure to quilt along the seams to emphasize the patchwork design.
4. Can I add more details to the Tiny House Block?
Absolutely! You can add more accessories, like trees, clouds, or even a path leading up to the house. Customize your design with additional embellishments to make it unique.
5. How do I keep my seams straight when piecing?
Use a quarter-inch seam allowance for all your piecing, and press each seam as you go to ensure neat, straight lines. A quilting ruler can help guide you when cutting fabric pieces to keep them uniform.
In this tutorial, we’ve walked through how to create the Tiny House Block from start to finish, from fabric selection to block assembly and finishing touches. Whether you’re creating a cozy quilt for your own home or a unique gift for someone special, this block will add charm and whimsy to any project.
We hope this tutorial has inspired you to start your own Tiny House Quilt! If you have any thoughts, questions, or suggestions, feel free to leave a comment. Happy quilting!