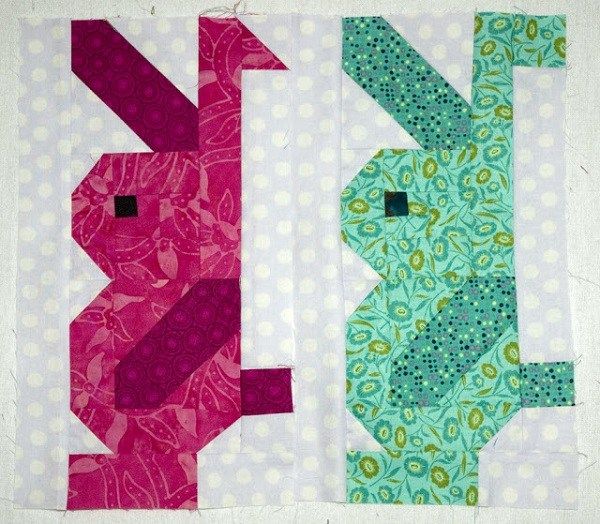
Sewing Bunnies - PATTERN

The Road Trip Toiletry Bag – TUTORIAL is the perfect project for sewing enthusiasts who want to create something practical, stylish, and travel-friendly. This bag is designed to keep all your toiletries, cosmetics, and personal items organized during your trips, ensuring that you can travel in style without compromising functionality. Whether you are a beginner or an experienced sewer, this tutorial will guide you through each step of the process, helping you create a durable and beautiful bag you can use for years to come.
What makes this project special is the combination of practicality and creativity. By following the Road Trip Toiletry Bag – TUTORIAL, you’ll not only learn valuable sewing techniques but also have the opportunity to personalize your bag with fabrics, colors, and patterns that reflect your unique style. This makes it a great gift idea for friends and family or even a small business opportunity if you enjoy crafting.
In this article, we will walk you through everything you need to know to make your very own Road Trip Toiletry Bag. From choosing the right materials to mastering sewing tips that ensure a professional finish, every step is designed to be easy to follow and enjoyable. By the end, you’ll have a stylish and functional bag that’s perfect for your next adventure.
To get started with the Road Trip Toiletry Bag – TUTORIAL, you will need a few essential materials. These items are widely available in craft stores or online, and selecting the right quality will make a big difference in the final product.
First, choose a durable outer fabric such as cotton canvas, denim, or quilted fabric. These options provide structure and longevity, ensuring your bag can withstand frequent travel. You can also pick a waterproof fabric for extra protection against spills.
Next, select a lining fabric. Lightweight cotton or nylon lining is ideal because it’s easy to clean and helps keep the inside fresh and hygienic. Consider using a contrasting color to give your bag an extra pop of personality.
For the zipper, choose a sturdy and smooth type, preferably a nylon coil zipper. Make sure it’s long enough to fit the width of your bag with some extra length for easy sewing.
You’ll also need interfacing or fusible fleece to add structure and cushioning to the bag. This will help it hold its shape and protect the items inside.
Finally, gather basic sewing tools such as a sewing machine, scissors, pins or clips, a ruler, and thread that matches or contrasts with your fabric.
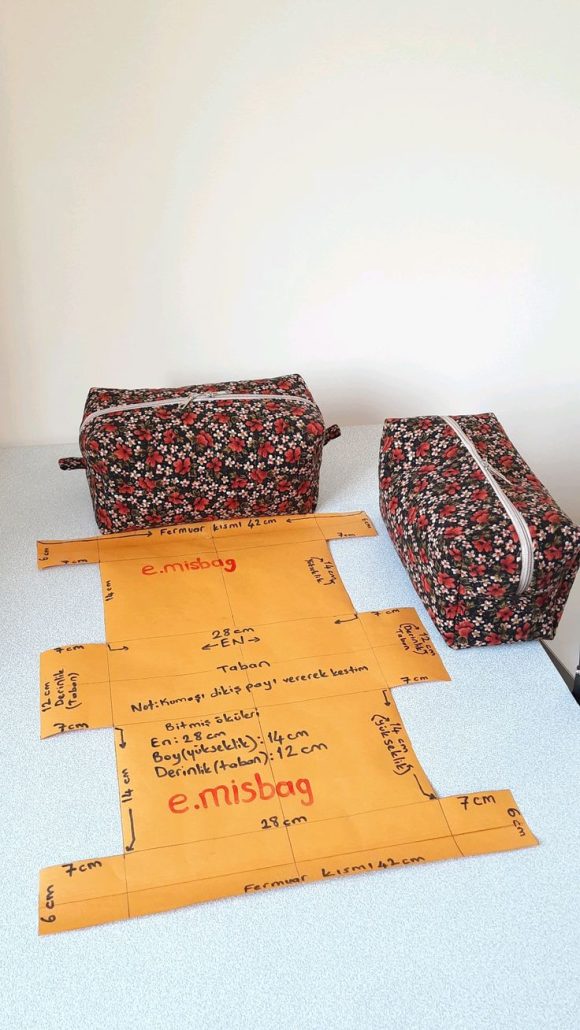
Before starting, it’s important to cut your fabrics accurately to ensure a clean, professional look. The Road Trip Toiletry Bag – TUTORIAL recommends following precise measurements to avoid mistakes later.
Lay your fabric on a clean, flat surface and use a rotary cutter or sharp scissors to cut the outer pieces, lining pieces, and interfacing. Mark each piece to avoid confusion during assembly.
Fuse the interfacing to the wrong side of your outer fabric pieces using an iron, following the manufacturer’s instructions. This step is crucial for adding durability and a crisp finish to your bag.
If you’re using waterproof fabric, skip the fusible interfacing and instead use a sew-in version to prevent damaging the material with heat.
Once all pieces are cut and prepared, organize them in the order they will be sewn. This simple step will save you time and keep you focused as you work.
Remember to pre-wash cotton fabrics before cutting to avoid shrinking after the bag is made. This will ensure the size and shape remain intact through many uses.
Now comes the exciting part—assembling your Road Trip Toiletry Bag. Start by attaching the zipper to the top edges of the outer fabric and lining. Place the zipper face down on the right side of the outer fabric, then place the lining on top, right side facing down. Sew along the edge using a zipper foot.
Open the fabric layers and press them away from the zipper. Topstitch close to the seam to give your bag a polished look and keep the fabric from getting caught in the zipper. Repeat for the other side.
With the zipper in place, sew the side seams of the bag, making sure the lining and outer fabric are matched up neatly. Leave a small opening in the lining for turning the bag later.
Box the corners of both the outer fabric and lining to give your bag a flat base. This will allow it to stand upright, making it more functional.
Turn the bag right side out through the opening in the lining. Push out the corners for a crisp finish, then sew the opening closed with a slip stitch or machine stitch.
Give the entire bag a final press to smooth out any wrinkles, being careful if you used synthetic or waterproof materials.
One of the joys of following the Road Trip Toiletry Bag – TUTORIAL is the chance to add personal touches. You can choose fabrics with bold patterns, add appliqués, or even embroider initials for a custom feel.
Consider adding interior pockets or elastic loops to hold specific items like toothbrushes or razors. This makes the bag even more practical for travel.
You can also play with color-blocking techniques by using different fabrics for the front and back panels. This adds visual interest and uniqueness to your creation.
For care, most cotton bags can be machine washed on a gentle cycle. However, if you’ve used interfacing or waterproof materials, spot cleaning is often the best option to maintain the bag’s shape and structure.
When storing the bag between trips, keep it in a dry place to prevent mildew or odors. Placing a small sachet inside can help keep it smelling fresh.
Lastly, if you make more than one, you can coordinate them for different purposes—such as a matching set for toiletries, makeup, and electronics.
Q: How long does it take to make the Road Trip Toiletry Bag?
A: On average, it can take 2–4 hours, depending on your sewing skill level.
Q: Can I make this bag without a sewing machine?
A: While it’s possible to hand-sew, a sewing machine will make the process faster and result in stronger seams.
Q: What size zipper should I use?
A: A 12–14 inch nylon coil zipper works well for most toiletry bag sizes.
Q: Is this tutorial beginner-friendly?
A: Yes, the Road Trip Toiletry Bag – TUTORIAL is suitable for beginners, with clear steps and simple construction.
Q: Can I sell bags made using this tutorial?
A: Yes, as long as you credit the pattern source and comply with any usage terms provided.
Q: How can I make the bag waterproof?
A: Use waterproof fabric for the outer layer and nylon for the lining, and consider adding a water-resistant zipper.
The Road Trip Toiletry Bag – TUTORIAL offers a fun and rewarding project that combines functionality with creative expression. By following the steps outlined in this article, you can craft a beautiful, durable, and personalized bag perfect for your travels.
Whether you keep it for yourself or gift it to someone special, the result will be both practical and stylish. We hope this guide has inspired you to start your own sewing journey—don’t forget to leave your honest opinion and share your suggestions so we can keep improving our tutorials.