Sewing Bunnies - PATTERN

The Missouri Bicentennial Quilt is a beautiful, meaningful project that celebrates the state of Missouri’s rich history and its 200th anniversary. This quilt pattern is designed to reflect the diverse heritage, culture, and landmarks that have shaped Missouri over the past two centuries. Whether you are a quilting enthusiast or a beginner looking for an exciting challenge, this quilt offers an excellent opportunity to create something timeless while honoring Missouri’s bicentennial year.
In this tutorial, we will take you step by step through the process of creating a Missouri Bicentennial Quilt, from gathering materials to finishing the quilt with beautiful touches that represent Missouri’s uniqueness.
The design incorporates key elements such as Missouri’s state flag, iconic landmarks, and significant symbols of its history, making it a stunning tribute to the state’s legacy.Let’s get started and learn how to craft your very own Missouri Bicentennial Quilt.
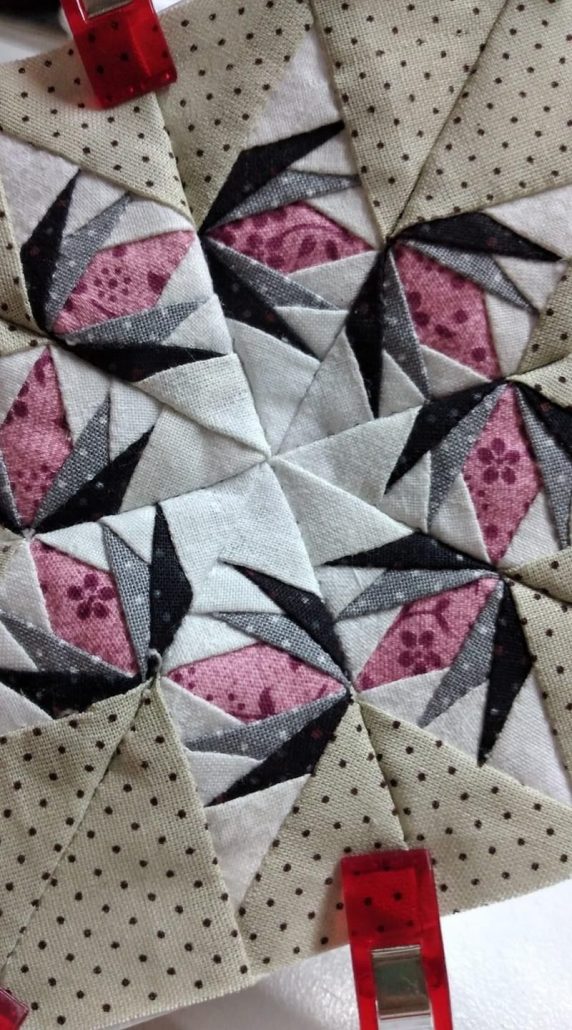
Image From Pinterest
Before starting your Missouri Bicentennial Quilt, it’s important to gather all the necessary materials. Here’s a list of what you’ll need for the quilt:
A rotary cutter and a self-healing cutting mat will help you achieve precise cuts for your quilt pieces. Using a rotary cutter will speed up the process and ensure accurate shapes.
A quilting ruler is necessary for cutting fabric into consistent shapes and ensuring each piece is the correct size. The ruler will also help with squaring up the quilt blocks later.
A sewing machine is essential for stitching the quilt pieces together. If your machine has a quarter-inch foot, that will be useful for precise seam allowances.
Select a thread that matches the colors of your quilt. A neutral color like white, cream, or light gray works well for most of the quilt, but you can use red, blue, or black thread for the borders or Missouri symbols.
Pressing your fabric pieces as you go will help keep your seams neat and flat, which is essential for accurate piecing and a polished quilt.
Choose a lightweight or medium-weight quilt batting for a soft and comfortable feel. For the backing fabric, you can choose a fabric that complements the quilt top or continue the red, white, and blue theme.
Use fabric pens, chalk, or markers to outline applique designs or to mark seams. This ensures that your designs are placed exactly where you want them.
Pins are important for holding fabric pieces in place while sewing. Use them to secure your quilt blocks before piecing them together.
A good pair of fabric scissors is essential for cutting small fabric pieces or trimming threads.
With all your materials ready, let’s move on to the steps for assembling the Missouri Bicentennial Quilt.
The Missouri Bicentennial Quilt will be made up of several quilt blocks that come together to form a stunning tribute to Missouri’s bicentennial. Each block can represent a different aspect of Missouri, from its state flag to significant landmarks, so feel free to customize it to your personal connection with Missouri.
Start by cutting all your fabric pieces. Here are the sizes for each piece:
For the flag-inspired block, arrange the red, white, and blue fabric strips in alternating horizontal stripes to mimic the Missouri state flag. Start with a red strip, followed by blue, and then white. For each stripe, use a 2.5-inch by 6-inch strip, and sew them together to form a horizontal rectangular block. Repeat this process to make several flag blocks for your quilt.
Use your cutting ruler to cut out fabric pieces for the Missouri landmarks or symbols you want to include. For example:
Once you’ve completed several flag and landmark blocks, sew them together into rows. Be sure to arrange your blocks in a way that’s visually balanced. You can alternate between the flag blocks and landmark blocks to give the quilt an interesting, well-organized look.
After you’ve sewn your blocks into rows, join the rows together to form the full quilt top. Make sure to press your seams flat after each step to keep everything aligned.
Now that you’ve completed the quilt top, it’s time to add borders and prepare the quilt for quilting.
Once your quilt top is complete, cut strips of fabric for the borders. For the Missouri Bicentennial Quilt, you might choose to use a blue or red fabric for the borders. The border strips can be 4 inches wide or slightly narrower, depending on your design preference. Attach the border pieces around the perimeter of the quilt top, sewing them on with a consistent seam allowance.
Place the quilt top onto the quilt backing fabric, with a layer of batting sandwiched in between. Pin or baste the layers together to hold them in place. Use a walking foot on your sewing machine to quilt the layers, or consider hand quilting for a more personal touch. You can choose to quilt along the seams or create a more intricate quilting design, such as echo quilting or stippling, to add texture and dimension to the quilt.
Once the quilt is quilted, it’s time to add the quilt binding. Cut strips of fabric for the binding, folding and pressing them to the correct width (usually about 2.5 inches). Attach the binding to the quilt edges by sewing it on the front, then folding it over to the back and hand-stitching it in place. This final step will give your quilt a polished and professional finish.
After completing your Missouri Bicentennial Quilt, it’s important to care for it so that it lasts for many years to come. Here are some tips for maintaining your quilt:
The Missouri Bicentennial Quilt is perfect for display in your home. Whether you hang it on a wall, drape it over a couch, or use it as a bedspread, it will serve as a reminder of Missouri’s bicentennial year and its rich cultural heritage.
1. How many blocks will I need to complete the quilt?
The number of blocks needed depends on the size of the quilt you want to make. For a lap-sized quilt, you may need around 12-16 blocks, while a larger bed-sized quilt may require 20-25 blocks.
2. Can I use other fabrics for the Missouri symbols?
Yes! You can personalize the quilt with different fabrics for the state symbols, such as using floral prints for the hawthorn or textured fabrics for the Missouri mule. Feel free to get creative!
3. What’s the best way to incorporate Missouri landmarks?
To showcase Missouri landmarks, you can either use fabric with prints of famous places or create your own applique designs to represent significant sites like the Gateway Arch or the Ozarks.
4. How long will it take to make this quilt?
The timeline depends on your skill level and the amount of time you can dedicate to the project. It could take anywhere from a few weeks to a couple of months, depending on how quickly you can complete the blocks and the quilting process.
5. Can I add more colors to the quilt?
While red, white, and blue are central to the Missouri Bicentennial Quilt, you can add accent colors to enhance the quilt’s design, such as using yellow for stars or green for trees.
The Missouri Bicentennial Quilt is a wonderful way to celebrate the 200th anniversary of Missouri, and this tutorial has given you all the tools to create your own unique piece of art. By incorporating the state’s colors, symbols, and history, you will have a quilt that is both beautiful and meaningful. We hope this project inspires you to dive into your quilting journey and create something special!
If you have any questions or suggestions, feel free to leave a comment below. Happy quilting!