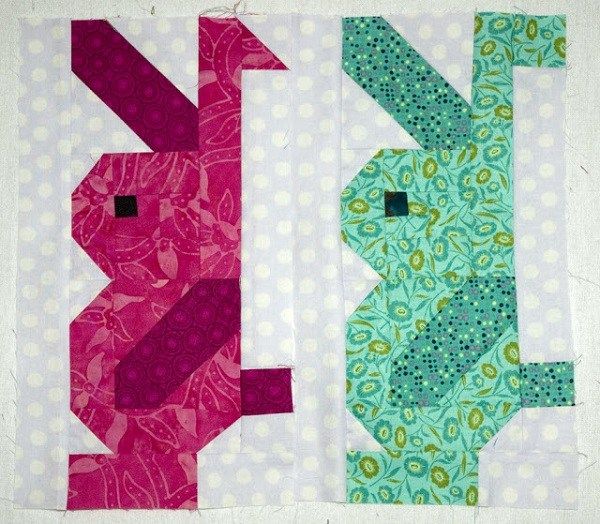
Sewing Bunnies - PATTERN

Quilting is one of the most beloved crafts that allows creativity and warmth to come together in a beautiful design. The Kittens in Cups – Quilt Pattern is a whimsical and adorable choice for any quilting enthusiast, whether you’re a beginner or an experienced quilter. This pattern captures the playful charm of kittens nestled inside cups, making it an ideal project for those who love cats or simply want a fun, cozy quilt to add to their collection.
The Kittens in Cups – Quilt Pattern combines simple quilting techniques with delightful appliqué designs, resulting in a finished quilt that is not only functional but also a charming piece of art. The kittens’ cute expressions and the cozy look of the cups give the quilt an inviting and joyful vibe, perfect for any season. Whether you want to create a quilt for a nursery, a gift for a cat lover, or a fun decorative piece for your own home, this pattern will help you create a project that’s as cuddly as the kittens it depicts.
In this article, we’ll walk you through everything you need to know to get started with the Kittens in Cups – Quilt Pattern, including the materials required, the basic steps involved, and a few creative tips to make the quilt truly your own. Let’s dive into this cute and cozy quilting adventure!
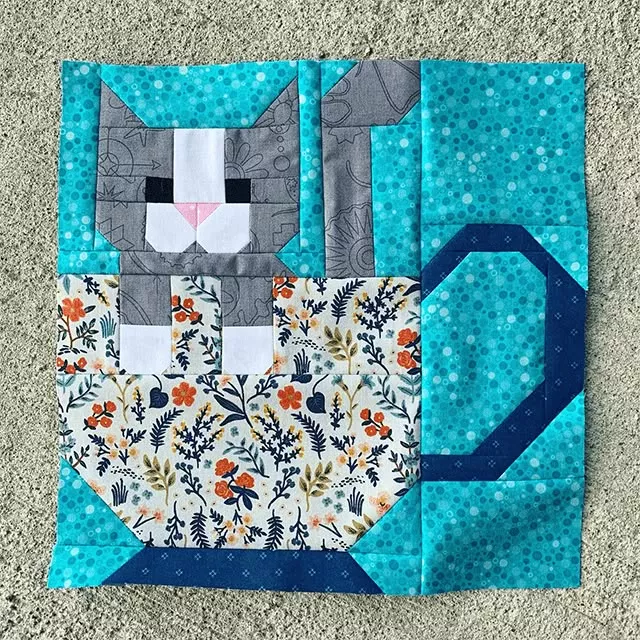
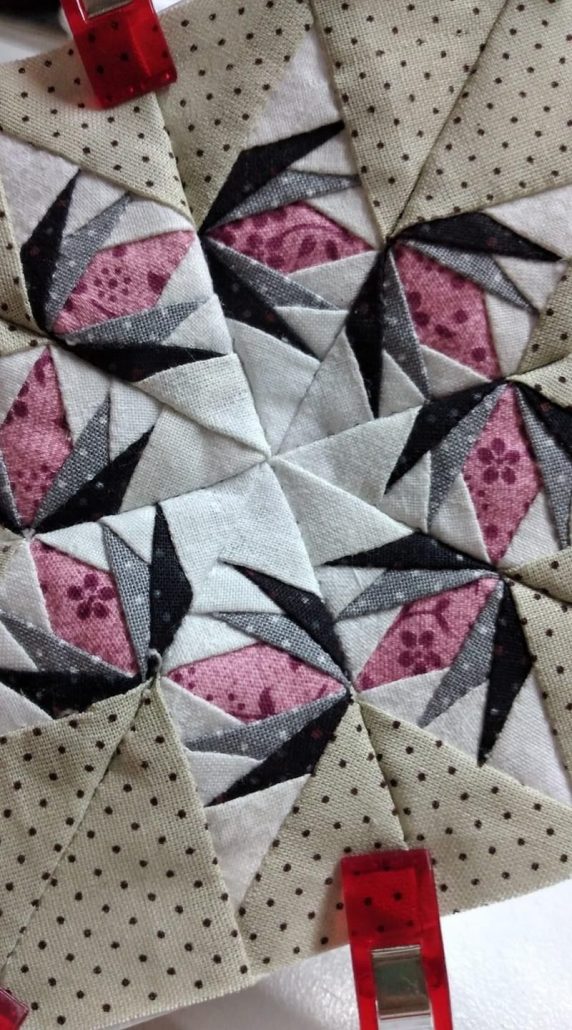
Image From Pinterest
Before you start quilting, it’s essential to gather all the necessary materials. For the Kittens in Cups – Quilt Pattern, here’s a list of what you’ll need:
Once you have all these materials, you’re ready to begin creating your Kittens in Cups quilt.
The Kittens in Cups – Quilt Pattern involves a combination of basic quilting techniques, with a focus on appliqué to create the playful kittens inside their cups. Here’s a breakdown of the essential techniques you’ll use:
By mastering these basic techniques, you’ll be well on your way to creating your very own Kittens in Cups – Quilt Pattern.
Now that you know the materials and techniques needed, let’s walk through the steps to create your Kittens in Cups quilt. Here’s a simple, step-by-step guide to help you along the way:
Begin by cutting the fabric for the quilt top, including the background fabric, the cups, and the kittens. The pattern should provide specific measurements for each piece, including the size of the kitten bodies, cups, and any other decorative elements.
For the kittens, you will need to prepare the appliqué shapes. Use fusible webbing or fabric adhesive to attach the kitten pieces to the background fabric. This step can be done with either a machine or hand sewing, depending on your preference.
Once all the appliqué pieces are in place, begin piecing the quilt top together by sewing the blocks together. This will involve joining the sections of the background, the kittens, and the cups into rows or columns to form the complete quilt top.
Once the quilt top is assembled, place it on top of the quilt batting and backing fabric. Pin or baste the three layers together. Then, you can quilt the layers using your preferred quilting technique. Some quilters like to use straight lines, while others prefer free-motion quilting for more intricate designs. You can even add small, whimsical patterns around the kittens and cups to make them pop.
Finally, trim the excess fabric around the quilt, and create the quilt binding. Fold it over the edges of the quilt to encase the raw edges and sew it in place. This will give your quilt a neat, finished look.
While the basic pattern is adorable on its own, there are many ways to customize the Kittens in Cups Quilt to suit your style and preferences. Here are a few ideas to make your quilt unique:
These little customizations will allow you to truly make the Kittens in Cups Quilt your own.
1. Is this quilt pattern suitable for beginners?
Yes! The Kittens in Cups Quilt Pattern is beginner-friendly, especially for those who have some basic quilting and appliqué skills. The pattern provides easy-to-follow instructions that will guide you through each step.
2. Can I use a different fabric for the kittens and cups?
Absolutely! You can use any fabric you like for the kittens and cups. Try using novelty fabrics or different patterns to add extra personality to your quilt.
3. How can I make my quilt more personalized?
You can personalize your quilt by choosing fabrics that reflect your style, adding embroidery to the kittens, or creating custom kittens with unique colors or accessories.
4. How long does it take to make the quilt?
The time it takes to complete the quilt depends on your experience level and the size of the quilt. On average, it can take anywhere from a few days to a couple of weeks to finish the quilt.
5. What quilting techniques are best for this pattern?
You can use a variety of quilting techniques, including machine quilting or hand quilting. For a playful look, you might want to try free-motion quilting around the kittens and cups.
The Kittens in Cups Quilt Pattern is a fun, adorable, and cozy project that will bring joy to any quilter. By following the steps outlined in this article, you’ll be able to create a charming and personalized quilt that’s sure to delight both cat lovers and quilt enthusiasts alike. Whether you’re making a large quilt or a small wall hanging, the finished result will be a beautiful and whimsical work of art.
We hope this guide helps you get started with your own quilt! Share your thoughts and any suggestions you may have in the comments below. Happy quilting!