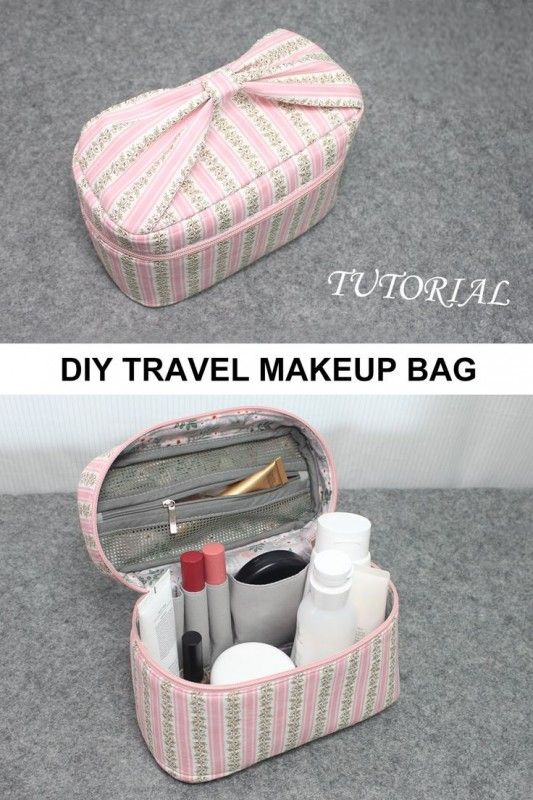
DIY Travel Makeup Bag

If you’re looking for a fun, cozy, and creative project to brighten your craft time, this Highland Cow Tutorial is the perfect choice! Whether you’re a beginner or a seasoned maker, this project will allow you to create your very own charming Highland Cow that captures the warmth and cuteness of the beloved Scottish breed. With detailed guidance and easy steps, you’ll have everything you need to enjoy the process and proudly display your handcrafted masterpiece.
The Highland Cow Tutorial has become increasingly popular among crafters worldwide, especially in 2025, as this fluffy, iconic animal continues to capture hearts with its rustic charm. Known for their long, shaggy coats and gentle personalities, Highland cows make an irresistible subject for crochet, felt, or fabric crafts. This guide is tailored to help you bring your Highland Cow creation to life in a clear, enjoyable, and well-structured way.
Whether you want to make a plushie for a loved one, a nursery décor item, or a unique handmade gift, this Highland Cow Tutorial is designed to guide you step by step. With a focus on ease, beauty, and creativity, let’s dive into this adorable journey and learn how to make your very own Highland Cow creation today!
Before diving into the actual crafting, it’s essential to prepare all the materials and tools needed for your Highland Cow Tutorial. Good preparation ensures a smooth and enjoyable crafting experience.
Choose your medium: You can make a Highland Cow using crochet, felt, fabric appliqué, or even wool felting. The tutorial can be adapted based on your preferred technique.
For a crochet Highland Cow, gather soft acrylic or cotton yarn in brown, cream, and caramel tones. A 3.5mm or 4mm crochet hook is ideal, and don’t forget safety eyes and stuffing.
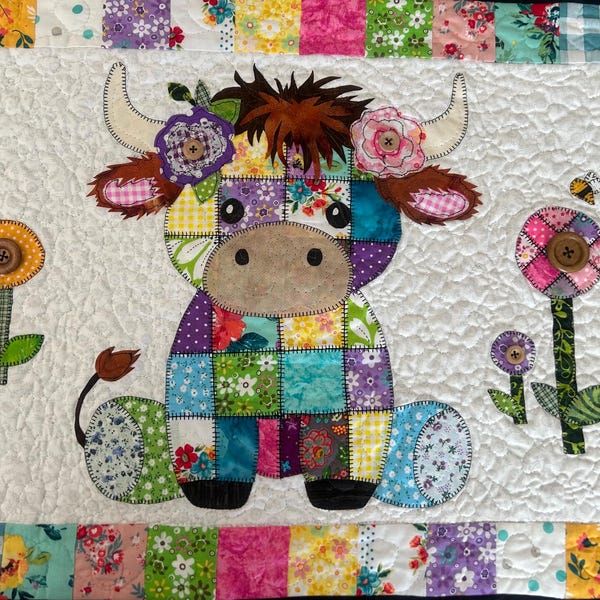
If you’re making a felt or fabric Highland Cow, prepare felt sheets in natural colors, embroidery thread, stuffing material, scissors, and a glue gun or sewing needle.
Make sure to find a well-lit and comfortable workspace. Clear your crafting area so you can work without interruptions and enjoy the creative flow.
Print out or download the Highland Cow Tutorial pattern if available. Many designers offer PDF patterns with visual references, so check Etsy or Pinterest for your favorite version.
Set realistic goals for your project. Depending on your skill level, it may take a few hours or a few days to complete your Highland Cow. Take your time and enjoy every step.
Now that you have your materials ready, it’s time to begin the most exciting part—creating the Highland Cow’s head and body! This is where the personality of your project starts to come alive.
Start with the head using a magic circle if you’re crocheting. Increase your stitches in each round to create a rounded shape. For felt or fabric, cut out an oval or circular shape and sew the edges together, leaving an opening for stuffing.
The body is typically smaller or similar in size to the head, giving the Highland Cow its adorable chibi-like appearance. Shape it like a short oval and stuff it firmly.
Add facial details early on. Sew or glue on the safety eyes, stitch a nose using embroidery floss, and add blush with fabric paint or pastel for a cute touch.
For crocheters, use simple stitches like single crochet and invisible decreases to keep the finish smooth. Be patient during the shaping process—it makes all the difference!
If working with felt or fabric, remember to secure your stitches well and use strong glue if needed to hold the face in place. Safety is important if it’s a toy for children.
Once the head and body are complete, sew or stitch them together. Adjust the angle to give your Highland Cow the personality you want—shy, happy, or silly!
What really makes the Highland Cow Tutorial stand out is the shaggy hair and curved horns. This part gives your project that unmistakable Highland flair.
Begin by creating hair strands. For crochet, this can be done using loops or fringe techniques. Cut yarn pieces and loop them into the top of the head, layering for volume.
Use colors like rust, ginger, caramel, or golden brown for a realistic Highland Cow effect. Don’t hesitate to mix shades for a natural and textured look.
Trim and shape the fringe once all pieces are attached. Create bangs that cover the forehead or sweep them to the side to show off those sweet eyes.
Now for the horns: Crochet two small cones or roll felt into horn shapes and secure them with hot glue or thread. Position them above the ears, curving slightly outward.
Make ears using soft brown or tan fabric or yarn. Sew or glue them just below the horns for proper placement, giving your Highland Cow a lovable and authentic look.
Finally, secure all parts well and double-check symmetry. It’s okay if your Highland Cow isn’t perfect—it’s meant to have personality and charm!
Now that your Highland Cow is assembled, it’s time to finish it off with some delightful personal touches and decide how you want to use or display your creation.
Add a bandana or flower crown to give your Highland Cow some extra flair. You can use small fabric scraps, ribbon, or crocheted flowers for a customized touch.
Consider giving your Highland Cow rosy cheeks using soft pink pastel or embroidery thread. This simple addition brings warmth and friendliness to the design.
Want to turn it into a keychain or ornament? Add a keyring or ribbon loop to the top. Mini Highland Cows are a fun way to decorate bags or gifts!
You could also attach your creation to a baby mobile, wall hanging, or wreath. The Highland Cow Tutorial works perfectly as part of a farm-themed or rustic décor project.
Make several Highland Cows in different colors for a charming collection. You can also gift them to friends and family—they’re always a hit at baby showers and craft fairs!
Photograph your finished project and share it online. Join crafting communities or social media groups where others are also using the Highland Cow Tutorial to share inspiration and encouragement.
What is the easiest material to use for a Highland Cow craft?
Crochet is often considered the easiest medium for beginners due to the variety of tutorials and patterns available. Felt is also a simple and forgiving option.
Can I make a Highland Cow without a sewing machine?
Yes! Most Highland Cow Tutorial designs are beginner-friendly and can be completed by hand using basic stitches or fabric glue.
How long does it take to complete a Highland Cow?
Depending on the complexity and your crafting experience, it usually takes between 2 to 6 hours to finish one Highland Cow.
Is this project suitable for children?
Yes, with supervision. Some small parts like safety eyes and needles require adult assistance. Older children can enjoy creating with felt or yarn.
Where can I find Highland Cow patterns?
You can search on Etsy, Ravelry, or Pinterest using the term Highland Cow Tutorial to find downloadable patterns and video guides.
Can I sell my finished Highland Cow crafts?
Absolutely! As long as the pattern you use allows for commercial use, you can sell your finished Highland Cows at local markets or online shops.
Crafting your own Highland Cow is more than just a hobby—it’s a joyful and rewarding experience that brings a smile to everyone who sees your creation. From gathering supplies to styling that iconic fringe, this Highland Cow Tutorial provides everything you need to succeed and enjoy the process. With just a bit of patience, creativity, and fun, you’ll have your very own cuddly Highland friend in no time.
We’d love to hear what you thought of this tutorial! Leave your honest opinion and feel free to share suggestions for future patterns or ideas you’d like to see. Happy crafting! 🐮✨