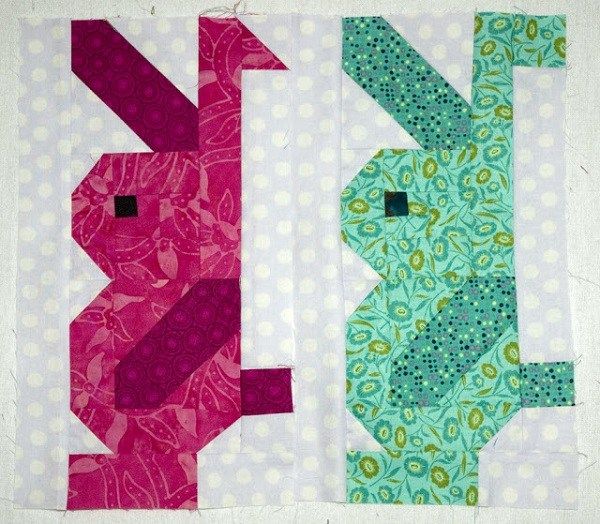
Sewing Bunnies - PATTERN

The Flamingo Quilt – TUTORIAL is a bright and beautiful project that brings tropical charm and creativity to your quilting journey. This stunning quilt pattern combines the elegance of flamingos with the art of patchwork, creating a masterpiece full of personality and color. Whether you are a seasoned quilter or a beginner looking for a new challenge, this project will fill your space with joy and a touch of summer warmth. The Flamingo Quilt – TUTORIAL teaches you step-by-step how to piece together a design that feels fresh, fun, and full of life.
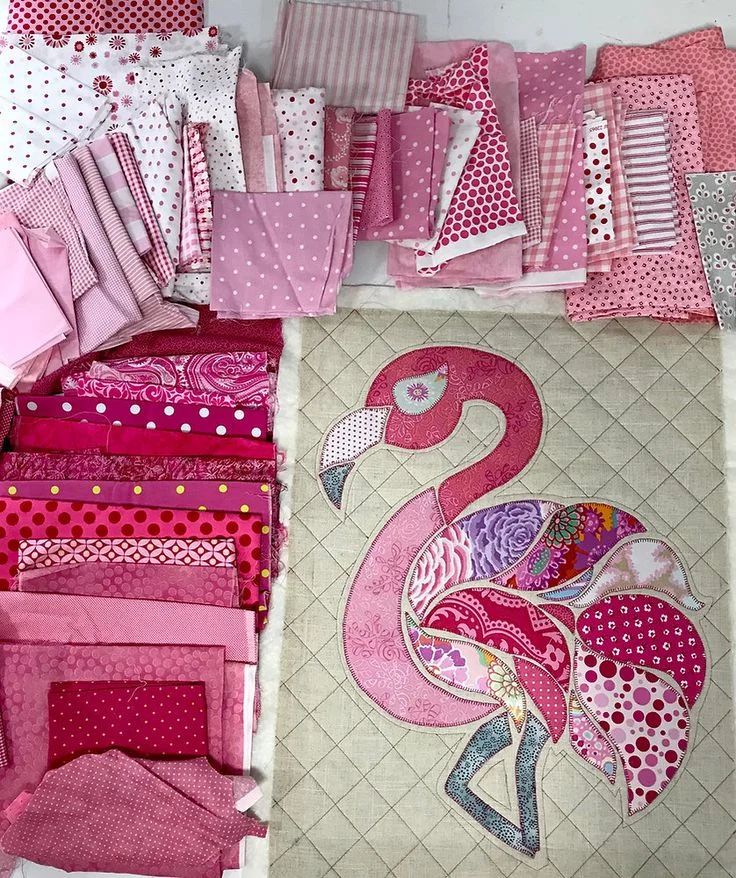
Creating a flamingo-themed quilt is more than just sewing fabrics together—it’s about expressing your creativity and love for color. The Flamingo Quilt – TUTORIAL lets you play with pinks, corals, whites, and greens to bring your tropical bird to life. Each fabric choice adds character, transforming a simple block into a stunning art piece. Whether displayed as a wall hanging or used as a cozy throw, this quilt is sure to capture everyone’s attention.
This tutorial is designed for accessibility and inspiration. With clear instructions, fabric recommendations, and helpful tips, anyone can complete this project with confidence. Let’s dive into the details of how to create your own Flamingo Quilt and make your sewing space shine with color and creativity.
Before beginning your Flamingo Quilt – TUTORIAL, gather all your materials to ensure a smooth and organized process. Choosing the right fabrics and tools makes a huge difference in the final appearance and durability of your quilt.
You’ll need cotton fabric in several shades of pink for the flamingo body, along with white or light blue for the background. Adding green for palm leaves or tropical accents will enhance the overall theme and make the quilt more vibrant. Choose fabrics with different tones to add depth and texture to the flamingo design.
A rotary cutter, cutting mat, and quilting ruler** are essential for precise cutting. Clean and straight cuts are key to making your blocks align perfectly. Always double-check your measurements before cutting to avoid fabric waste.
For batting, select 100% cotton or a cotton-blend batting for softness and easy quilting. It gives the quilt a smooth drape while keeping it lightweight and breathable.
Choose a coordinating thread color—either pink or white—for both piecing and quilting. A high-quality thread will prevent tangling and breakage during sewing.
Finally, don’t forget your sewing machine, iron, and pins. Pressing seams after every step ensures your blocks stay flat and professional-looking, resulting in a clean, polished finish.
The construction of the Flamingo Quilt – TUTORIAL involves basic quilting techniques, making it perfect for all skill levels. Let’s go step by step to create a quilt that truly stands out.
Start by cutting all your fabric pieces according to the pattern measurements. The flamingo design usually consists of a series of blocks that form the body, legs, and background. Label each piece to stay organized throughout the process.
Next, begin assembling the flamingo’s body. Use a light-to-dark gradient of pinks to create a realistic look. Sew the blocks together row by row, pressing seams open for a smooth surface.
Once the body is complete, move on to the neck and head sections. These require a bit of precision, so take your time. The curved lines of the flamingo’s neck can be achieved using templates or careful piecing techniques.
Attach the legs and background sections next. These blocks provide balance to the composition and help the flamingo stand out. If you want extra flair, consider adding embroidered details for the eyes or feathers.
After all sections are assembled, sew the rows together to form the quilt top. Make sure all points align properly before moving forward.
Finish by layering the quilt top, batting, and backing fabric. Pin or baste them securely, then quilt along the outlines of the flamingo or use free-motion quilting for a more artistic look.
The Flamingo Quilt – TUTORIAL offers endless possibilities for personalization. You can adjust the design to match your taste or adapt it for different uses, from baby quilts to wall art.
Experiment with different background colors to change the mood of your quilt. A light aqua background can evoke a tropical beach vibe, while a soft beige or white background gives it a minimalist and elegant touch.
Try using batik or patterned fabrics for the flamingo’s body. These fabrics add depth and movement to the bird, making it look more dynamic.
For a modern twist, simplify the pattern by using geometric shapes to form an abstract flamingo silhouette. This version works beautifully for contemporary home décor.
If you want to make your quilt even more detailed, add appliqué elements such as tropical leaves, flowers, or a sun in the background. This will enhance the storytelling and visual appeal of your piece.
Consider turning the design into a mini quilt or pillow cover if you want a quicker project. Smaller versions make great gifts and allow you to practice your quilting techniques on a smaller scale.
Finally, you can embellish your quilt with embroidery, beads, or decorative stitching to give it extra dimension and sparkle. Creativity has no limits when it comes to quilting!
To make your Flamingo Quilt – TUTORIAL look professional and last for years, proper finishing and maintenance are key. Here are some expert tips to ensure your quilt stays beautiful over time.
Before binding, trim any excess batting and backing fabric to square the quilt edges. A straight edge makes binding easier and helps the quilt lay flat.
For binding, choose a fabric that complements your flamingo theme—perhaps a coral pink or tropical green. Machine-stitch the binding for durability, or hand-stitch it for a classic, delicate finish.
When quilting, make sure your tension is even and stitches are consistent. If using free-motion quilting, practice on a scrap piece first to gain control over your movements.
After finishing the quilt, wash it gently with cold water on a delicate cycle. This helps soften the fabric and gives it that cozy, crinkled look. Avoid bleach or strong detergents, as they can damage colors and fibers.
To store your quilt, keep it in a dry, cool place away from direct sunlight to prevent fading. Folding it neatly or hanging it on a quilt rack helps preserve its shape.
Lastly, consider labeling your quilt with your name, the date, and the project title. This adds a personal touch and documents your creative achievement for future generations.
1. Is the Flamingo Quilt pattern suitable for beginners?
Yes! The Flamingo Quilt – TUTORIAL uses simple blocks and basic piecing techniques, making it ideal for beginners who want to improve their quilting skills.
2. What size can I make the Flamingo Quilt?
You can easily adjust the pattern to any size—from small wall hangings to full-sized bed quilts—by scaling the block measurements.
3. What fabrics work best for this pattern?
High-quality cotton quilting fabrics are best. They are durable, easy to sew, and come in a wide range of colors perfect for the flamingo theme.
4. Can I add embellishments to the Flamingo Quilt?
Absolutely! Adding embroidery, appliqué, or fabric paint can enhance your design and give it a more personalized look.
5. How should I quilt the Flamingo design?
You can outline the flamingo with straight-line quilting for a clean look, or use free-motion quilting to add texture and creativity.
The Flamingo Quilt – TUTORIAL is a vibrant and joyful project that celebrates color, creativity, and craftsmanship. Whether you’re sewing it for yourself or as a thoughtful handmade gift, this quilt pattern brings a little piece of the tropics into your home. With the right fabrics, patience, and imagination, you can create a stunning quilt that will be cherished for years to come.
PATTERN VIDEO:
If you enjoyed this tutorial, please share your thoughts and suggestions below. Your feedback helps inspire future quilt designs and tutorials for passionate makers like you. Happy quilting! 🩷🪡