Fabric Star Ornament - Tutorial

The Fair and Square quilt pattern is a timeless favorite among quilters, loved for its symmetry, versatility, and ease of assembly. Whether you’re a beginner looking for a manageable project or an experienced quilter searching for a design with visual impact, this pattern delivers clean lines and classic charm.
Built on a grid of repeating square units, the Fair and Square quilt pattern is perfect for experimenting with color placement and fabric textures. It can be dressed up with elegant prints or kept modern with solids and neutrals.
In this tutorial, you’ll learn how to plan, piece, and complete a quilt using the Fair and Square quilt pattern, including tips for fabric selection, cutting, block construction, and finishing. Let’s dive into this beautifully balanced quilt design.

Before you begin sewing, it’s important to carefully plan your Fair and Square quilt pattern. Fabric choice can completely transform the look of this quilt—from bold and bright to soft and soothing.
Start by selecting a color palette. The pattern is grid-based, which means it’s ideal for showcasing contrast. Try combining light and dark fabrics to emphasize the block shapes and add depth to your quilt.
Many quilters love using fat quarters for this project. They offer variety without needing to buy full yards of fabric. This is especially helpful if you want a scrappy or multicolor look.
Next, sketch out your layout. Even though the Fair and Square quilt pattern follows a simple format, planning your fabric placement ahead of time ensures balance and avoids unwanted repetition in your final piece.
Pre-wash your fabrics if you’re using high-contrast colors, especially reds or dark blues, to prevent bleeding during the first wash after quilting.
Lastly, press your fabrics before cutting. Crisp fabric ensures more accurate measurements and neater piecing, which leads to better-aligned seams and smoother results overall.
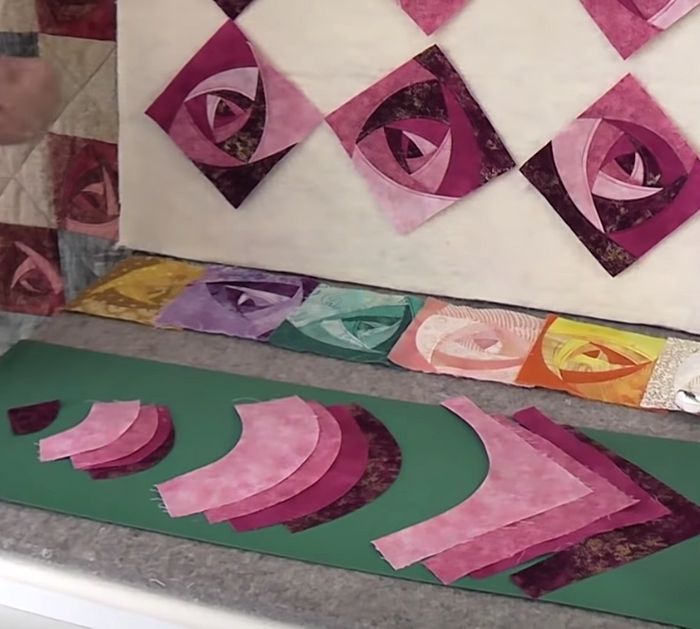
The foundation of the Fair and Square quilt pattern lies in its structured blocks, usually made up of uniform squares. This makes it an ideal choice for chain piecing and quick assembly.
Cut your fabric into squares of equal size. Commonly, 4.5″ or 5″ squares (unfinished) are used for ease of handling and good visual scale. You can also use pre-cut charm packs to speed up this step.
A rotating cutting mat and sharp rotary cutter will help make quick work of cutting multiple layers at once. Accuracy is essential here—consistent square sizes keep your quilt looking polished.
Once your squares are cut, begin assembling them into blocks. For a standard Fair and Square quilt, you’ll likely work in rows of three or four squares per row, sewn together and then joined to form larger blocks.
Press each seam as you go, alternating the direction to help nest seams together. This reduces bulk and creates sharper intersections between blocks.
Continue this process until you have the number of blocks needed for your desired quilt size. For example, a baby quilt might need 20 blocks, while a full-size quilt could require 60 or more.
Arrange the blocks on a design wall or large surface before joining them into rows. This gives you a final chance to rearrange for color balance and overall visual harmony.
With your blocks complete, it’s time to piece them into rows and complete the Fair and Square quilt pattern top. This stage is where the quilt begins to take on its full form.
Sew your blocks together into rows, then join those rows carefully. Take your time aligning seams to maintain the precise, square appearance that defines this pattern.
Use plenty of pins or clips to hold your seams in place, especially at intersections. Press the rows flat after sewing, again alternating seam directions to reduce bulk.
At this point, step back and view your quilt top from a distance. The geometric design should be clearly visible, and any inconsistencies can still be adjusted slightly before final assembly.
Borders are optional but can frame your quilt beautifully. A solid border adds a clean edge, while a pieced border can add a bit of flair. Make sure your quilt edges are square before attaching any borders.
Cut your border strips with the grain of the fabric to prevent stretching. Attach them to opposite sides of the quilt top, pressing after each addition to maintain smooth edges.
After borders are added, give the quilt top a final press. It’s now ready for layering and quilting!
Now comes the exciting part—bringing your Fair and Square quilt pattern to life through quilting. This step not only secures the layers but also adds texture and personality.
First, make your quilt sandwich: backing on the bottom, batting in the middle, and your quilt top on top. Smooth out each layer carefully and use safety pins or basting spray to keep everything in place.
The simplicity of the square design allows for a variety of quilting options. You can go for straight-line quilting to emphasize the geometry, or choose free-motion quilting for a more organic feel.
Use a walking foot for even feed if you’re doing straight lines. Quilting diagonally across the squares is a popular option, creating a subtle lattice effect.
After quilting, trim the edges of your quilt to remove excess batting and backing, squaring everything up neatly before applying the binding.
Binding adds the final professional touch. Cut strips 2.5” wide, fold lengthwise, and attach around the edges with a sewing machine, finishing by hand for a clean look.
Once bound, give your quilt a gentle wash and dry (if prewashed fabrics were used), or simply press and display your new Fair and Square quilt proudly!
What skill level is required for the Fair and Square quilt pattern?
This pattern is beginner-friendly. It requires only basic sewing and quilting techniques, making it perfect for those new to patchwork.
What size squares should I use for this quilt?
Standard sizes are 4.5″ or 5″ squares (unfinished), but you can adjust based on your desired final quilt size. Using pre-cut charm squares is also a great option.
How many fabrics do I need?
You can use as few as two fabrics or as many as twenty, depending on the look you want. This pattern works great for scrap quilts as well.
Do I need to add borders to this pattern?
Borders are optional. They can add structure and size to your quilt, but the pattern works beautifully with or without them.
Can this pattern be used for baby quilts or wall hangings?
Absolutely! The modular design makes it easy to scale up or down, so it works for everything from small decorative pieces to full-sized bed quilts.
How should I quilt the finished top?
Simple straight-line quilting works well, but you can also try stitch-in-the-ditch or diagonal lines. Let the fabric and color pattern guide your quilting choice.
The Fair and Square quilt pattern is a perfect blend of simplicity and structure, offering both new and experienced quilters a satisfying project that showcases color and precision. From choosing your fabrics and piecing blocks to quilting and binding, each step brings the classic design to life in a unique way.
If this tutorial helped you create something beautiful, we’d love to hear from you! Please leave your honest opinion, share your feedback, and let us know what quilt pattern you’d like to explore next.