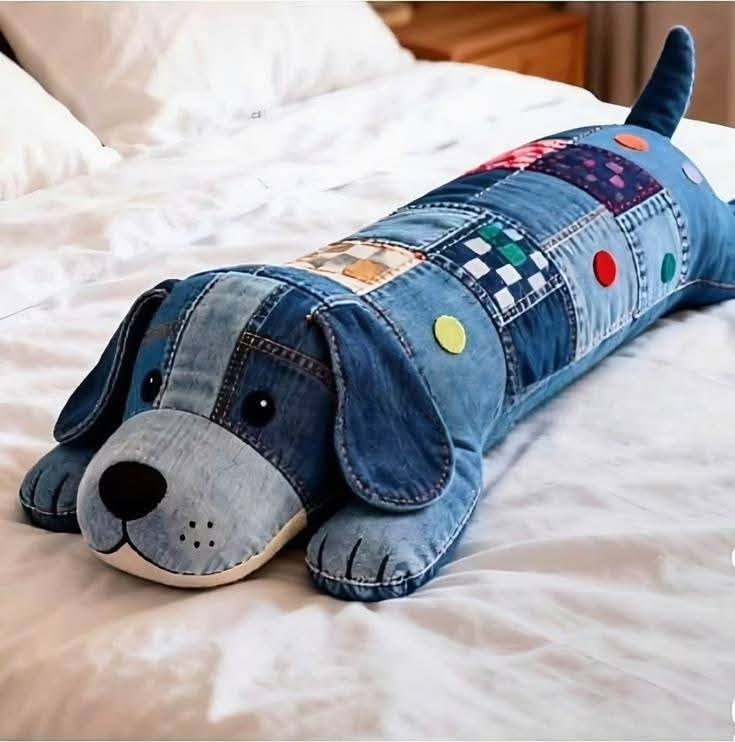
DIY - Quilted Denim Dog Pillow

The DIY – Oven and Stove Oven Mitt is a practical and rewarding quilting project that combines safety, comfort, and creativity. Designed to protect your hands while handling hot cookware, this handmade oven mitt is both functional and stylish, making it a perfect addition to any kitchen.
With the DIY – Oven and Stove Oven Mitt, you can choose fabrics that match your kitchen décor while ensuring durability and heat resistance. From bold prints to classic patterns, this project allows you to create a personalized kitchen essential.
In this complete guide, you will learn how to make your own DIY – Oven and Stove Oven Mitt step by step. Whether you are a beginner or an experienced quilter, this tutorial will help you achieve a safe, durable, and professional result.
To begin your DIY – Oven and Stove Oven Mitt, selecting the right materials is essential for both safety and performance. Heat-resistant fabrics such as quilting cotton combined with insulated batting are highly recommended.
You will need thermal batting or insulated lining, which is specifically designed to protect against heat. This is a crucial component of your oven mitt.
Basic sewing tools such as scissors, pins, a sewing machine, measuring tape, and strong thread are necessary for precise construction.
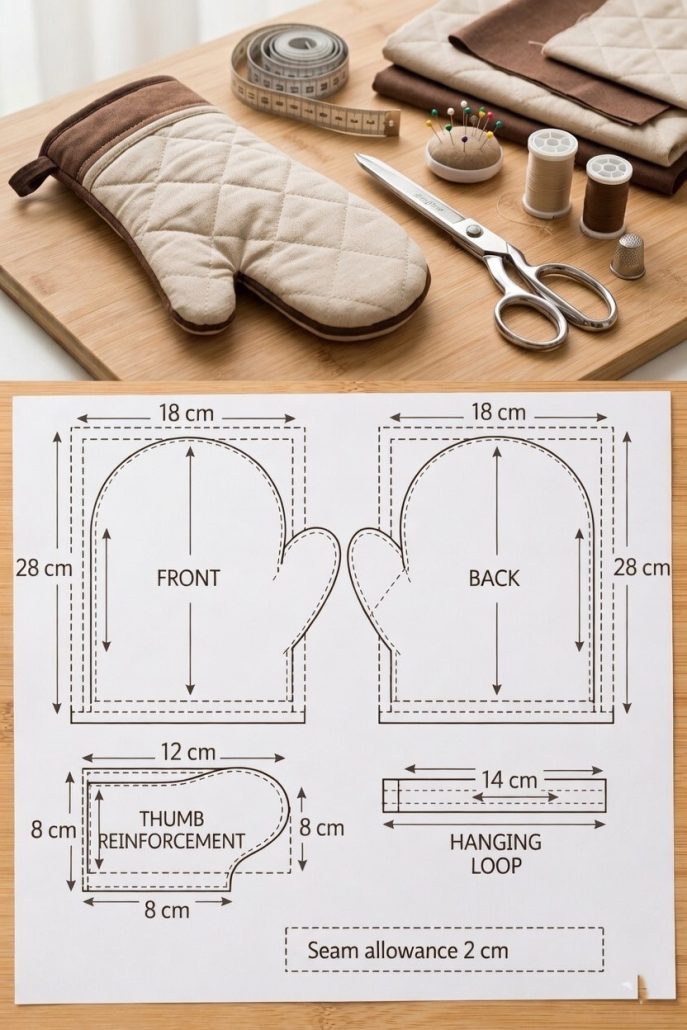
A pattern template will help you cut the correct shape for your mitt. You can trace your hand or use a standard oven mitt pattern.
Optional materials include bias tape for edging and a fabric loop for hanging your mitt.
Before starting, wash and press all fabrics. This ensures your DIY – Oven and Stove Oven Mitt maintains its shape after use.
The construction of the DIY – Oven and Stove Oven Mitt begins with cutting your fabric layers. You will typically need outer fabric, lining, and insulated batting.
Layer the pieces together in the correct order: outer fabric, batting, and lining. This creates the protective structure of the mitt.
Quilt the layers together using straight or decorative stitching. This step secures the layers and adds texture.
Next, place two quilted pieces right sides together and sew around the edges, leaving an opening for turning.
Carefully turn the mitt right side out and shape it neatly, especially around the thumb area.
Finally, close the opening and add binding around the edges for a clean finish. Your DIY – Oven and Stove Oven Mitt is now assembled.
One of the most enjoyable aspects of the DIY – Oven and Stove Oven Mitt is customizing the design. You can choose fabrics that reflect your personal style or seasonal themes.
Mixing patterns such as florals, stripes, or geometric prints can create a unique and eye-catching look.
You can also adjust the size for a better fit. A well-fitted mitt provides better control and comfort.
Adding decorative stitching or quilting patterns can enhance both the appearance and durability of your mitt.
Consider including a hanging loop for easy storage. This small detail adds convenience to your project.
You might also create matching kitchen accessories, such as pot holders or aprons, using the same design as your DIY – Oven and Stove Oven Mitt.
Finishing your DIY – Oven and Stove Oven Mitt properly ensures safety and longevity. Make sure all seams are reinforced, especially around stress points.
Trim excess threads and press the mitt lightly to improve its appearance.
Test the mitt carefully before use to ensure it provides adequate heat protection.
This project offers many practical benefits. It protects your hands while cooking and baking, making it an essential kitchen item.
The DIY – Oven and Stove Oven Mitt is also an eco-friendly option, especially if you use fabric scraps or repurposed materials.
Additionally, it makes a thoughtful handmade gift, perfect for housewarmings or special occasions.
Is this project suitable for beginners?
Yes, the DIY – Oven and Stove Oven Mitt is beginner-friendly with basic sewing skills.
What type of batting should I use?
Insulated or thermal batting is recommended for heat protection.
Can I wash the oven mitt?
Yes, most can be machine washed, but always follow fabric care instructions.
How do I ensure heat resistance?
Use proper insulated materials and multiple layers for safety.
Can I make different sizes?
Yes, you can adjust the pattern to fit your hand size.
How long does it take to complete?
It usually takes a few hours to finish one mitt.
The DIY – Oven and Stove Oven Mitt is a practical and creative quilting project that combines functionality with personal style. In this guide, you’ve learned how to select materials, assemble the mitt, customize your design, and finish it professionally.
This handmade item not only enhances your kitchen but also provides essential protection during cooking. With endless design possibilities, you can create a unique and useful accessory.
PATTERN VIDEO:
Now it’s your turn to try the DIY – Oven and Stove Oven Mitt. Share your honest feedback and leave your suggestions—your ideas can inspire even more creative quilting projects!