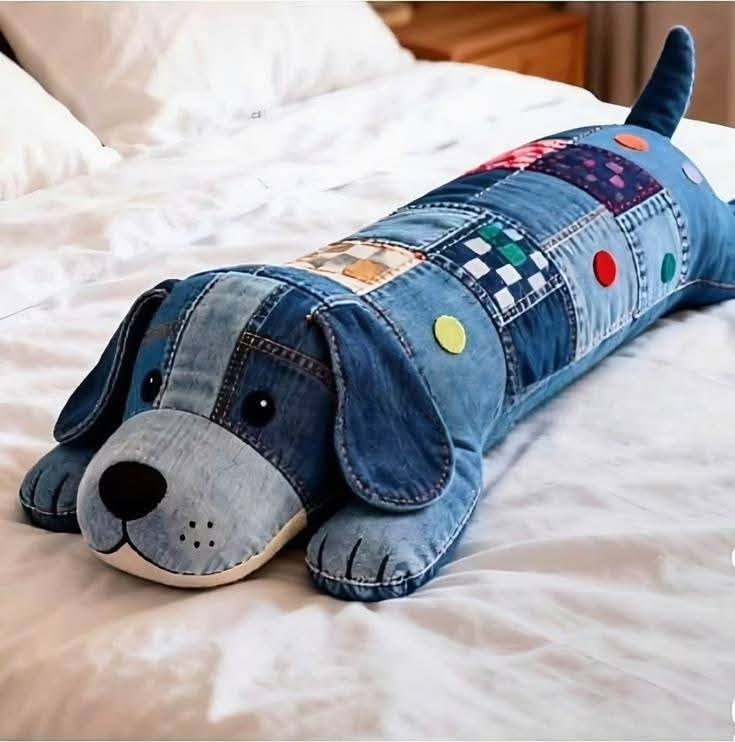
DIY - Quilted Denim Dog Pillow

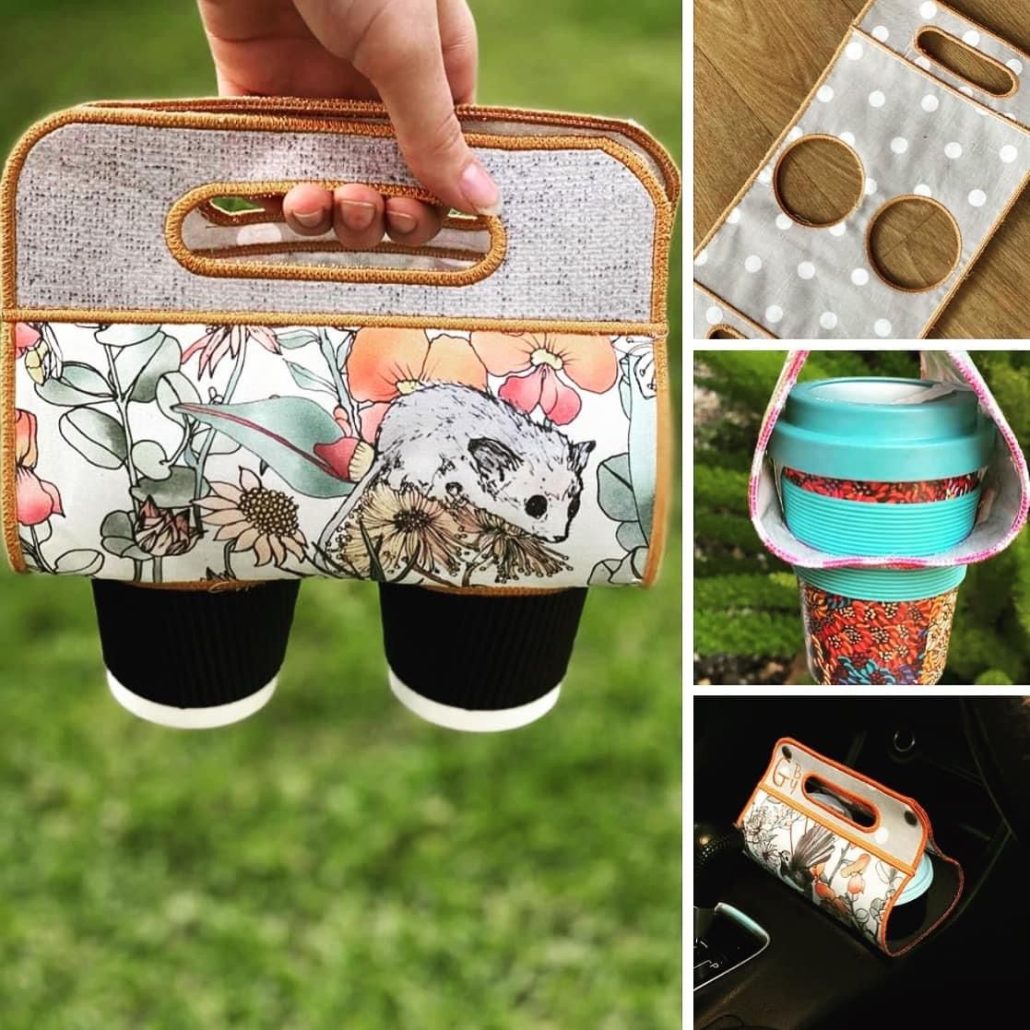
If you’re looking for a Coffee Cup Carrier – Tutorial, you’re in the right place! In this article, you’ll learn how to make your very own stylish and reusable coffee cup carrier using basic quilting techniques. Whether you’re a beginner or an experienced sewer, this project is both fun and functional—and it’s perfect for gift giving, markets, or personal use.
The best part about this Coffee Cup Carrier – Tutorial is its versatility. You can use leftover fabric scraps, personalize it with prints you love, and create a sustainable item that helps reduce waste. It’s compact, washable, and makes your daily coffee run much more eco-friendly and fashionable.
With a step-by-step approach, we’ll guide you through everything you need to know about crafting this useful quilted accessory. Let’s get started on making a practical and beautiful coffee cup carrier that you’ll be proud to show off.
To start your Coffee Cup Carrier – Tutorial, you’ll need to gather a few materials. Most of them are already in your sewing room, especially if you’re a quilter or fabric crafter.
Choose 100% cotton fabrics, as they’re durable and easy to work with. Select coordinating prints or solids that reflect your style or the person you’re making it for.
You’ll also need some batting. This gives your coffee cup carrier structure and insulation, helping protect your hands from the heat of the drink inside.
Other basic supplies include thread, scissors or rotary cutter, pins or clips, and a sewing machine. A walking foot attachment is helpful for sewing layers evenly.
You may also want to use bias tape or binding for a polished finish. This adds durability and a decorative edge to your project.
Lastly, a template or pattern can help you get the shape right. You can either draw your own or find a printable version online to use as a guide.
Begin this step of the Coffee Cup Carrier – Tutorial by cutting two identical pieces of fabric for the outside and lining. The size may vary depending on your preferred cup size, but a good average is about 12″ x 5″.
Cut a piece of batting the same size as your fabric pieces. You’ll be creating a quilt sandwich with these layers before sewing.
If you’re using a pattern with curves or handle openings, trace and cut those carefully. Accuracy here will make your final project more professional-looking.
Now is the time to decide whether you want additional details like pockets or a strap. If so, cut those pieces and prepare them for sewing as well.
Pin or clip the layers together in the order: outer fabric right side down, batting in the middle, and lining right side up. This forms your quilt sandwich.
You’re now ready to move on to quilting the layers together. This step adds visual interest and helps secure the layers so they don’t shift during use.
This is the fun part of the Coffee Cup Carrier – Tutorial where your piece really starts to take shape. Start quilting your layers by sewing straight or decorative lines across the sandwich.
Quilting helps hold everything in place and adds texture. Use thread that complements or contrasts with your fabric depending on the look you want.
After quilting, trim any uneven edges. Precision here ensures that your binding or finishing will look neat and tidy later.
If your pattern includes handle cut-outs or slits for the cup to slip through, mark and cut those now. Reinforce the edges with stitching or binding to avoid fraying.
Fold the piece to check the fit around a standard coffee cup. This step helps identify if any adjustments are needed before final sewing.
Now it’s time to sew the side seams or add binding to the edges. You can hand-stitch or machine-sew depending on your skill level and preference.
In the final stage of the Coffee Cup Carrier – Tutorial, you’ll add finishing touches that make your project stand out. Binding the edges gives it a professional look and improves durability.
You can add a loop and button closure or a snap to keep the carrier securely wrapped around your cup. These small details make it easier to carry and use.
If you want to attach a strap, measure how long you want it to be. A handle makes the carrier easy to grab on the go, especially when your hands are full.
Personalize your coffee cup carrier with embroidery, appliqué, or printed labels. These additions make the project extra special for gifts or selling at craft fairs.
Don’t forget to press your project thoroughly when you’re finished. A well-pressed carrier looks polished and sits nicely around the cup.
Now that your carrier is complete, test it out! Slide it onto your favorite reusable coffee cup and enjoy the satisfaction of a handmade, functional item.
Q: Can I make this project without a sewing machine?
A: Yes, although a sewing machine speeds things up, you can hand-stitch your coffee cup carrier with a bit of patience.
Q: What type of fabric is best for this project?
A: Use 100% cotton for both the outer and lining fabrics. It’s durable, washable, and easy to sew.
Q: Can I wash my coffee cup carrier?
A: Absolutely! Just toss it in the washing machine with similar colors. Using cotton makes it easy to clean.
Q: Do I need a special pattern?
A: Not necessarily. You can draft your own or search online for printable templates tailored to standard cup sizes.
Q: Is this project suitable for beginners?
A: Yes! This Coffee Cup Carrier – Tutorial is beginner-friendly and a great introduction to quilting and sewing techniques.
Q: Can I sell the finished product?
A: Of course. Many people sell handmade coffee cup carriers at markets or online. Just make sure you’re not using copyrighted patterns if you plan to sell.
By following this Coffee Cup Carrier – Tutorial, you’ve learned how to craft a reusable, stylish, and eco-conscious accessory that fits right into everyday life. This small quilting project is ideal for gifting, selling, or simply enhancing your personal routine.
We hope you enjoyed creating your own quilted coffee cup carrier and that you feel confident trying out more sewing and quilting tutorials in the future. If you found this guide helpful, please leave a sincere review below and feel free to share suggestions for future tutorials you’d love to see!