
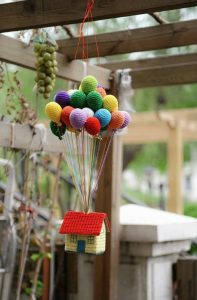
Autumn Lattice Quilt – PATTERN


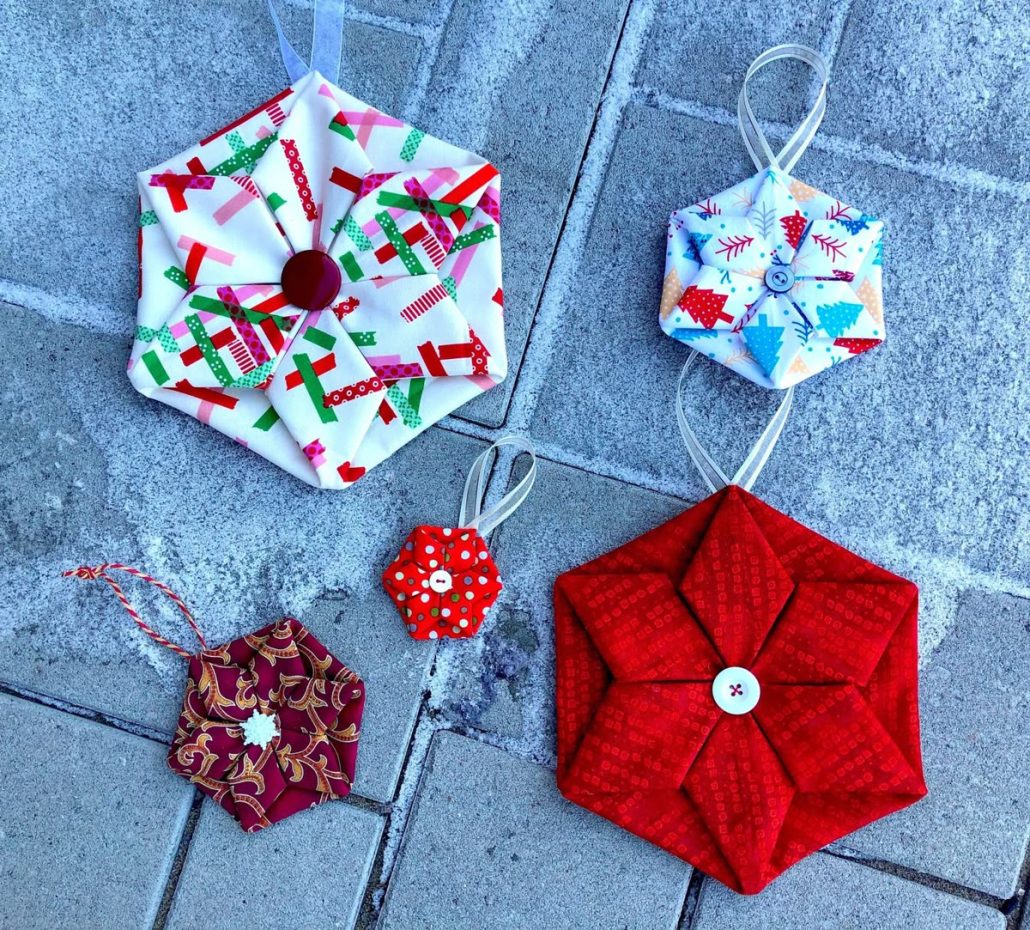
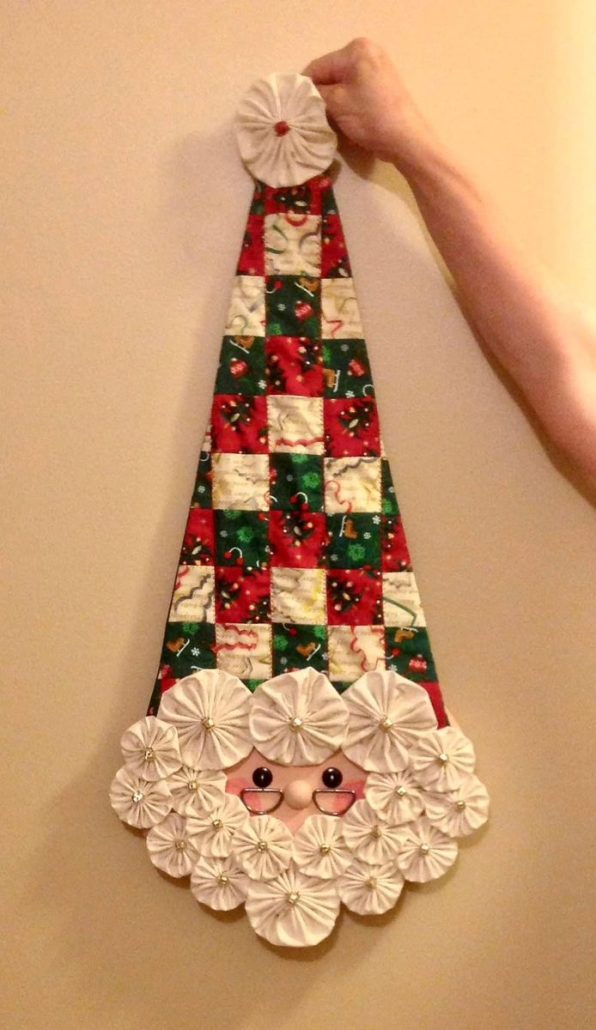
The Christmas Ornament – Tutorial is a wonderful way to add a handmade and personal touch to your holiday season. Creating your own quilted or sewn ornaments not only makes your Christmas tree unique but also allows you to use leftover fabrics and showcase your creativity. In this tutorial, you will learn step by step how to make charming ornaments that can be gifted, used as festive décor, or even kept as family keepsakes. Adding a DIY element to your Christmas decorations ensures that every piece carries warmth, love, and creativity.
Working on a Christmas Ornament – Tutorial is also a fantastic project for both beginners and experienced makers. Beginners can practice their sewing and quilting skills on a small project, while advanced makers can experiment with fabric combinations, embellishments, and advanced stitching techniques. The beauty of handmade ornaments is that they can be personalized endlessly, from fabric choices to the final decorative details.
In addition, this project can become a tradition. Every year, you can create new ornaments that represent memories, seasons, or personal milestones. Whether you make one ornament or a full set, the process of crafting them will bring you joy, relaxation, and a sense of accomplishment. Let’s dive into the details of this Christmas Ornament – Tutorial and discover how to make your holidays even more special.
To begin making your handmade ornament, you’ll first need to gather the essential materials. Start with fabric scraps in festive colors such as red, green, gold, silver, and white. Quilters often save leftover pieces from previous projects, making this a budget-friendly option.
You will also need thread that matches or contrasts beautifully with your chosen fabrics. Many crafters prefer metallic thread for a shiny and festive finish. A good pair of scissors, a rotary cutter, or pinking shears will help you cut the fabric neatly.
Batting or lightweight stuffing will give the ornament shape and softness. If you prefer a flat look, batting is ideal, while stuffing creates a more dimensional effect. Ribbon or twine is essential for hanging the ornament once it’s complete.
Optional materials include beads, sequins, or small charms to embellish the ornament. These extra touches add sparkle and personality to each piece. A needle and basic sewing supplies are also required if you plan to stitch by hand instead of using a sewing machine.
Before starting, make sure your workspace is well-lit and organized. Keeping your materials accessible and your fabrics pressed will make the sewing process much smoother. With all the essentials ready, you’re set to move forward with the tutorial.
Start by cutting your chosen fabrics into small squares, circles, or star shapes, depending on the ornament style you want to create. Precision in cutting ensures that your ornament will look neat and professional.
Next, layer the fabrics with batting or stuffing between them. This step is similar to making a mini quilt sandwich, where you have the front fabric, batting, and backing fabric all aligned. Secure the layers with pins or clips before sewing.
Sew around the edges of the shape, leaving a small gap to turn the piece inside out. Once sewn, carefully trim excess fabric from the edges to reduce bulk. Then, turn the ornament right side out and press it flat with an iron.
If you are making a stuffed ornament, insert the filling through the gap and distribute it evenly. Then, hand-stitch the opening closed with small, invisible stitches for a clean finish.
Attach a ribbon or string loop at the top of the ornament for hanging. This can be sewn in while closing the gap or attached afterward with a few stitches. For extra decoration, add beads, buttons, sequins, or embroidery.
Repeat these steps with different fabrics and shapes to create a collection of ornaments. Each one will be unique, and together they will bring charm and color to your Christmas decorations.
One of the joys of making handmade ornaments is the endless variety of designs you can explore. Try using patchwork techniques to combine multiple fabrics in one ornament, giving it a traditional quilting look.
You can also experiment with appliqué by stitching small fabric shapes, such as stars, hearts, or snowflakes, onto a larger ornament base. This adds depth and interest to the design.
For a more rustic look, use burlap or linen fabrics and pair them with wooden buttons or twine loops. Rustic ornaments complement farmhouse and natural holiday décor beautifully.
If you prefer a glamorous style, choose fabrics with metallic accents, sequins, or velvet textures. Adding beads and shiny embellishments will give your ornaments a luxurious and festive vibe.
Personalized ornaments are also very popular. You can embroider initials, names, or even dates onto the fabric, making them meaningful keepsakes or thoughtful gifts for loved ones.
Finally, don’t be afraid to mix traditional Christmas colors with modern palettes like navy and gold, blush pink, or even monochrome black and white. Experimenting with color ensures that your ornaments match your unique holiday theme.
Start with simple shapes like circles or squares before moving on to stars or more intricate designs. This will help you build confidence as you practice sewing techniques on smaller projects.
Use lightweight fabrics that are easy to sew and turn inside out. Quilting cotton works perfectly for this type of project, while heavier fabrics may be harder to manage on a small scale.
Always press your fabrics before cutting and sewing. This ensures that your pieces are smooth and that the final ornament looks neat and polished.
Consider chain-sewing multiple ornaments at once if you’re planning to make a collection. This will save time and keep your workflow efficient during the busy holiday season.
Keep embellishments secure by stitching them carefully. Since ornaments are handled every year, ensuring durability will allow them to last for many holidays to come.
Lastly, remember to have fun and enjoy the creative process. Handmade ornaments don’t need to be perfect; their charm lies in their uniqueness and the love that goes into making them.
Q: Can beginners make Christmas ornaments easily?
Yes, this project is beginner-friendly and perfect for practicing basic sewing and quilting skills.
Q: What fabrics work best for Christmas ornaments?
Quilting cotton is ideal, but you can also use linen, burlap, or even velvet depending on the style you want.
Q: Do I need a sewing machine for this tutorial?
No, you can make ornaments by hand-sewing if you prefer. A machine simply speeds up the process.
Q: Can I personalize the ornaments?
Absolutely. You can add embroidery, initials, names, or small decorative charms to make them unique.
Q: How long does it take to make one ornament?
On average, a simple ornament can take 30–45 minutes, depending on the complexity of the design.
Q: Are handmade ornaments good as gifts?
Yes, they make thoughtful, personal, and budget-friendly holiday gifts for family and friends.
The Christmas Ornament – Tutorial provides an enjoyable way to celebrate the holiday season while adding handmade beauty to your decorations. By learning the step-by-step process, experimenting with creative variations, and using simple materials, you can craft ornaments that reflect your style and personality.
PATTERN VIDEO:
Whether you make them for your tree, as gifts, or as keepsakes, these ornaments carry the warmth and creativity of handmade art. Share your honest opinions and suggestions in the comments—your feedback is always welcome and helps inspire future projects.
