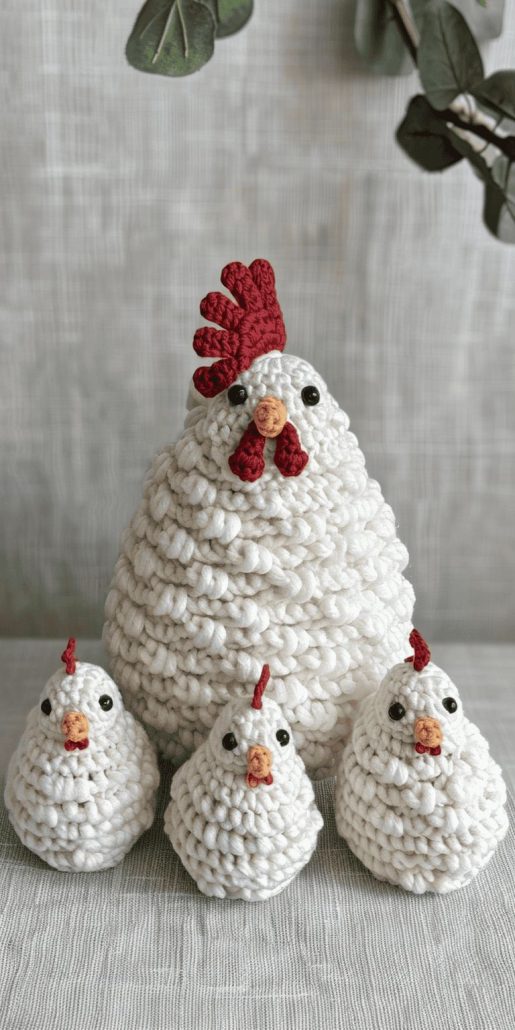
Chicken Crochet - Pattern

Triangular Star Stitch Hat – Tutorial is a stylish and textured crochet project that blends visual impact with everyday comfort. This hat pattern is loved by crocheters who enjoy creating eye-catching designs while still working with practical, wearable items. The triangular star stitch adds depth and dimension, turning a simple hat into a standout accessory.
What makes the Triangular Star Stitch Hat – Tutorial especially appealing is its balance between technique and accessibility. While the stitch pattern looks intricate, it is built from repeatable steps that become intuitive as you progress. This makes the project both engaging and rewarding.
In this article, you will find a complete and easy-to-follow guide to the Triangular Star Stitch Hat – Tutorial, covering everything from understanding the stitch to customizing the finished hat. The content is written in a friendly and well-structured way, suitable for a wide range of crochet skill levels.
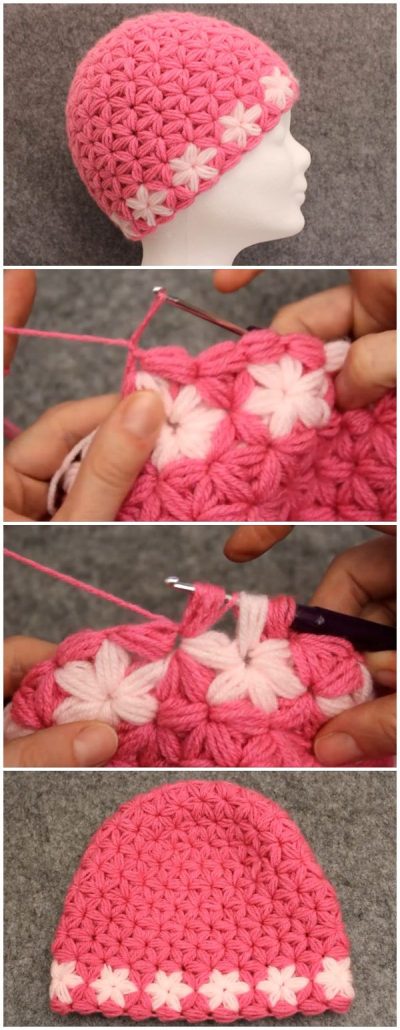
The Triangular Star Stitch Hat – Tutorial centers around the triangular star stitch, a crochet technique that forms layered, star-like shapes across the fabric. These shapes create a rich texture that stands out beautifully.
This stitch pattern is typically worked in rounds, making it ideal for hats and other circular projects. The structure allows the design to flow naturally around the head.
Although the stitch looks complex, it is made using basic crochet movements repeated in a specific sequence. Once the rhythm is established, the pattern becomes relaxing to work.
The triangular star stitch provides excellent warmth due to its dense texture, making this hat perfect for cooler weather.
Many crocheters enjoy this tutorial because it offers a chance to learn a decorative stitch while producing a functional item.
Overall, the Triangular Star Stitch Hat – Tutorial is a wonderful project for expanding stitch knowledge and creating a visually striking accessory.
Choosing the right yarn is essential for the Triangular Star Stitch Hat – Tutorial. Yarns with good stitch definition help highlight the star-shaped texture clearly.
Medium-weight yarn is commonly used, as it offers warmth without making the hat too heavy or stiff.
Solid or lightly textured yarns are often preferred, allowing the stitch pattern to remain the focal point of the design.
A crochet hook that matches the yarn weight ensures even stitches and consistent sizing throughout the hat.
Additional tools include scissors and a yarn needle for weaving in ends neatly and securely.
Preparing all materials in advance helps the Triangular Star Stitch Hat – Tutorial progress smoothly from start to finish.
The Triangular Star Stitch Hat – Tutorial usually begins with a magic ring or a small chain circle to form the crown of the hat.
The early rounds focus on establishing the stitch pattern while gradually increasing stitches to shape the hat top.
As the hat grows, the triangular star stitch begins to form its distinctive texture, creating a visually appealing surface.
Maintaining consistent tension is important to ensure the stars appear uniform and balanced.
Once the desired diameter is reached, the pattern continues without increases to build the sides of the hat.
The tutorial typically finishes with a clean edge or simple brim, providing a polished and comfortable fit.
Customization is a major advantage of the Triangular Star Stitch Hat – Tutorial. You can easily adjust the height to create a slouchy or fitted style.
Color choices greatly affect the final look. Solid colors emphasize texture, while subtle color changes add visual interest.
Some crocheters add pom-poms, folded brims, or decorative tags for a personalized touch.
This hat pairs well with casual outfits and makes a thoughtful handmade gift for all ages.
Caring for the hat is simple. Gentle hand washing helps preserve stitch definition and shape.
Laying the hat flat to dry prevents stretching and keeps the triangular star pattern intact.
Is the Triangular Star Stitch Hat – Tutorial suitable for beginners?
It is best for confident beginners or intermediate crocheters familiar with basic stitches.
How long does it take to crochet this hat?
Most crocheters complete it in a few hours, depending on size and experience.
Can I use a different yarn weight?
Yes, but you may need to adjust hook size and stitch count for proper fit.
Does the stitch make the hat heavy?
The texture is dense but still comfortable when using medium-weight yarn.
Can I make this hat for children?
Yes, adjusting the starting diameter allows you to size the hat for children or adults.
Is this stitch suitable for other projects?
Absolutely. The triangular star stitch works well for scarves, cowls, and blankets.
This Triangular Star Stitch Hat – Tutorial article explored the design concept, materials, construction steps, and customization options for this textured crochet hat. From understanding the triangular star stitch to shaping and finishing the hat, you now have a clear overview of the entire process.
The Triangular Star Stitch Hat – Tutorial is an excellent project for crocheters who want to combine creativity, technique, and wearable comfort in one satisfying piece.
PATTERN VIDEO:
We invite you to leave your honest opinion and share your suggestions. Your feedback helps improve our tutorials and inspires future crochet patterns and ideas.