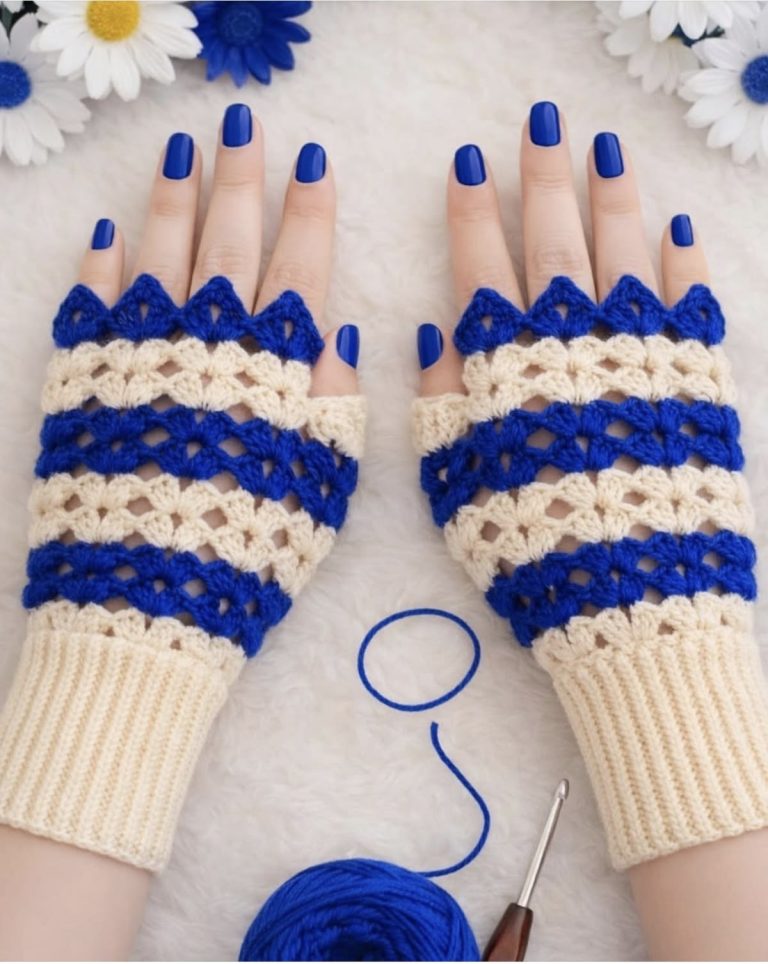
Fingerless Glove Tutorial - DIY

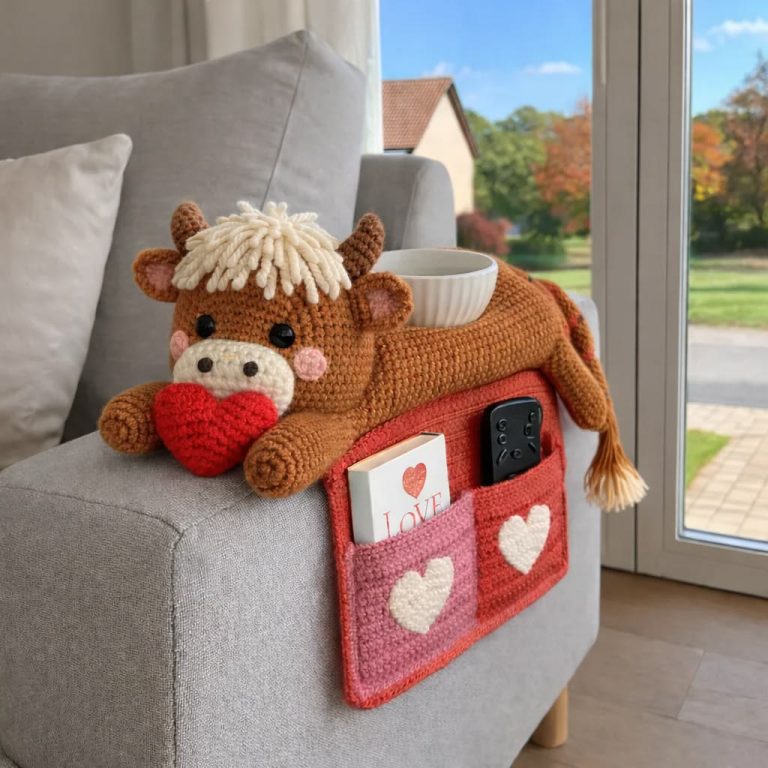
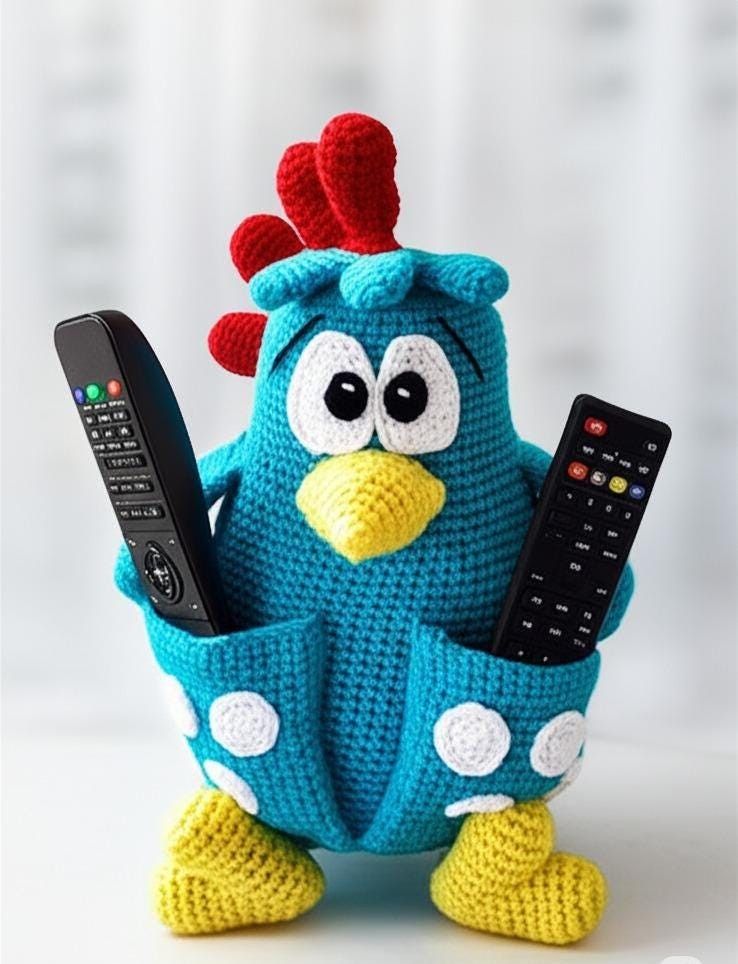
Rooster Control Holder – TUTORIAL is a creative and practical crochet project that helps you keep your remote controls organized while adding a charming farmhouse-style decoration to your home. By following the Rooster Control Holder – TUTORIAL, you can craft a functional item that combines utility with a fun and eye-catching design.
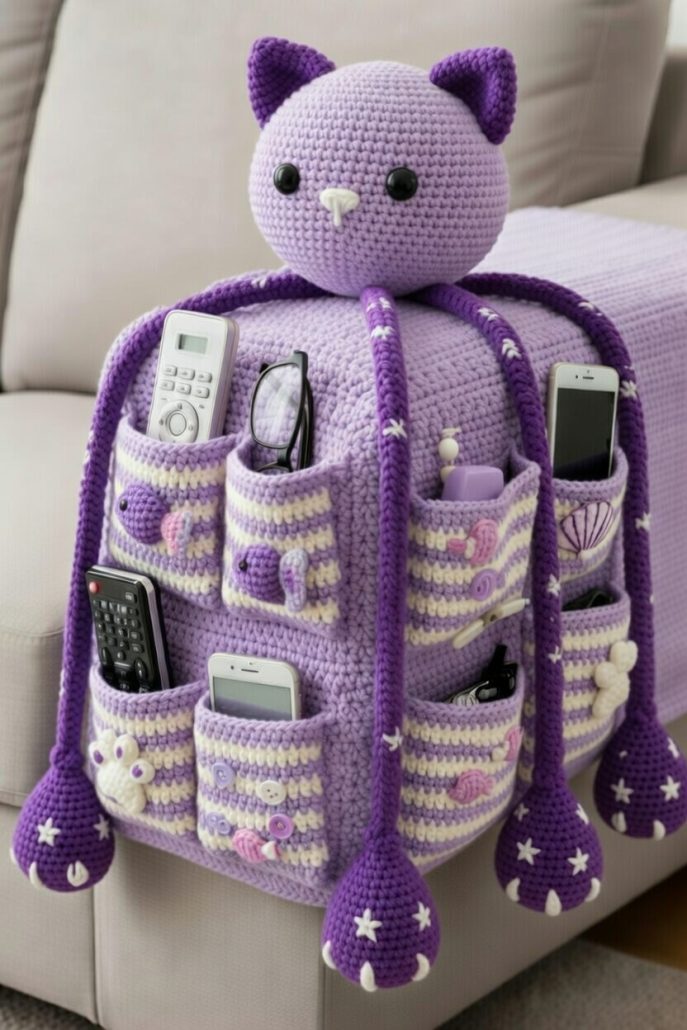
One of the most delightful aspects of the Rooster Control Holder – TUTORIAL is its personality. The rooster design brings a cozy, rustic feel, making it perfect for living rooms, bedrooms, or even kitchens. At the same time, the built-in pocket keeps your remote controls safe and easy to find.
In this complete Rooster Control Holder – TUTORIAL, you will learn how to choose the right materials, crochet the base structure, shape the rooster, add functional compartments, and finish your project with beautiful details. This guide is suitable for beginners and intermediate crocheters.
The first step in the Rooster Control Holder – TUTORIAL is gathering all the materials needed for a smooth crochet experience.
Cotton yarn is highly recommended because it is sturdy and holds its shape well.
Choose bright and warm colors such as red, yellow, brown, and white to create the rooster design.
A crochet hook that matches your yarn weight is essential for even stitches.
You will need scissors and a yarn needle for assembly and finishing.
Stitch markers can help you keep track of rounds and shaping.
Optional cardboard or plastic canvas can be used inside for added structure.
The foundation of the Rooster Control Holder – TUTORIAL is creating a strong base and a functional pocket.
Start by crocheting a rectangular or slightly rounded base using single crochet stitches.
Work in rows or rounds depending on your preferred shape.
In the Rooster Control Holder – TUTORIAL, tight stitches are important to ensure the holder is firm and durable.
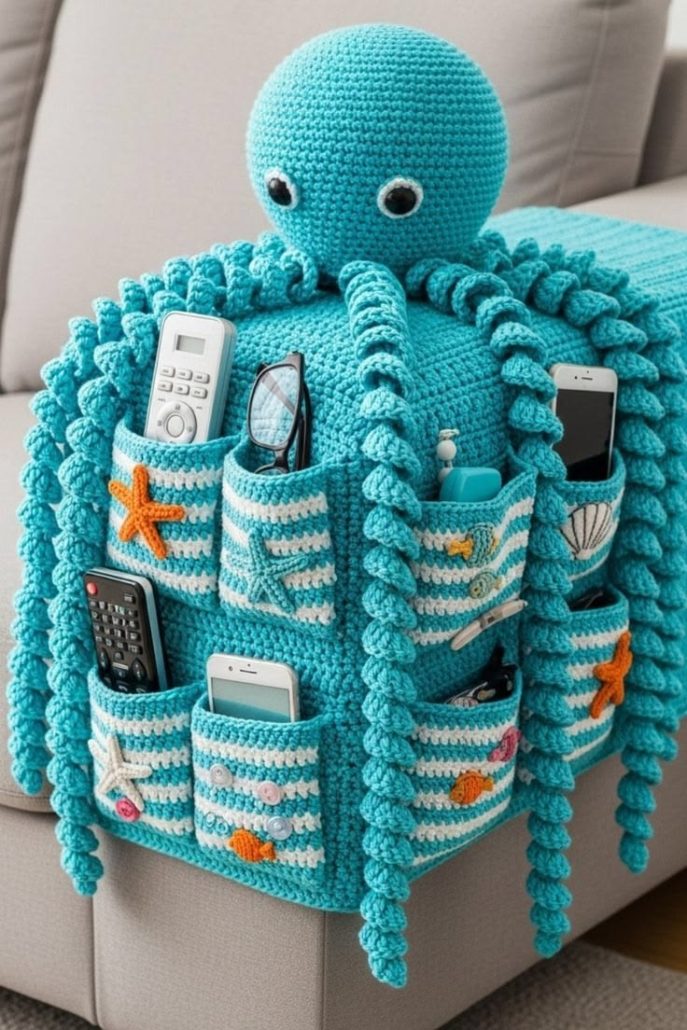
Once the base is complete, begin building the pocket by working upward without increasing too much.
Leave enough space for remote controls to fit comfortably inside.
You can create multiple compartments by dividing the pocket with additional stitches.
The next stage in the Rooster Control Holder – TUTORIAL is shaping the decorative rooster features.
Crochet separate pieces for the head, comb, beak, and wings.
Use increases and decreases to shape each part properly.
In the Rooster Control Holder – TUTORIAL, careful placement of these pieces brings the rooster to life.
Attach the head to the top of the holder securely.
Sew or crochet the wings onto the sides for added detail.
Embroider eyes and other small features to complete the look.
The final stage of the Rooster Control Holder – TUTORIAL focuses on finishing touches and personalization.
Weave in all loose ends carefully for a clean finish.
If needed, insert a structured material inside to help the holder stand upright.
In the Rooster Control Holder – TUTORIAL, customization allows you to make your project unique.
Add decorative edging or borders to enhance the design.
Adjust the size of the pocket depending on your needs.
Once completed, your rooster control holder is ready to use and display.
Is this project suitable for beginners?
Yes, the Rooster Control Holder – TUTORIAL is beginner-friendly with basic crochet skills.
What yarn is best for this project?
Cotton yarn is ideal because it provides structure and durability.
Can I make it larger?
Yes, simply adjust the base size and pocket height.
How long does it take to complete?
It usually takes a few hours depending on the level of detail.
Can I customize the design?
Absolutely, you can change colors and features.
Is it a good gift idea?
Yes, it makes a creative and useful handmade gift.
The Rooster Control Holder – TUTORIAL is a fun and functional crochet project that combines organization with decorative charm. It allows you to create a unique piece that keeps your space tidy while adding personality to your home.
In this tutorial, you learned how to select materials, crochet a sturdy base, shape the rooster design, and finish your project with thoughtful details. Each step contributes to a durable and visually appealing final result.
Projects like the Rooster Control Holder – TUTORIAL show how crochet can be both practical and creative, turning simple yarn into useful and decorative items.
If you enjoyed this tutorial, feel free to leave your honest opinion and share your suggestions. Your feedback helps inspire more creative crochet ideas and patterns.