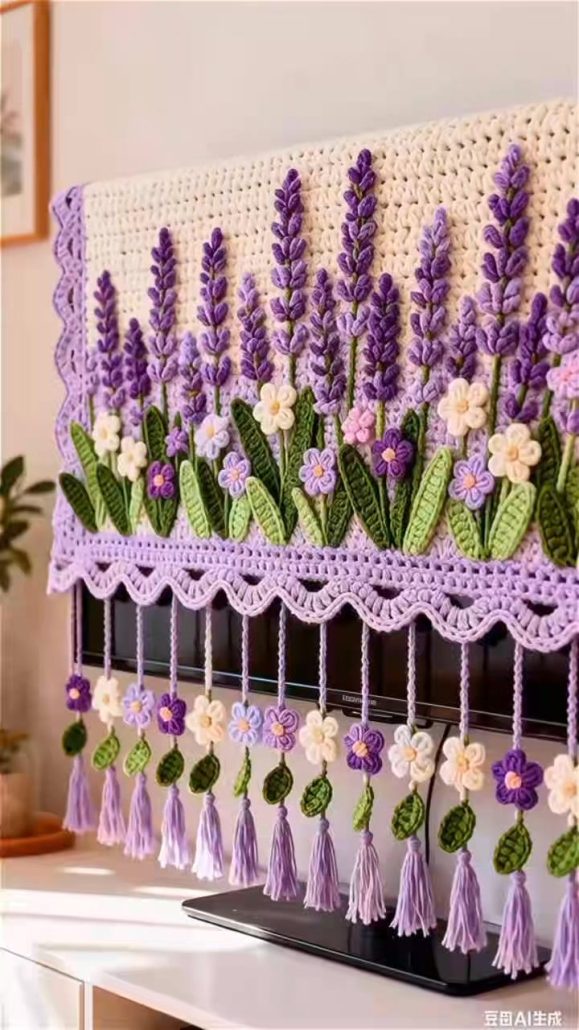
Crocheting a Lavender Curtain - Tutorial

The DIY Nia Mandala – PATTERN is a stunning crochet project that blends artistic expression with mindful crafting. Mandalas are known for their intricate symmetry and calming design, making this project perfect for those who want to create something both decorative and meaningful.
With the DIY Nia Mandala – PATTERN, you can explore a wide range of colors, textures, and stitch techniques. Whether you prefer bold, vibrant combinations or soft, neutral tones, this project allows you to fully express your creativity while developing your crochet skills.
In this complete guide, you’ll learn how to create your own DIY Nia Mandala – PATTERN step by step. From selecting materials to finishing your piece, this tutorial is designed to help crafters of all levels achieve a beautiful and balanced result.
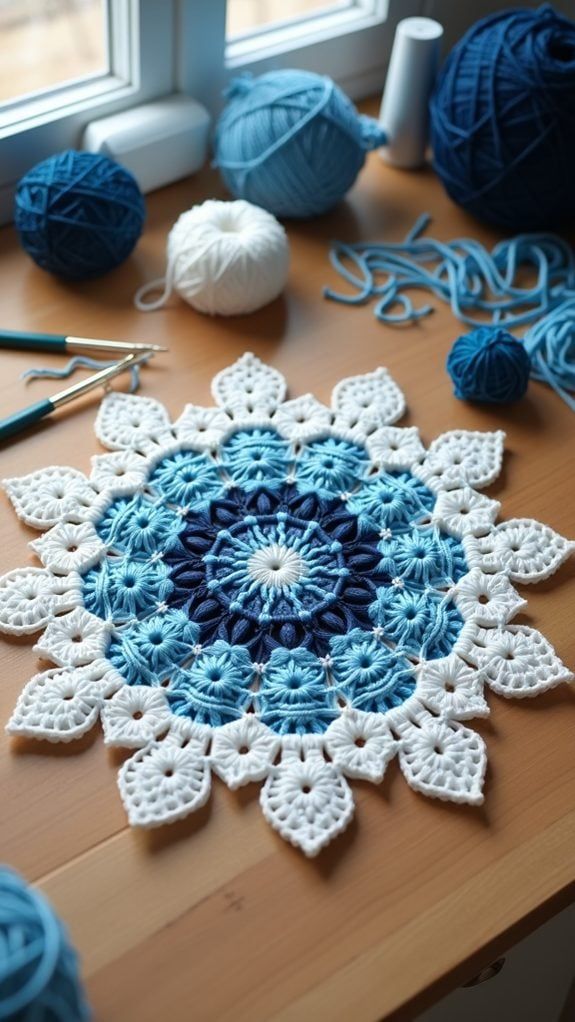
To begin your DIY Nia Mandala – PATTERN, choosing the right yarn is essential. Cotton yarn is highly recommended because it provides excellent stitch definition and helps maintain the mandala’s shape.
Color selection is one of the most exciting parts of this project. You can use multiple shades to highlight different sections or stick to a monochrome palette for a more subtle effect.
You will need a crochet hook that matches your yarn weight. Using the correct hook size ensures consistent stitches and a neat overall appearance.
Basic tools such as scissors, a yarn needle, and stitch markers are also important. These will help you keep track of rounds and finish your project cleanly.
A blocking mat and pins are highly recommended for shaping your mandala. Blocking helps define the pattern and enhances the final look of your DIY Nia Mandala – PATTERN.
Before starting, review the pattern carefully. Understanding the sequence of stitches and rounds will make the process smoother and more enjoyable.
The DIY Nia Mandala – PATTERN begins at the center, typically worked in the round. Start with a magic ring or chain loop to form the base.
From there, build outward using a combination of basic and decorative stitches. Each round adds new layers and texture to the design.
As you progress, pay attention to stitch counts. Keeping track of your stitches ensures the mandala remains symmetrical and evenly shaped.
Different rounds may include techniques such as clusters, chains, or picot stitches. These elements create the intricate details that make the mandala visually appealing.
Continue working in rounds until you reach the desired size. The pattern may include repeating sections that build complexity gradually.
Once complete, fasten off your yarn and weave in all ends securely. This completes the crochet portion of your DIY Nia Mandala – PATTERN.
One of the most enjoyable aspects of the DIY Nia Mandala – PATTERN is the endless customization options. You can experiment with different color schemes to create a unique design.
Using gradient yarn can produce a smooth transition between colors, giving your mandala a dynamic and flowing appearance.
You can also adjust the size by adding or removing rounds. This makes it easy to create anything from small coasters to large wall hangings.
Incorporating beads or metallic threads can add a decorative touch. These details enhance the visual impact of your mandala.
You might also try different stitch combinations to create new textures. This allows you to personalize your DIY Nia Mandala – PATTERN even further.
Another idea is to create a series of mandalas in coordinating colors for a cohesive home décor theme.
Finishing your DIY Nia Mandala – PATTERN properly is key to achieving a professional look. Blocking is an essential step that helps shape and define the pattern.
To block your mandala, gently dampen it and pin it to a flat surface, stretching it evenly. Allow it to dry completely before removing the pins.
You can also stiffen your mandala using fabric starch if you want it to hold its shape as a wall decoration.
This project has many practical uses. It can be displayed as wall art, used as a table centerpiece, or even incorporated into other crochet projects.
The DIY Nia Mandala – PATTERN also makes a thoughtful handmade gift. Its intricate design and personal touch make it special for any occasion.
Additionally, working on mandalas can be relaxing and meditative. The repetitive patterns help reduce stress and promote mindfulness.
Is this project suitable for beginners?
Yes, the DIY Nia Mandala – PATTERN can be adapted for beginners, especially with simpler stitch combinations.
What type of yarn is best?
Cotton yarn is recommended because it provides structure and clear stitch definition.
Do I need to block the mandala?
Blocking is highly recommended to achieve a neat and symmetrical finish.
Can I make different sizes?
Yes, you can adjust the size by adding or reducing rounds in the pattern.
How long does it take to complete?
Depending on complexity, it can take a few hours to a couple of days.
Can I use this as home décor?
Absolutely. Mandalas are perfect for wall art, table décor, and more.
The DIY Nia Mandala – PATTERN is a creative and rewarding crochet project that combines beauty, technique, and relaxation. In this guide, you’ve learned how to choose materials, follow step-by-step instructions, customize your design, and finish your mandala professionally.
With endless possibilities for colors and patterns, this project allows you to create a unique piece that reflects your personal style. Whether for decoration or as a gift, a handmade mandala is always meaningful.
Now it’s your turn to try the DIY Nia Mandala – PATTERN. Share your honest opinion and leave your suggestions—your feedback can inspire even more creative crochet projects!