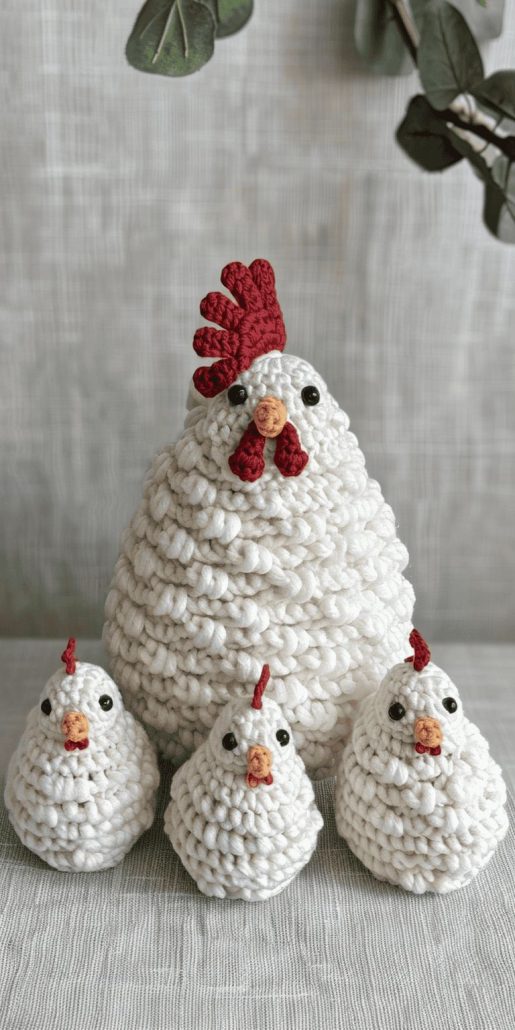
Chicken Crochet - Pattern

The DIY Crochet Rose Guide – PATTERN is the perfect resource for anyone looking to create elegant and timeless floral embellishments using yarn and a hook. Whether you’re making a single rose for a brooch or a full bouquet for home decor, this pattern allows for incredible versatility and creativity.
Crochet roses have a unique charm. They’re delicate, textured, and ideal for everything from gift toppers to wearable accessories. With just a few stitches, you can replicate the beauty of nature in a long-lasting handmade form.
In this tutorial, we’ll explore how to crochet a rose step by step, using a beginner-friendly format. With simple instructions and helpful tips, the DIY Crochet Rose Guide – PATTERN is ideal for crafters of all levels.

Choosing the right materials for your DIY Crochet Rose Guide – PATTERN can greatly impact the final result. The type of yarn and hook size you use will determine the texture, shape, and size of your rose.
Start with a medium-weight (worsted) yarn if you’re a beginner. It’s easier to see your stitches and maintain control. Cotton yarns provide great stitch definition, while acrylic yarns offer flexibility and are budget-friendly.
The recommended hook size for medium-weight yarn is usually 5.0 mm (H/8), but always check your yarn label and adjust based on your tension and desired rose size.
For a more delicate rose, try a sport-weight or DK yarn with a smaller hook. These are ideal for making roses for hair clips, pins, or other accessories that need finer details.
If you’re making a bouquet or decor piece, you can go bigger with bulky yarn and a 6–7 mm hook. This makes a statement and adds softness to large-scale pieces like garlands or wall hangings.
Always make a small sample before starting your full project to ensure your materials give you the look and feel you want. Consistency is key in flower-shaped projects.
The heart of the DIY Crochet Rose Guide – PATTERN lies in its spiral petal structure. While roses may look intricate, the base is typically just a long strip that curls naturally into a bloom.
Begin by chaining a foundation row. For a standard-sized rose, chain about 50 to 60 stitches. This will serve as the base length of the rose before it starts curling.
The next step involves creating petals along that chain. Typically, you’ll crochet a series of double crochets (dc) or half-double crochets (hdc) into each chain stitch, increasing the number per stitch in a repeating pattern.
For example, you might work 3 double crochets into one chain, skip the next chain, and repeat. This gives the petal structure and allows the strip to begin curling naturally.
Continue this across the entire row. You’ll notice the strip beginning to twist and spiral on its own—that’s a good sign you’re on track. The natural curling is what forms the rose.
Once the strip is complete, fasten off your yarn and leave a long tail. This will be used to sew the rose together in the next step.
Don’t worry if the shape looks messy at first. It’s all about how you roll and stitch the strip together in the next stage.
After completing your petal strip, the next step in the DIY Crochet Rose Guide – PATTERN is assembling it into a flower shape. This is where your rose takes form and gets its signature swirl.
Start by rolling the strip tightly at one end to form the center bud of the rose. Keep the petals slightly overlapping as you roll to create a natural bloom appearance.
Use a yarn needle and the long tail you left earlier to sew through the base of the roll as you go. This secures the layers together and helps maintain the rose shape.
Continue rolling and stitching at the base, working around the spiral. You can adjust the tightness as you go to create a fuller or looser bloom.
Once the rose is fully formed, tie off your yarn securely at the back. You can sew in the tail or leave it for attaching to another item, like a hat, bag, or bouquet stem.
If desired, you can add a green leaf or two by crocheting small leaf shapes and stitching them behind the bloom for added realism.
Each rose you make will have its own personality depending on your tension, yarn choice, and petal layout—which adds charm to your crochet garden!
One of the best things about the DIY Crochet Rose Guide – PATTERN is how adaptable it is. These charming flowers can be used in countless ways to add a handmade touch to everyday items.
Use your crochet roses as appliqués on hats, scarves, bags, and clothing. They’re a lovely way to personalize your handmade (or store-bought) pieces.
String several roses together to create a garland. This makes a beautiful decoration for weddings, baby showers, or simply sprucing up a mantel or window.
Attach your rose to a safety pin or clip to make a brooch or hair accessory. Add a bit of hot glue for extra hold if necessary.
Crochet stems using green yarn to create a full bouquet. These make fantastic gifts that last forever and don’t need watering!
You can also use smaller roses on keychains, bookmarks, or handmade greeting cards. Their versatility makes them great for gift sets and craft fairs.
Finally, combine your crochet roses with other crochet flowers or motifs to create stunning wall art or three-dimensional textile displays.
Is this crochet rose pattern suitable for beginners?
Yes! The pattern is beginner-friendly. As long as you know basic stitches like chain and double crochet, you can follow the guide with ease.
What kind of yarn is best for crochet roses?
Cotton yarn works great for defined stitches, while acrylic yarn is softer and flexible. Medium-weight yarn is ideal for most uses.
Can I adjust the size of the rose?
Absolutely. The size depends on your starting chain and yarn weight. Longer chains and thicker yarn make larger roses.
How do I keep the rose from unraveling?
Secure the rolled rose by stitching through the base as you roll it. This keeps all the layers tightly in place.
Can I wash items with crochet roses attached?
Yes, but always follow the yarn care instructions. Hand washing is often safest to preserve the shape of the rose.
Do I need special tools to make crochet roses?
No special tools are needed—just yarn, a hook, scissors, and a yarn needle. Optional: a hot glue gun for accessories.
The DIY Crochet Rose Guide – PATTERN offers a beautiful and accessible way to bring handmade floral elements into your life. From choosing the right yarn and creating petals to shaping your bloom and exploring creative uses, this pattern empowers you to craft stunning crochet roses with ease and joy.
If you enjoyed this tutorial, please leave your honest feedback and share your thoughts or ideas for future crochet patterns you’d love to see. Your suggestions help keep our content fresh and inspiring for makers around the world!