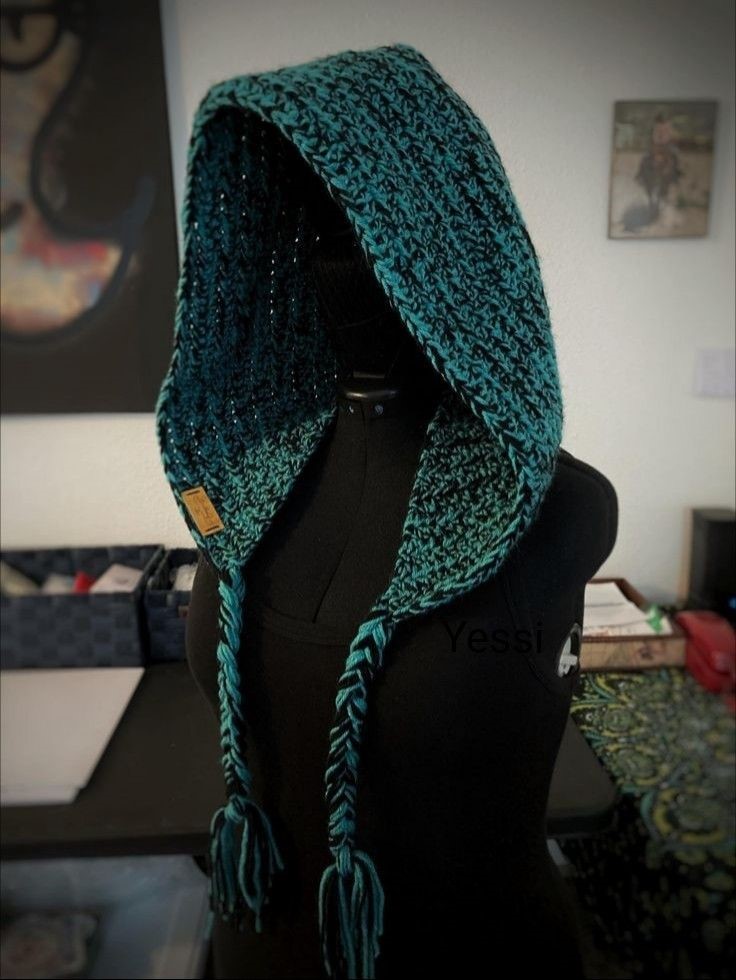
Custom Crochet Detached Hood - PATTERN

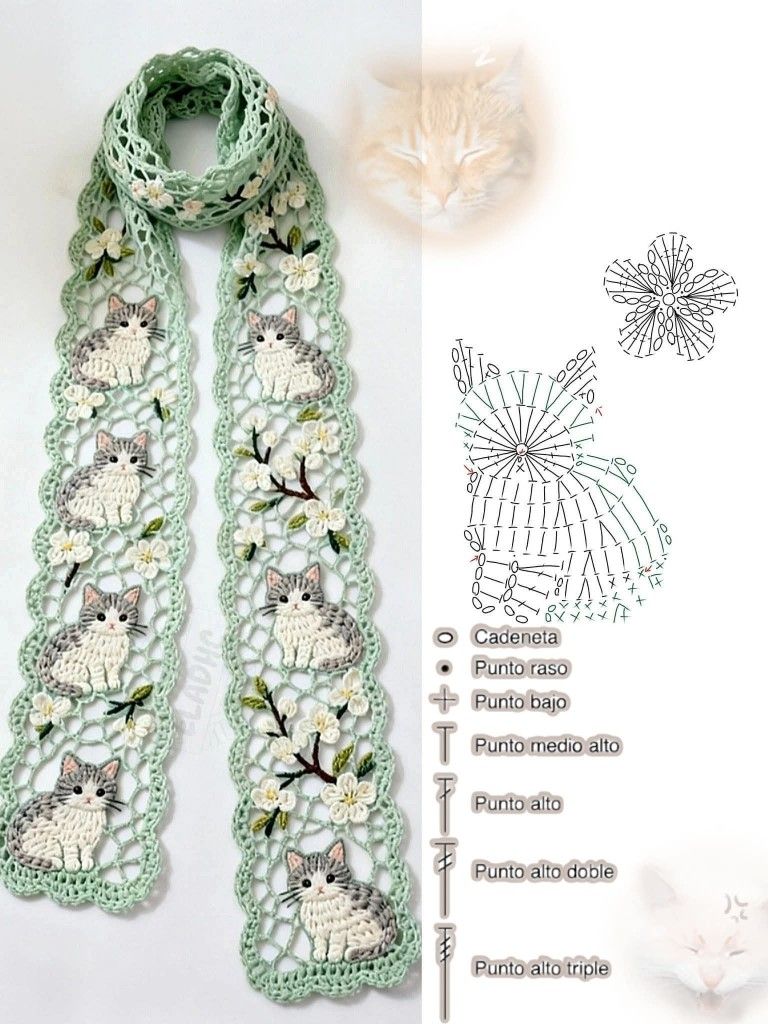
Cute Cat Scarf – Tutorial is an adorable and creative project perfect for anyone who loves fun accessories and charming handmade designs. In this article, you will learn how to create a unique Cute Cat Scarf – Tutorial piece using simple stitches and beginner-friendly steps that transform yarn into a playful, cozy accessory. Whether you are new to crocheting or an experienced maker, this design brings joy, creativity, and personality to your wardrobe. As you follow along, you will discover tips for shaping the cat elements, assembling the scarf, and customizing every detail to match your personal style.
Working on a Cute Cat Scarf – Tutorial is a delightful way to practice different crochet techniques while creating something cute and wearable. The project blends basic stitches with fun features like cat ears, paws, and facial embroidery. Every element adds charm, making this scarf a conversation piece wherever you go. It is also an excellent gift idea for cat lovers of all ages, offering comfort and style in one adorable accessory.
Beyond constructing the main scarf, this Cute Cat Scarf – Tutorial will guide you through adding the unique details that truly bring the design to life. From shaping the face to attaching the tail, each step helps build a piece filled with character. Before you begin the hands-on instructions, let’s explore the tools, materials, and methods that will set the foundation for a successful project.
To start your Cute Cat Scarf – Tutorial, choosing the right materials ensures your scarf is soft, comfortable, and well-structured. A medium-weight yarn works beautifully for this project because it provides warmth without being too bulky. Acrylic and cotton blends are also popular choices, offering durability and softness ideal for scarves worn frequently.
Your hook size should match the yarn label’s recommendations, though you can adjust slightly based on your tension. Using a smaller hook creates a tighter, more defined stitch—especially helpful when shaping the cat ears and paws. A larger hook produces a looser drape for a more flexible scarf.
Additional tools such as a yarn needle, scissors, safety eyes, and stitch markers will help you complete the cat features. The yarn needle is required for sewing ears, paws, and facial details securely. Safety eyes are optional but give a polished and expressive look to your cat design.
Color selection plays an important role in bringing your cat scarf to life. You can choose traditional cat colors like gray, black, beige, or white, or get creative and use fun pastel shades or bold tones. The choice is entirely yours and can turn your piece into a playful or more elegant version.
Lastly, prepare a comfortable workspace with good lighting and room to spread out your materials. Being organized from the start will make the creative process more enjoyable and smooth.
The foundation of the Cute Cat Scarf – Tutorial begins with crocheting the long base of the scarf. You will typically start with a chain that determines the length of the scarf. Depending on your preference, you can create a short, standard, or extra-long design. Once your chain is complete, you will work rows of basic stitches such as single crochet or half-double crochet to form a solid, warm fabric.
Consistent tension is key throughout this step, as it ensures your scarf maintains an even appearance. If you are new to crocheting long rows, it may help to count stitches every few rows to avoid accidental increases or decreases.
Next, focus on building the thickness and softness of the scarf. Adding more rows creates a warmer piece, while fewer rows result in a lighter accessory. This allows you to tailor it for different seasons or personal comfort.
To give your scarf a polished look, consider adding a border. A simple single crochet border adds structure, while a scalloped edge can give a cute, decorative finish. Experiment with different edging styles to see what suits your design best.
After completing the main base, it’s time to prepare for attaching the cat features. Leave long yarn tails at each end if you plan to sew elements directly onto the scarf for extra stability.
The charm of the Cute Cat Scarf – Tutorial lies in its adorable cat-themed details. Begin by creating the cat ears, which are typically made using triangular increases and decreases. You can make them rounded or pointy depending on the expression you want the cat to have. Stuffing the ears lightly helps them stand upright.
Next, crochet the paws. These small pieces often include shaping created with increases and decreases, giving them a rounded and cute appearance. You can choose to make flat paws or lightly stuffed ones for extra dimension.
Moving on to the cat’s face, this part brings the entire design to life. You can use safety eyes for a polished look or embroider eyes using yarn for a softer, handmade touch. Small details like whiskers, a tiny nose, and a small smile add personality to the scarf.
Another fun element is the tail. Whether you make it long and curved or short and stubby, this detail enhances the overall theme and adds movement to your scarf. Some crocheters also enjoy adding stripes or color changes to mimic calico or tabby patterns.
All these elements work together to create a character-rich piece. Taking your time with each detail ensures the final result will be expressive and eye-catching.
Assembling the pieces is one of the most exciting steps in this Cute Cat Scarf – Tutorial, as your scarf truly begins to take shape. Start by laying out the scarf and positioning the ears, paws, and face exactly how you want them. Pinning them before sewing can help you visualize the final look.
Using your yarn needle, carefully stitch each piece in place, ensuring the stitches are secure but not too tight. Take your time with this step, as proper placement of the facial details determines the personality of your cat.
Once all pieces are attached, you can move on to customizing your scarf even further. Change yarn colors to create unique cat styles, add small accessories like a crocheted bow or collar, or incorporate stripes to mimic real cat breeds. These touches make your scarf truly one of a kind.
If you want a more plush look, consider lightly stuffing certain elements like the paws or tail. This adds softness and creates a more three-dimensional effect. On the other hand, if you prefer a flatter, more wearable design, keep the features unstuffed.
Finally, weave in all loose ends and give your scarf a gentle block if necessary. This helps smooth any uneven edges and ensures the scarf drapes beautifully.
How long does it take to make a Cute Cat Scarf?
Most crocheters take between two and five days depending on their experience and the amount of detail added.
What yarn is best for a cat scarf?
Medium-weight yarn is ideal because it is warm, easy to work with, and holds the shape of cat features well.
Is this project good for beginners?
Yes, this Cute Cat Scarf – Tutorial is beginner-friendly, especially with its simple base and small decorative pieces.
Can I customize the cat’s features?
Absolutely! You can change colors, expressions, ear styles, and add accessories to personalize your scarf.
Do I need stuffing for the paws or ears?
Stuffing is optional but gives a more dimensional and playful appearance.
Can I make this scarf in different sizes?
Yes, simply adjust the length of the starting chain or the number of rows to make the scarf longer or shorter.
This Cute Cat Scarf – Tutorial showed you how to crochet a charming scarf with adorable cat features, from crafting the main base to adding expressive details like ears, paws, and facial embroidery.
With creativity and patience, you can design a piece that’s both cozy and cute, perfect for wearing or gifting. If you enjoyed this tutorial, please leave a sincere opinion and share your suggestions so we can continue creating helpful and inspiring content for you.