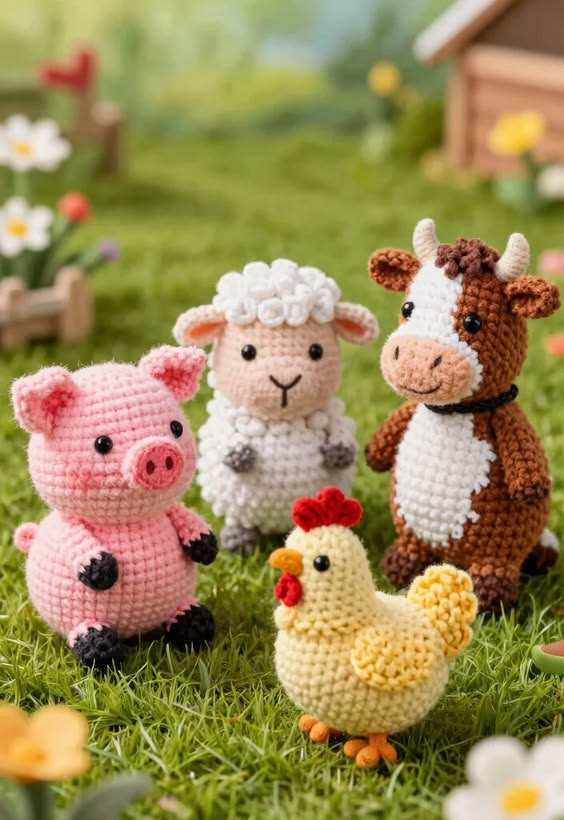
Stuffed Animals - TUTORIAL

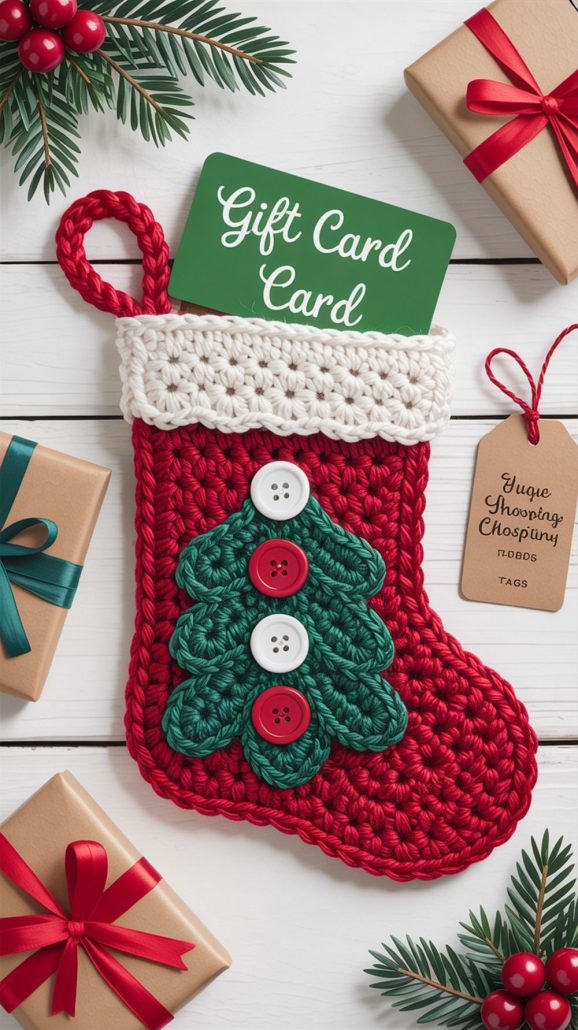
The Crochet Stocking Gift Card Holder – Pattern is a delightful project that combines the charm of handmade crafts with the practicality of holiday gift-giving. Gift cards are often seen as impersonal presents, but when you tuck them inside a crochet stocking that you’ve made yourself, they instantly become thoughtful and heartwarming. With this pattern, you’ll learn how to create small festive stockings that can hold not only gift cards but also candies, trinkets, or tiny keepsakes.
Crocheting a stocking gift card holder is a beginner-friendly project, making it perfect for anyone who wants a quick and satisfying crochet piece. It requires minimal yarn, works up in just a short time, and leaves room for personalization through color choices and embellishments. Whether you’re creating a set for your family, friends, or coworkers, the Crochet Stocking Gift Card Holder – Pattern is an excellent way to add a handmade touch to your holiday celebrations.
Beyond being functional, these mini stockings are also decorative. You can hang them on your Christmas tree, use them as place settings at a festive dinner, or even string several together to form a cheerful garland. This tutorial will guide you step by step through the process while giving you creative ideas to make each stocking unique and memorable.
Before you dive into the Crochet Stocking Gift Card Holder – Pattern, it’s important to gather all the necessary supplies. Having everything ready will make your project smooth and enjoyable.
First, select your yarn. Worsted-weight yarn works best for this project, but you can also use scraps of leftover yarn in festive colors like red, green, and white. Cotton yarns give a neat look, while acrylics add durability.
Second, choose the right crochet hook size. A 4 mm to 5 mm hook is ideal for worsted yarn, but always match your hook to your yarn for the best results.
Third, keep a pair of scissors handy to cut yarn ends neatly. Small, sharp scissors will make trimming easier.
Fourth, you’ll need a yarn needle for weaving in ends and stitching on embellishments. This will ensure your stocking looks clean and professional.
Fifth, optional extras include small buttons, ribbons, pom-poms, or bells that you can use to decorate the finished stocking. These little details make each piece special.
Finally, a measuring tape or ruler can help ensure your stocking is large enough to fit standard gift cards, usually about 2.1” x 3.4”.
Following the Crochet Stocking Gift Card Holder – Pattern is straightforward, even for beginners. With just a few steps, you’ll have a mini stocking ready to fill with holiday surprises.
Start by making the cuff. This part is often crocheted in rows using simple stitches like single crochet or half double crochet. Fold it over later to give the stocking a classic look.
Next, create the body of the stocking by working in rounds. Using double crochet or half double crochet stitches will help it grow quickly while keeping a neat texture.
Once the body is complete, shape the heel and toe sections. These are usually made with short rows or decreases, giving the stocking its iconic shape.
After shaping, join the sections and make sure the stocking is symmetrical. Crocheting evenly and checking your stitch count will keep the shape balanced.
Add a hanging loop at the top of the cuff. A small chain of stitches is all you need to create a sturdy loop for hanging on a tree or gift bag.
Finish the stocking by weaving in loose ends and adding decorative touches. A ribbon bow, a small jingle bell, or embroidered initials can make your piece extra special.
The Crochet Stocking Gift Card Holder – Pattern is highly versatile, allowing for endless creative variations. You can make each one unique depending on your style and the occasion.
One fun variation is to play with colors. Traditional red and green are festive classics, but you can also try metallic yarns in gold or silver for a modern twist.
You can also use stripes or color blocking. Alternating rows of red and white can give your stocking a candy cane effect, while a bold two-tone palette makes it eye-catching.
Another variation is to experiment with textures. Using stitches like bobble stitch or puff stitch adds dimension and a cozy look to the stocking.
For personalization, you can embroider initials or crochet small appliqués, such as snowflakes, stars, or holly leaves, to attach to the stocking.
You could also make themed sets. For example, crochet stockings in the colors of your favorite sports team, or design a pastel set for a winter wonderland theme.
Finally, try using different sizes of hooks and yarn weights to create stockings in varying sizes. These can be used as ornaments, larger pouches, or even party favors.
To get the most out of your Crochet Stocking Gift Card Holder – Pattern, here are some useful tips for both making and using your stockings.
When crocheting, maintain even tension throughout the project. This ensures that your stocking is the right size and doesn’t come out too loose or too tight.
Block your stocking lightly if needed. A quick steam or gentle shaping can make it look more polished and professional.
Keep your stitches neat around the heel and toe sections. These areas define the shape of the stocking, so accuracy is important.
If you’re making multiple stockings, consider creating them assembly-line style. Crochet all the cuffs first, then the bodies, and so on, to save time.
Use your finished stockings creatively. Besides holding gift cards, they can be hung as tree decorations, placed on dinner plates as festive favors, or even used as advent calendar pouches.
Lastly, remember that handmade gifts carry sentimental value. Even something as simple as a gift card feels more thoughtful when paired with a handmade crochet stocking.
Q: Is this project beginner-friendly?
A: Yes, the pattern uses simple stitches, making it perfect for beginners who want to create quick and festive crochet pieces.
Q: How long does it take to make one stocking?
A: Depending on your skill level, a stocking can be completed in about 1–2 hours.
Q: Can I use scrap yarn for this project?
A: Absolutely! This is an excellent scrap-busting project since the stockings are small and colorful.
Q: What size should the finished stocking be?
A: Aim for at least 3–4 inches tall to comfortably fit standard gift cards.
Q: Can I make larger versions of the stocking?
A: Yes, by increasing your hook size or using bulkier yarn, you can scale up the stocking for different uses.
Q: How do I make the stocking more festive?
A: Add embellishments like ribbons, buttons, appliqués, or jingle bells for extra holiday charm.
The Crochet Stocking Gift Card Holder – Pattern is a charming and practical holiday project that adds a personal touch to your gift-giving. Quick to make, easy to customize, and perfect for using yarn scraps, these little stockings bring joy and creativity to the season.
Whether you use them as ornaments, favors, or functional holders for gift cards, they are guaranteed to impress. We hope this tutorial has inspired you to make your own crochet stockings. Share your experiences, suggestions, and honest opinions with us—we’d love to see how your festive creations turn out!