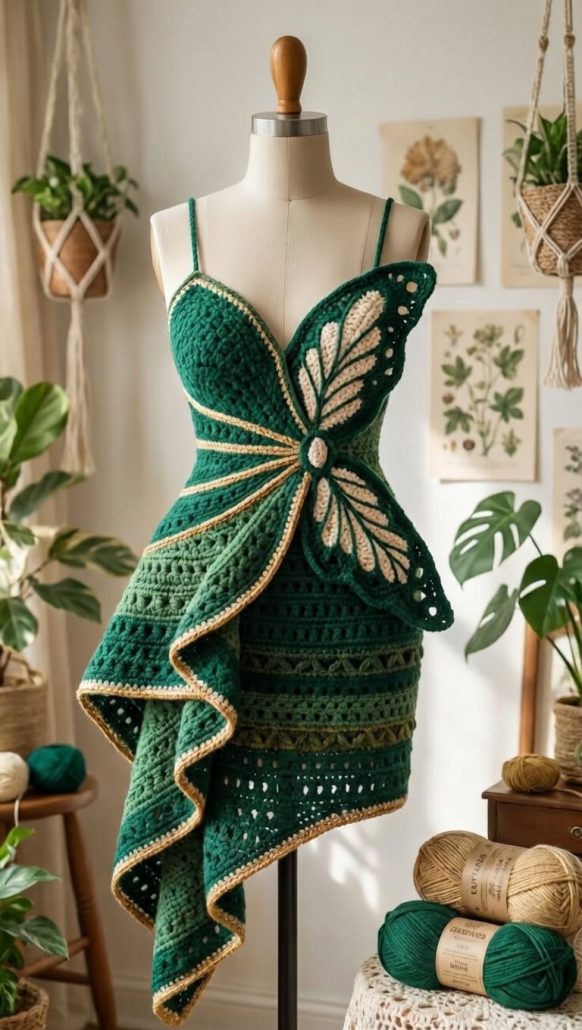
DIY Nia Mandala - PATTERN

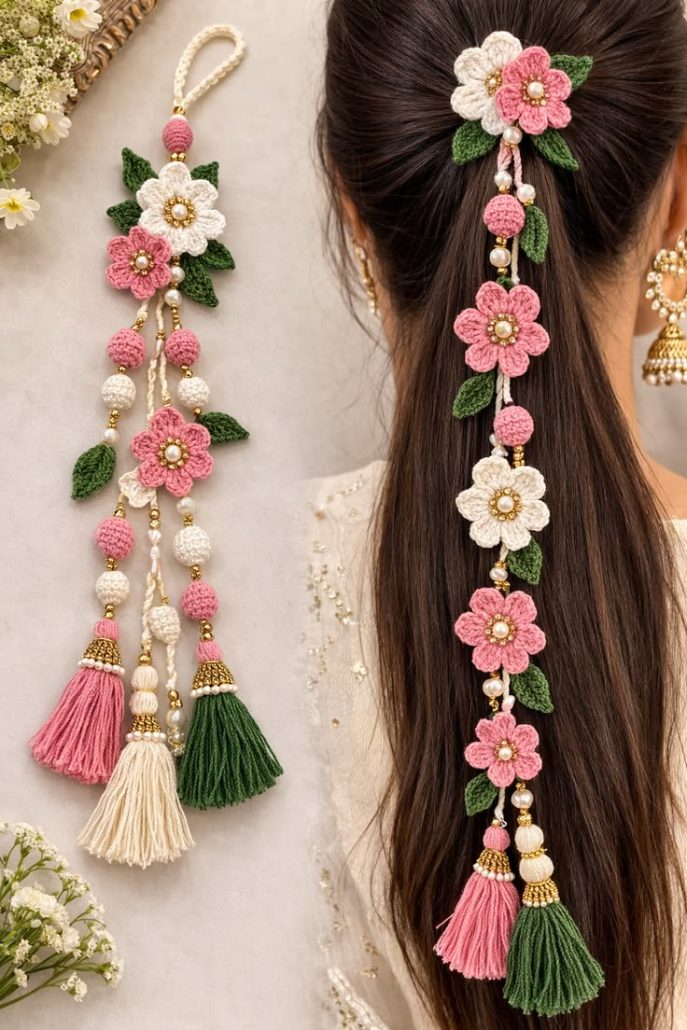
The Crochet Easy Hair Tie – TUTORIAL is a simple and stylish project that’s perfect for anyone who loves quick crochet creations. Whether you’re looking to make a cute accessory for yourself or a thoughtful handmade gift, this project is both practical and fun to complete.
With the Crochet Easy Hair Tie – TUTORIAL, you can easily customize your hair ties using different yarns, colors, and textures. From soft pastel tones to bold and vibrant shades, the possibilities are endless, allowing you to match your accessories to your personal style or outfit.
In this detailed guide, you will learn how to create a Crochet Easy Hair Tie – TUTORIAL step by step. This project is beginner-friendly and requires minimal materials, making it an excellent choice for those who want a fast and satisfying crochet experience.
To start your Crochet Easy Hair Tie – TUTORIAL, choosing the right yarn is very important. Cotton yarn is highly recommended because it is soft, durable, and holds its shape well after repeated use.
You will also need a standard elastic hair band. This will serve as the base of your crochet work and ensure the hair tie is functional and secure.
Selecting the correct crochet hook size is essential. A smaller hook usually works best, as it creates tighter stitches that wrap neatly around the elastic.
Basic tools such as scissors and a yarn needle are necessary for finishing your project. These will help you cut the yarn and weave in loose ends cleanly.
You can also prepare multiple yarn colors if you want to create striped or multicolored designs. This adds a unique touch to your Crochet Easy Hair Tie – TUTORIAL.
Before starting, make sure your materials are organized. This will make the process smoother and more enjoyable from beginning to end.
The Crochet Easy Hair Tie – TUTORIAL begins by attaching your yarn to the elastic hair band. This is usually done with a slip knot to secure the yarn in place.
Next, work single crochet stitches around the elastic band. Continue evenly spacing your stitches until the entire band is covered.
As you crochet, make sure the stitches are snug but not too tight. This ensures the hair tie remains flexible and comfortable to use.
Once you complete the first round, you can add additional rounds if you want a fuller or more textured look. This step is optional but adds volume to your design.
After reaching your desired thickness, fasten off the yarn securely. Use a yarn needle to weave in the ends neatly so they are hidden within the stitches.
Your Crochet Easy Hair Tie – TUTORIAL is now complete and ready to use or gift.
One of the best things about the Crochet Easy Hair Tie – TUTORIAL is how easy it is to customize. You can experiment with different stitch patterns to create unique textures.
Try using half double crochet or puff stitches for a more decorative appearance. These variations add depth and make your hair tie stand out.
Color combinations are another great way to personalize your project. You can create striped designs or use gradient yarn for a smooth color transition.
Adding small embellishments like beads or bows can enhance the final look. These details make your Crochet Easy Hair Tie – TUTORIAL even more special.
You can also adjust the thickness by adding more rounds of stitches. This allows you to create both delicate and chunky styles.
Making sets of matching hair ties is a fun idea. They can be coordinated with outfits or given as handmade gifts.
The Crochet Easy Hair Tie – TUTORIAL is not only a creative project but also highly useful. Handmade hair ties are gentle on hair and reduce breakage compared to some store-bought options.
They are perfect for everyday use, whether you’re styling a ponytail, bun, or braid. Their soft texture makes them comfortable to wear for long periods.
This project is also budget-friendly. You can use leftover yarn from other projects, making it an eco-conscious choice.
The Crochet Easy Hair Tie – TUTORIAL is ideal for quick crafting sessions. It’s a great way to relax and complete something satisfying in a short amount of time.
Additionally, these hair ties make excellent gifts. They are small, practical, and can be customized for any occasion.
Finally, this project helps improve your crochet skills. It’s perfect for practicing tension, stitch consistency, and finishing techniques.
Is this project suitable for beginners?
Yes, the Crochet Easy Hair Tie – TUTORIAL is perfect for beginners and requires only basic crochet skills.
What type of yarn is best?
Cotton yarn is recommended because it is durable and holds its shape well.
Can I use other types of elastic?
Yes, you can use any strong elastic band, but make sure it is comfortable and not too tight.
How long does it take to make one?
Most hair ties can be completed in 15 to 30 minutes.
Can I wash crochet hair ties?
Yes, they can usually be hand washed and air dried to maintain their shape.
How do I make them more decorative?
You can use different stitches, colors, or add embellishments like beads or bows.
The Crochet Easy Hair Tie – TUTORIAL is a simple yet rewarding project that combines creativity and practicality. In this guide, you’ve learned how to choose materials, follow easy steps, customize your design, and understand the benefits of handmade hair accessories.
With endless possibilities for colors and styles, this project is perfect for anyone looking to create something quick and useful. Whether for personal use or as a thoughtful gift, crochet hair ties are always a great choice.
PATTERN VIDEO:
Now it’s your turn to try the Crochet Easy Hair Tie – TUTORIAL. Share your honest opinion and leave your suggestions—your feedback can inspire even more creative crochet ideas!