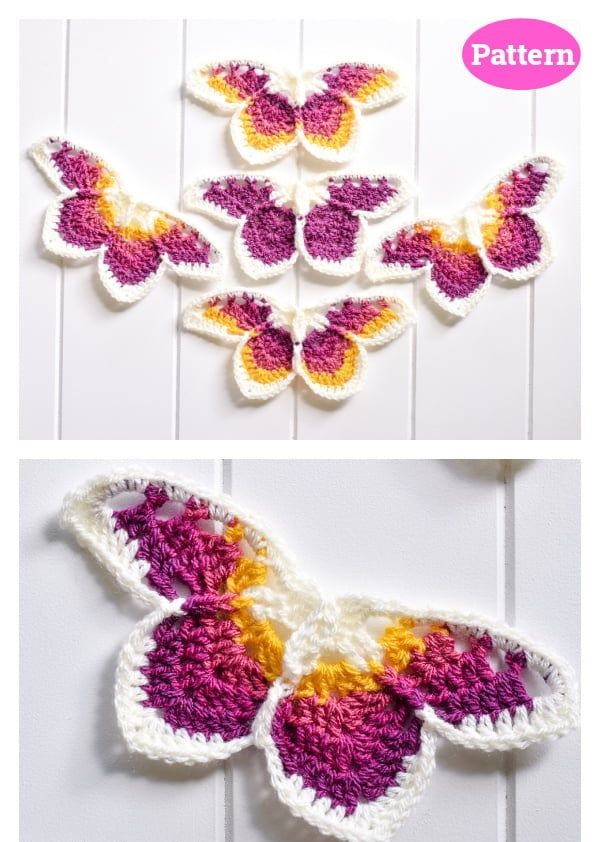
Resilient Butterfly Crochet - Pattern

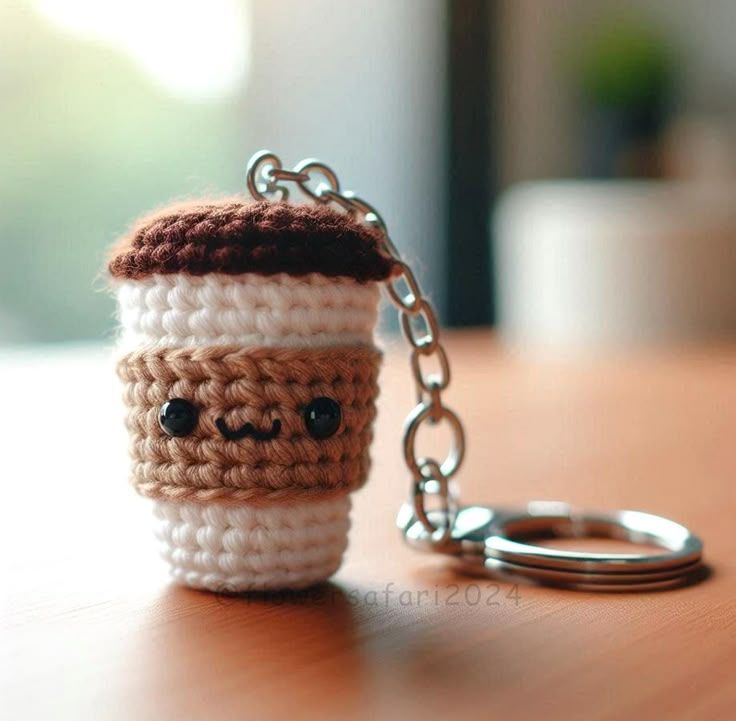
If you love coffee and crochet, you will fall in love with this Crochet Coffee Keychain – TUTORIAL. This project is a perfect combination of creativity, practicality, and charm. Whether you’re making it for yourself, as a gift, or to sell at craft fairs, this adorable coffee-themed accessory will brighten up anyone’s day. In this guide, you’ll learn how to create it step-by-step, with tips to make your work neat, professional, and durable.
The Crochet Coffee Keychain – TUTORIAL is an ideal project for beginners and experienced crocheters alike. It’s small, quick to finish, and uses minimal yarn, making it a great way to use leftover scraps. Plus, its cute coffee cup design adds a unique touch to your keys, bags, or even as a decorative charm. The versatility of this pattern means you can play with colors, sizes, and embellishments to make it your own.
Beyond its aesthetic appeal, this project is a great introduction to crochet techniques that can be applied to larger projects. The skills you’ll learn in this Crochet Coffee Keychain – TUTORIAL—like working in the round, shaping, and color changes—can be used to create amigurumi, home décor, and more. Let’s dive into the details and start crafting your new favorite keychain.
Before you begin, gather all the materials to ensure a smooth crocheting experience. This project requires only a few supplies, making it budget-friendly and beginner-friendly.
Choose a soft, durable yarn for your Crochet Coffee Keychain – TUTORIAL. Cotton yarn works well because it holds its shape and has a clean stitch definition. Select two or three colors: one for the coffee cup, one for the coffee surface, and one for any decorative details.
You’ll need a crochet hook that matches your yarn size. For most worsted weight yarns, a 3.5mm to 4mm hook works perfectly. A smaller hook can be used for a tighter stitch, which helps your coffee cup maintain its form.
Polyester fiberfill is essential for stuffing your keychain and giving it that plush, 3D effect. Make sure to use just enough stuffing to create a firm shape without stretching the stitches.
A keyring or lobster clasp will attach your finished coffee cup to your keys or bag. Choose a metal that is strong and rust-resistant for long-term use.
Don’t forget basic crochet accessories like a yarn needle for sewing pieces together and scissors for cutting yarn ends. These small tools make the process more efficient and enjoyable.
Finally, keep a stitch marker handy, especially if you’re a beginner. It will help you track your rounds and avoid mistakes, ensuring your Crochet Coffee Keychain – TUTORIAL turns out perfectly.
Start by creating a magic ring, which will serve as the base of your coffee cup. This technique ensures a tight center with no visible hole, giving your project a neat finish.
Work in continuous rounds to build the cup’s base, gradually increasing stitches to shape the bottom. This process creates a stable foundation for your Crochet Coffee Keychain – TUTORIAL.
Once the base is complete, crochet in the round without increases to form the sides of the cup. Keep your tension even to maintain symmetry and prevent warping.
When you reach the desired height, change yarn colors to create the coffee surface. A warm brown shade works well to mimic the look of real coffee. You can also experiment with lighter shades for a cappuccino or latte effect.
Add a small handle to the side of the cup using chain stitches and slip stitches. This simple detail adds charm and authenticity to your keychain.
Finally, stuff the cup with fiberfill, sew the top closed, and attach the keyring or clasp. Make sure everything is secure so your keychain withstands daily use.
One of the best parts about this Crochet Coffee Keychain – TUTORIAL is how customizable it is. You can easily adapt it to your style or the preferences of the person receiving it as a gift.
Experiment with yarn colors to create different coffee cup styles. White and green can give a “coffee shop” vibe, while pastels add a cute, kawaii touch.
Consider adding embroidered designs to the cup’s surface, like hearts, initials, or smiley faces, for a personalized finish.
You can also incorporate beads, buttons, or felt pieces for extra embellishment. For example, a tiny felt coffee bean stitched to the cup’s side can make your design even more unique.
If you’re selling your creations, try making themed sets for holidays or seasons. A red-and-white cup for Christmas or a pumpkin-orange design for fall can be a hit at craft fairs.
For an eco-friendly twist, use recycled yarn or repurpose yarn from old projects. This adds character to your work while promoting sustainability.
Finally, remember that packaging matters if you’re gifting or selling your keychain. Present it in a small box or with a cute tag to make it even more special.
Work with good lighting to avoid straining your eyes and ensure your stitches are even. Proper lighting helps you maintain precision in shaping your coffee cup.
Always check your tension. If your stitches are too loose, the keychain may lose its shape over time. A slightly tighter tension is ideal for small amigurumi-like projects.
Don’t rush through the pattern. Taking your time ensures each detail, from the base to the handle, looks neat and well-crafted.
If you’re new to crocheting in the round, practice the magic ring technique beforehand. This will make starting the Crochet Coffee Keychain – TUTORIAL much smoother.
Secure all yarn ends properly using a yarn needle. Hidden, well-secured ends improve durability and prevent unraveling during daily use.
Lastly, remember that creativity has no limits. Use this project as a stepping stone to explore more crochet keychain designs and build your skills.
Q1: Is this project beginner-friendly?
Yes! The Crochet Coffee Keychain – TUTORIAL is perfect for beginners, as it uses basic stitches and simple shaping techniques.
Q2: How long does it take to make one keychain?
On average, it takes 1 to 2 hours, depending on your crochet speed and experience.
Q3: What type of yarn is best for this project?
Cotton yarn is recommended for durability and a neat appearance, but acrylic yarn can also work well.
Q4: Can I sell the keychains I make using this tutorial?
Absolutely! Handmade keychains are popular items at markets and online shops, especially with custom designs.
Q5: Can I wash the crochet coffee keychain?
Yes, but it’s best to hand wash gently with mild soap and air dry to maintain its shape.
Q6: Can I change the size of the coffee cup?
Yes! Simply use a thicker yarn and larger hook for a bigger cup, or thinner yarn and smaller hook for a mini version.
The Crochet Coffee Keychain – TUTORIAL is a delightful project that blends creativity, practicality, and fun. With just a small amount of yarn, a crochet hook, and some imagination, you can create a charming accessory that makes a great gift or personal keepsake.
We’ve covered everything from materials and instructions to customization tips and common questions. Now it’s your turn to try it out and enjoy the process. Leave your honest opinion and suggestions—we’d love to hear how your coffee keychain turns out.