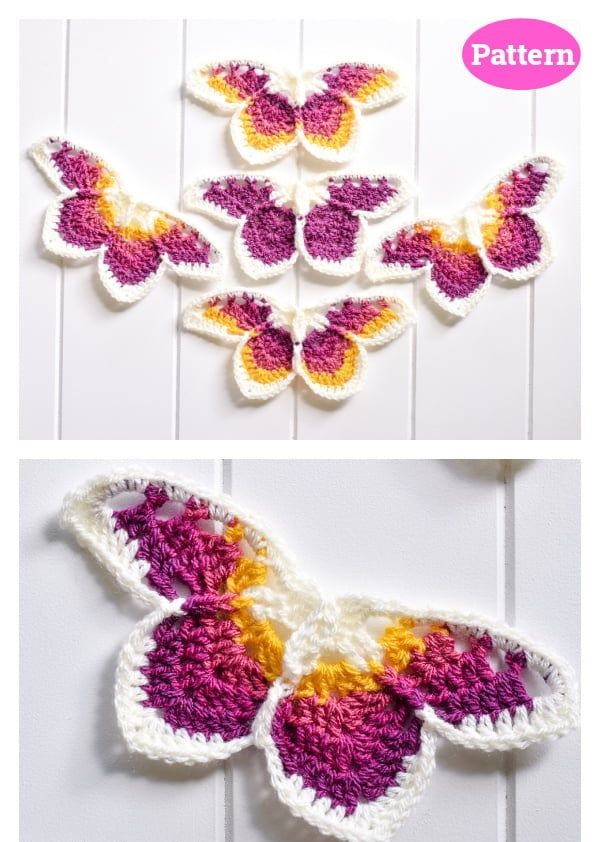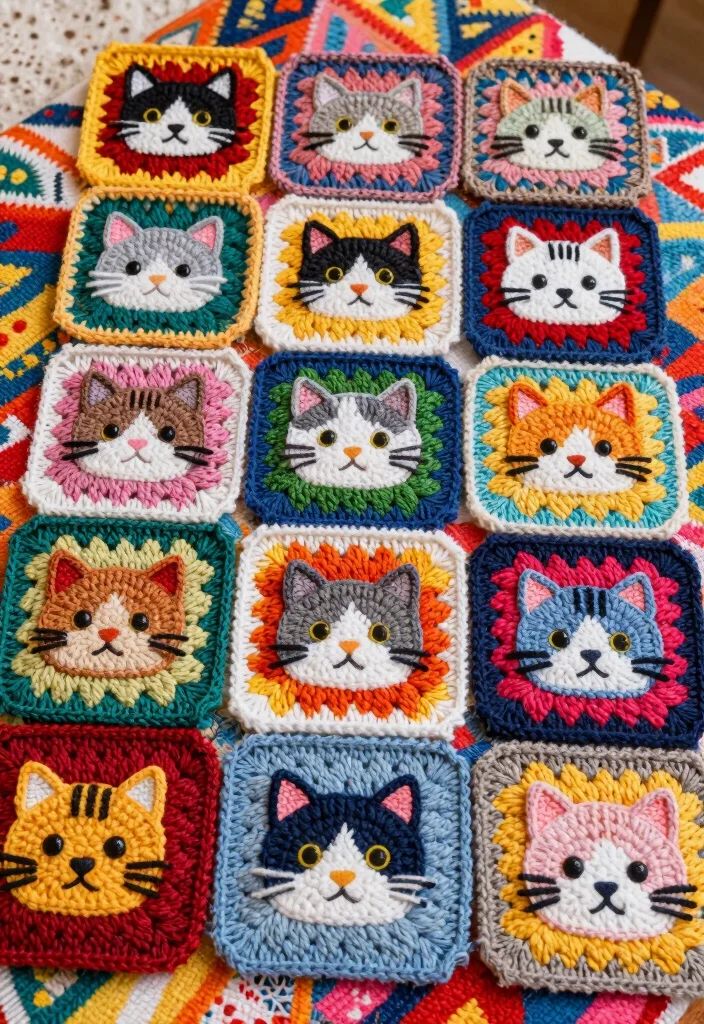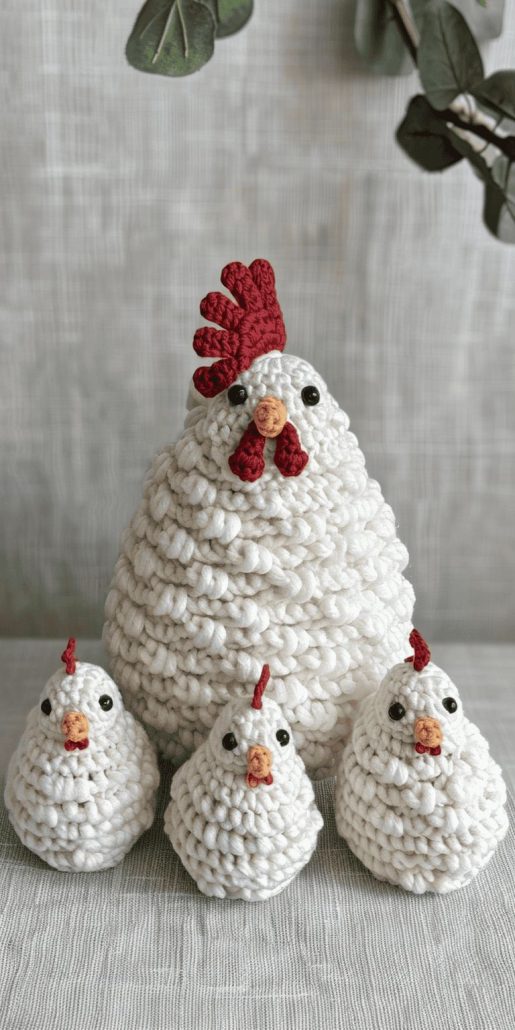
Chicken Crochet - Pattern

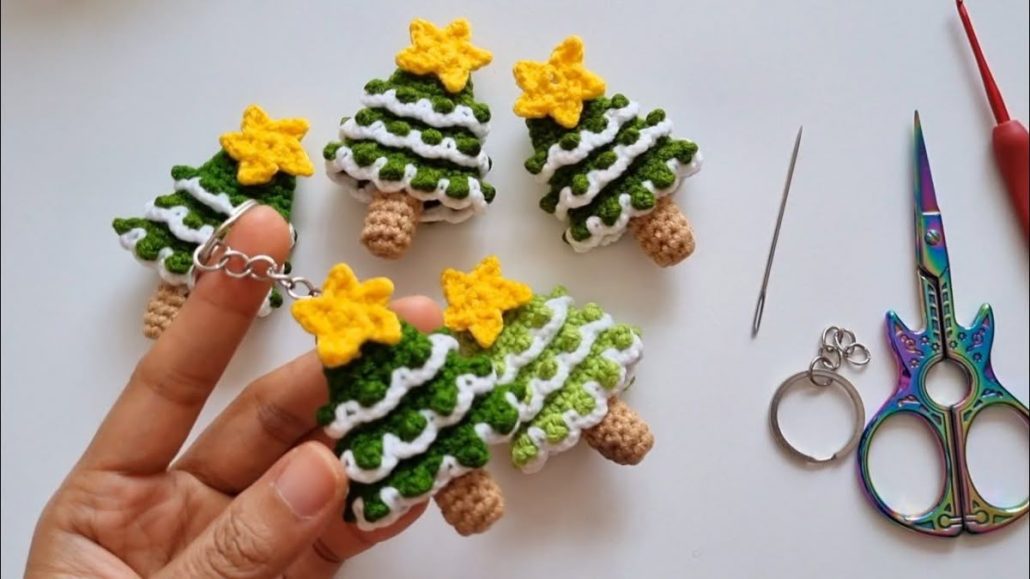
The holiday season is the perfect time to get creative, and nothing adds more charm than handmade decorations. This Crochet Christmas Tree Key Chain – TUTORIAL is a delightful way to bring festive spirit into your everyday accessories. Whether you’re making it as a gift, a stocking stuffer, or a personal keepsake, this small project combines simplicity, creativity, and a touch of Christmas magic. Crochet lovers of all skill levels will enjoy creating this adorable keychain that perfectly captures the joy of the season.
Using this Crochet Christmas Tree Key Chain – TUTORIAL, you can learn how to crochet a tiny tree that fits in the palm of your hand. It’s a quick and fun pattern that uses minimal yarn, making it ideal for leftover scraps. This project is also beginner-friendly, giving new crocheters a chance to practice basic stitches while producing something truly special. The result is a handmade item that not only looks festive but also serves as a thoughtful handmade gift for friends and family.
Creating your own Crochet Christmas Tree Key Chain – TUTORIAL gives you the chance to personalize every detail — from yarn colors to embellishments like beads or miniature stars. You can even experiment with textures, such as adding sparkle yarns or using metallic threads for extra holiday shimmer. Whether you attach it to your keys, hang it on your bag, or use it as a mini ornament, this crochet project will make you smile every time you see it.
Before you begin working on the Crochet Christmas Tree Key Chain – TUTORIAL, it’s important to gather all the right materials. For this project, you’ll need some basic crochet supplies that are likely already in your toolkit. Start with a small amount of green yarn, preferably cotton or acrylic, depending on your texture preference. Cotton gives a neat and crisp finish, while acrylic offers a softer and fluffier look.
You’ll also need a matching crochet hook, typically a size between 2.5mm and 3.5mm for small, tight stitches. A keychain ring or clasp will be necessary for the finishing touch, along with a small yarn needle for sewing and weaving ends. Don’t forget some optional embellishments — tiny buttons, ribbons, sequins, or beads can add that extra festive flair.
As you prepare your materials for this Crochet Christmas Tree Key Chain – TUTORIAL, keep in mind that using high-quality yarn helps the finished keychain maintain its shape and durability. Because keychains are handled frequently, durable yarns are recommended. You might also want to use some fiberfill stuffing if you’d like your mini tree to have a plumper appearance.
Once your materials are ready, make sure to find a comfortable and well-lit workspace. Having everything organized before you start crocheting helps make the process smooth and enjoyable. Many crafters find that putting on holiday music or lighting a candle adds to the festive feeling while they work on their Christmas crochet projects.
You can also experiment with different color combinations to create unique designs. For example, try white yarn for a snowy look, or mix two shades of green to give your crochet tree a natural layered effect. Don’t be afraid to get creative — after all, every tree in nature is different, and your crochet one can be just as unique.
The most important part of preparing for this Crochet Christmas Tree Key Chain – TUTORIAL is to have fun. The materials are simple, but the creative possibilities are endless. This small yet joyful craft can turn into a heartfelt holiday tradition or even a small business idea for handmade gifts.
Now that you have everything prepared, it’s time to follow the Crochet Christmas Tree Key Chain – TUTORIAL step by step. Begin by making a magic ring and crocheting several single crochet stitches into it. This forms the base of your tree. You’ll gradually increase the number of stitches in each row to shape the triangular body of the Christmas tree.
Continue crocheting rows while tapering the shape toward the top, reducing the number of stitches per row as you go. This creates that classic Christmas tree silhouette. Once the main body is complete, fasten off and leave a long tail of yarn for sewing. If you want a fuller tree, you can crochet two identical pieces and stitch them together, lightly stuffing the inside before closing.
After the main tree shape is complete, move on to the trunk. Using brown yarn, crochet a small rectangular piece and attach it to the bottom of the tree. This detail adds charm and makes the tree look more realistic. You can also use a darker shade of green or even gold for a more creative variation.
When you finish assembling the tree and trunk, it’s time to add embellishments. Small beads can act as ornaments, and a tiny yellow star made of felt or yarn can serve as the topper. If you prefer simplicity, leave the tree plain and let the texture of the stitches be the highlight.
Once decorated, attach the keychain ring or clasp using the top stitch of your tree. Make sure it’s secure, as keychains are often handled frequently. Reinforce the attachment with a few extra stitches to ensure durability.
Following these simple steps, your Crochet Christmas Tree Key Chain – TUTORIAL will come to life in no time. It’s a satisfying project that can be completed in an evening and brings instant festive joy.
The beauty of this Crochet Christmas Tree Key Chain – TUTORIAL is that you can make it entirely your own. One fun idea is to use multicolored yarn to create a striped or ombre effect. This can make your tree look more playful and bright. You can also experiment with different stitches — try adding popcorn or bobble stitches for a textured, ornament-like appearance.
Another way to make your keychain stand out is by adding personalized touches. You could embroider initials, sew on tiny felt hearts, or even glue on glittery sequins. Every design choice turns your crochet project into something one-of-a-kind.
You can also play around with size. A slightly larger version makes a cute Christmas ornament, while a smaller one looks adorable attached to a zipper pull on your bag. Mixing different sizes together can create a charming mini forest of crochet trees.
If you’re feeling adventurous, use metallic yarns for a glamorous touch. Gold and silver tones are perfect for holiday projects and add that extra sparkle that captures the spirit of Christmas. These shimmering keychains also make excellent small gifts or market stall items.
For those who prefer eco-friendly crafting, consider using recycled yarn or leftover scraps from other projects. This not only saves money but also reduces waste — a great way to celebrate sustainability while crafting.
Ultimately, your creativity is the only limit when making this Crochet Christmas Tree Key Chain – TUTORIAL. Whether minimalist or extravagant, each keychain you make will spread festive cheer wherever it goes.
The Crochet Christmas Tree Key Chain – TUTORIAL isn’t just a craft for yourself — it’s also a wonderful gift idea. Handmade gifts carry a personal touch that store-bought items can’t replicate. You can present them in small gift boxes, tie them with ribbons, or attach them to holiday cards for an extra-special touch.
If you enjoy selling handmade crafts, these keychains can be a great addition to your product lineup. They are quick to make, cost very little in materials, and are perfect for the holiday market season. Their compact size makes them easy to ship, too.
To make your items stand out, take clear, well-lit photos showing the detail and color of your work. Write warm, descriptive captions that highlight the handmade quality and the love behind each piece.
You can also host small workshops or online tutorials teaching others how to follow the Crochet Christmas Tree Key Chain – TUTORIAL. Sharing your skills not only helps others but also builds community among crafters.
Another thoughtful way to gift them is to pair the keychains with handwritten notes or small treats like candy canes. These small gestures make recipients feel truly appreciated.
In the end, your Crochet Christmas Tree Key Chain – TUTORIAL is more than a pattern — it’s a source of joy that connects creativity, community, and the warmth of the holiday season.
Q1: Is this crochet project suitable for beginners?
Yes! This Crochet Christmas Tree Key Chain – TUTORIAL is beginner-friendly and uses only basic stitches, making it perfect for new crocheters.
Q2: How long does it take to make one keychain?
On average, it takes about one hour to complete, depending on your skill level and the amount of detail you choose to add.
Q3: What kind of yarn is best for this project?
Cotton yarn works well for a sturdy finish, but you can also use acrylic yarn for a softer look.
Q4: Can I sell the keychains I make using this tutorial?
Absolutely! You’re welcome to sell your finished creations — just be sure to credit the Crochet Christmas Tree Key Chain – TUTORIAL as your inspiration.
Q5: Can I make these keychains without stuffing?
Yes, you can leave them flat if you prefer a lightweight design. Stuffing adds volume but is optional.
Q6: How can I make my crochet tree sparkle?
Try using metallic or glitter yarns, or add small sequins or beads as ornaments for a festive shine.
The Crochet Christmas Tree Key Chain – TUTORIAL is a fun, festive, and easy way to bring handmade cheer into the holiday season. With simple materials, creativity, and a little time, you can make adorable decorations that spread joy and warmth.
PATTERN VIDEO:
Whether you’re crafting for yourself, for gifts, or for sale, each piece carries the spirit of Christmas. Don’t forget to share your thoughts and suggestions below — your feedback helps inspire more beautiful crochet creations for everyone to enjoy!