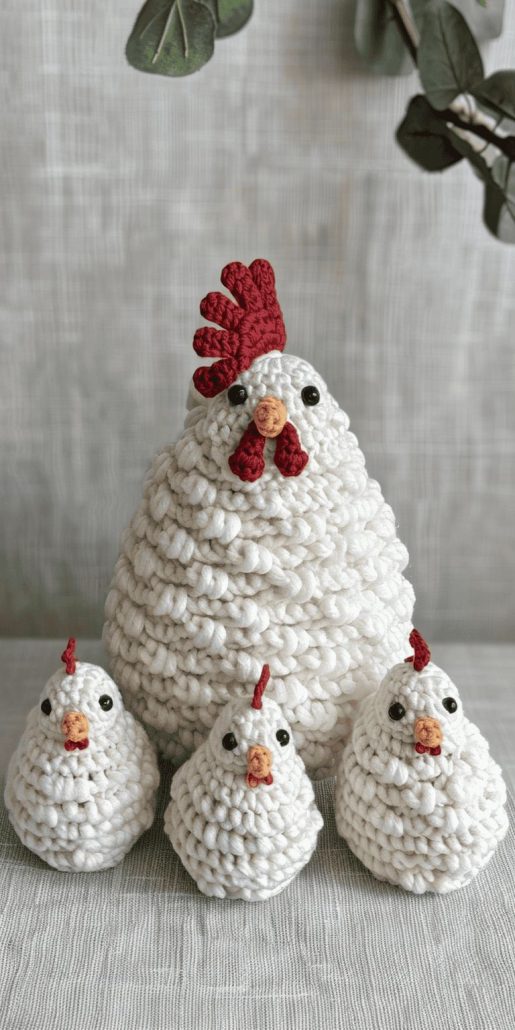
Chicken Crochet - Pattern

If you’re looking for a fun and cozy project to add a touch of personality to your winter accessories, the Crochet Cat Ear Beanie – TUTORIAL is the perfect choice. This charming pattern combines warmth, comfort, and a playful design that cat lovers will adore. Whether you’re new to crochet or an experienced crafter, this project is simple, quick, and incredibly rewarding. Making your own Crochet Cat Ear Beanie allows you to express your creativity while crafting something practical and stylish at the same time.
The beauty of the Crochet Cat Ear Beanie – TUTORIAL lies in its versatility. You can customize the colors, yarn textures, and even the ear shapes to match your personal style. It’s a wonderful handmade gift idea for friends and family, especially for those who love cats or quirky fashion pieces. Plus, crocheting your own beanie gives you full control over the size and fit, ensuring maximum comfort for any wearer.
In this guide, you’ll learn how to make your very own Crochet Cat Ear Beanie step by step. We’ll go through the materials you’ll need, the stitches involved, and some tips for perfecting your cat ears. Whether you want a cute pastel look or a sleek dark beanie that channels your inner feline, this tutorial has everything you need to get started.
Before you begin your Crochet Cat Ear Beanie – TUTORIAL, it’s important to gather all the necessary supplies. You’ll need medium-weight yarn, a crochet hook suited to your yarn size (usually 4mm or 5mm), scissors, and a yarn needle. Choosing soft and durable yarn will ensure your beanie feels comfortable on the skin while holding its shape.
Start by making a simple base for the beanie using a magic ring or a chain loop. The beanie typically begins with double crochet stitches, worked in rounds to form the crown. Once you establish the base circle, continue working outward to expand the size of your beanie. This creates the smooth, rounded shape that fits snugly on your head.
As you crochet, remember to measure occasionally to make sure the beanie fits properly. Everyone’s head size is different, and one of the biggest advantages of crocheting your own beanie is being able to customize it perfectly. Adjust your stitch count or the number of rounds as needed for the ideal fit.
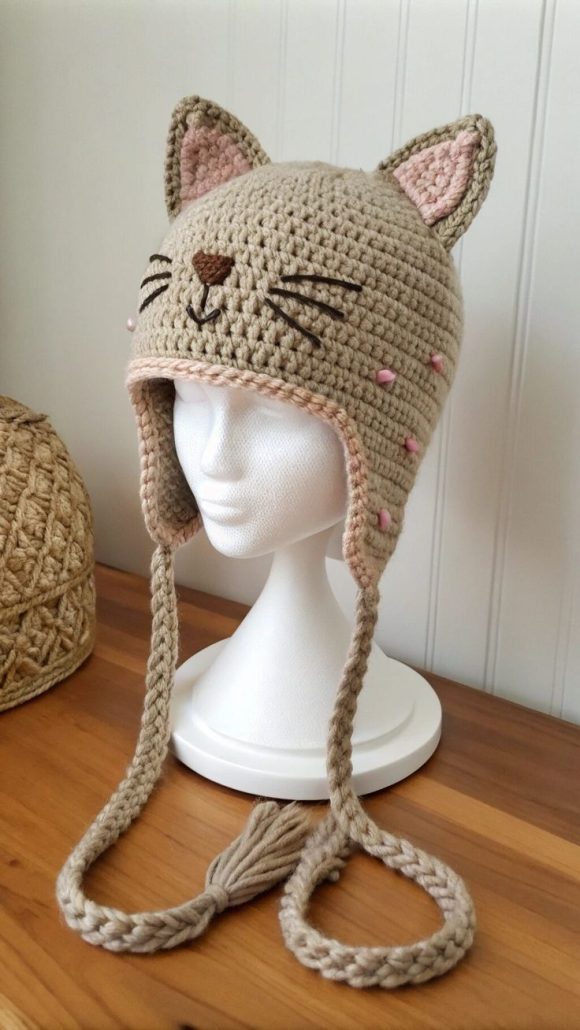
When the main body of the beanie is done, you’ll move on to the cat ears. These are small triangular shapes that can be attached to the top of the hat. Depending on your preference, you can make the ears more pointed for a sharp, bold look, or slightly rounded for a softer, cuter appearance.
Attach the ears using a yarn needle and be sure they are evenly placed. You can pin them temporarily before sewing to ensure perfect symmetry. Once the ears are secure, weave in all the loose ends to give your beanie a neat and professional finish.
The base pattern can easily be adjusted for different sizes—from children’s beanies to adult versions. You can even make matching sets for family or friends. The Crochet Cat Ear Beanie – TUTORIAL gives you full creative freedom to experiment.
One of the best parts about following this Crochet Cat Ear Beanie – TUTORIAL is personalizing your project. You can play with colors and patterns to make your beanie truly unique. Try using variegated yarn for a whimsical look, or stick to classic black or gray to resemble a real cat.
Consider adding embellishments such as buttons, small bows, or embroidered whiskers to enhance the playful feline design. If you want a subtle touch, add a pom-pom to the top or edge of the beanie for a cozy winter vibe.
To make the beanie even more comfortable, consider lining it with a soft fabric such as fleece. This is especially helpful if you live in a colder climate or if you have sensitive skin that might be irritated by wool yarns.
Experimenting with different yarn textures also changes the final result. For example, using chunky yarn creates a fluffier and warmer look, while cotton yarn gives a lightweight and breathable version suitable for mild weather.
If you’re making the Crochet Cat Ear Beanie as a gift, try to tailor it to the recipient’s favorite colors or personality. A bright pink beanie might delight a child, while a sleek black one can appeal to a more minimalist adult.
Finally, don’t forget to label your handmade creation! Adding a small tag with your name or brand gives it a professional finish and makes your work feel truly special.
To ensure your Crochet Cat Ear Beanie – TUTORIAL turns out perfectly, pay close attention to your tension. Consistent tension is key for a uniform appearance and proper fit. If your stitches are too tight, the beanie might feel stiff; too loose, and it could lose its shape.
Keep your yarn relaxed in your hand as you crochet, and use stitch markers to keep track of rounds. This will help prevent accidentally skipping or adding stitches, which can distort the shape.
Blocking your finished beanie is another helpful tip. Lightly steam or dampen the fabric, then shape it with your hands to smooth out any uneven stitches. Blocking also helps the ears stand up properly.
If you’re following this Crochet Cat Ear Beanie – TUTORIAL as a beginner, don’t rush the process. Take your time learning the basic stitches and enjoy the journey of creating something with your own hands.
Watch out for yarn joins and make sure to weave in the ends securely so they don’t come loose over time. Using a yarn needle, hide the tails by threading them through nearby stitches in different directions.
Lastly, try to keep a consistent pace when crocheting. Frequent breaks and stretching your hands will prevent fatigue and make the experience more enjoyable.
Once your Crochet Cat Ear Beanie is finished, it’s time to enjoy wearing it! This accessory pairs beautifully with casual outfits, cozy sweaters, or even Halloween costumes. The playful ears add an element of fun to any look, making it a great conversation starter.
If you’re making multiple beanies, consider exploring themed collections. For example, you can create a “forest animals” set with fox, bear, and cat ears, each in different colors. It’s a creative idea that both kids and adults will love.
For extra warmth, you can add a folded brim to your beanie by crocheting a few extra rows. This not only enhances comfort but also gives the beanie a stylish and polished appearance.
Another creative option is to make matching mittens or scarves to go along with your Crochet Cat Ear Beanie. This makes for a complete winter set that is both adorable and practical.
Don’t be afraid to experiment with patterns, yarn blends, or even subtle sparkly threads to make your beanie stand out. Your imagination is the limit when it comes to handmade creations.
Finally, share your finished work on social media or crochet groups online. It’s a wonderful way to connect with other crafters and inspire new ideas while showcasing your beautiful beanie.
1. What skill level is required for the Crochet Cat Ear Beanie – TUTORIAL?
This pattern is beginner-friendly, using basic stitches like single crochet and double crochet. Even new crocheters can follow it with ease.
2. How long does it take to make the beanie?
Depending on your speed, it typically takes 2–4 hours to complete.
3. Can I adjust the size of the beanie?
Yes, you can easily modify the stitch count and number of rounds to create sizes for children or adults.
4. What type of yarn works best?
Medium-weight acrylic or wool blends are ideal, as they provide warmth, comfort, and durability.
5. How do I make the cat ears stand up properly?
Using slightly tighter stitches for the ears and lightly blocking them after assembly helps maintain their shape.
6. Can I sell beanies made from this pattern?
Yes, as long as you credit the original Crochet Cat Ear Beanie – TUTORIAL designer if applicable. Handmade sales are always welcome!
The Crochet Cat Ear Beanie – TUTORIAL is a delightful project that combines creativity, comfort, and cuteness.
PATTERN HERE:
You’ve learned how to make your own beanie, add charming cat ears, and customize it to reflect your personal style. Whether it’s for yourself or as a handmade gift, this project offers both warmth and personality. We’d love to hear your thoughts—please leave a sincere opinion and share your suggestions below!