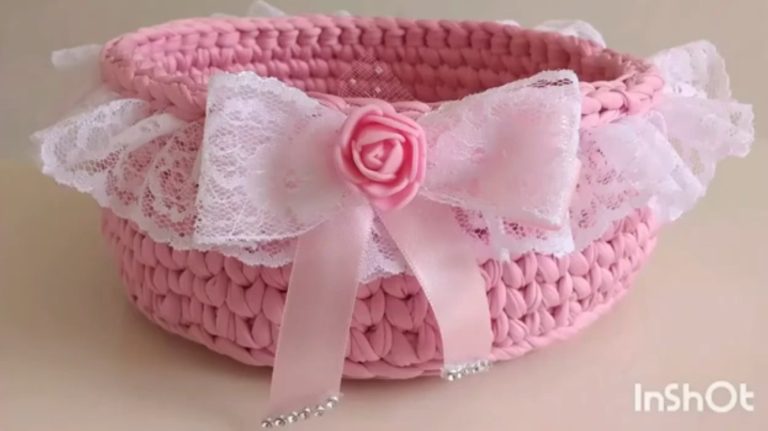
Crocheted Basket - Tutorial

The Climbing Rose Wrap – TUTORIAL is a charming and sophisticated crochet pattern that combines delicate floral elements with cozy comfort. This stunning project is perfect for anyone who loves lightweight shawls with a touch of vintage romance. Whether you’re a crochet beginner looking for a new challenge or an experienced maker eager to create a truly elegant accessory, the Climbing Rose Wrap is a beautiful way to show off your skills.
Made with soft yarn and intricate floral motifs, this crochet wrap is ideal for both everyday use and special occasions. It effortlessly enhances any outfit, whether it’s a casual summer dress or a formal evening ensemble. The best part? You don’t need to be an expert to follow the Climbing Rose Wrap – TUTORIAL—just bring your love of crochet and a little bit of patience, and you’ll create something truly breathtaking.
In this article, we’ll explore the key elements that make this crochet pattern unique, explain how to follow the tutorial with ease, and offer tips for customizing your own version of the Climbing Rose Wrap. From materials and stitch choices to styling ideas, we’ve got everything you need to get started.
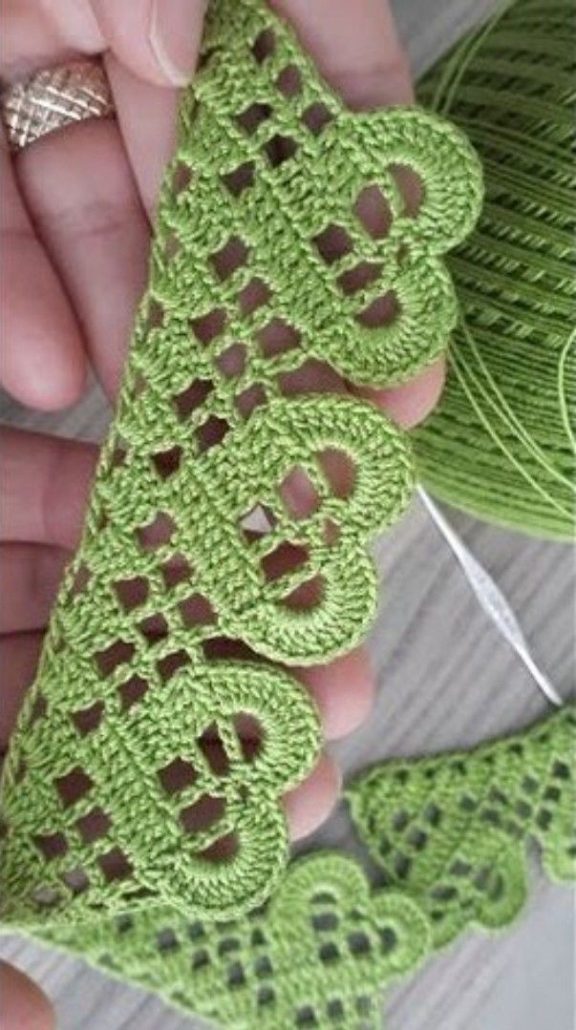
The Climbing Rose Wrap – TUTORIAL stands out from other wrap patterns thanks to its combination of floral appliqué and elegant drape. It is not just a rectangle of stitches—it’s a garden-inspired accessory that adds charm and grace to your wardrobe.
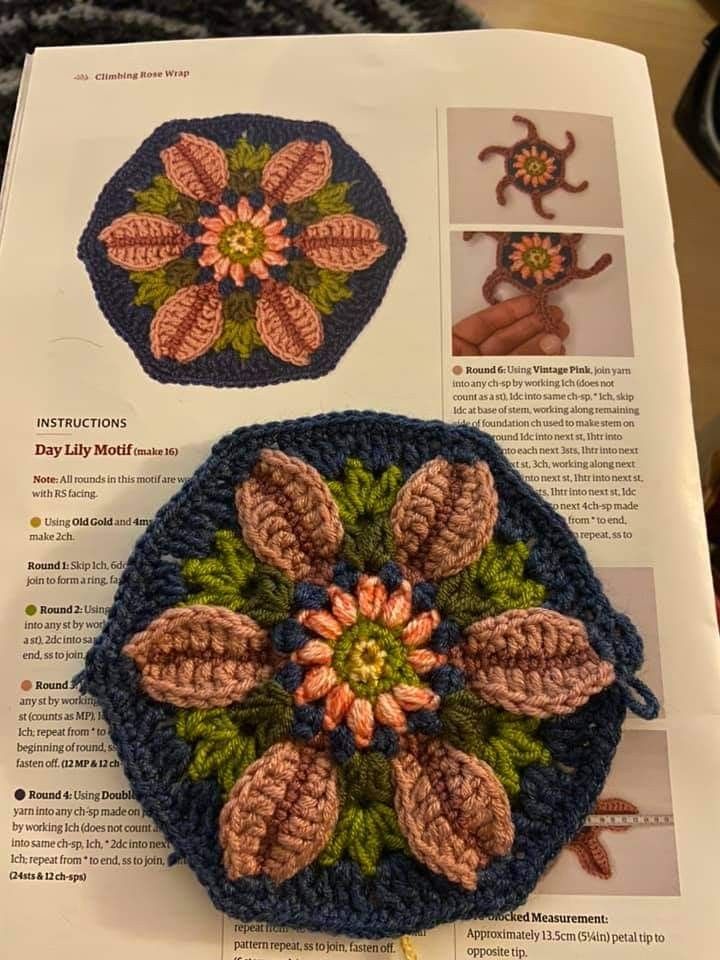
This wrap uses lightweight yarn, making it airy and soft. The climbing rose motifs can be crocheted separately and sewn onto the wrap, or they can be worked into the fabric as you go, depending on the version of the crochet pattern you follow. The flowers add depth and dimension, giving this project a 3D quality that’s hard to resist.
Another feature that sets the Climbing Rose Wrap apart is its versatility. You can wear it as a shawl draped over your shoulders, a scarf around your neck, or even a head covering on cooler days. Its size and structure make it adaptable to every season.
Whether you’re making this for yourself or as a heartfelt handmade gift, the result is a timeless piece that feels luxurious and personal. This tutorial allows room for creativity, so you can experiment with different color palettes or yarn textures to reflect your own taste.
The visual appeal of this wrap also makes it perfect for special events—imagine wearing your handmade floral wrap to a wedding or garden party and receiving compliments all day. That’s the kind of project the Climbing Rose Wrap – TUTORIAL delivers.
To follow the Climbing Rose Wrap – TUTORIAL, you don’t need an overwhelming number of tools—just the basics for any crochet project, plus a few extra supplies if you want to embellish your wrap.
First, select a soft, lightweight yarn. Cotton-blend yarns work wonderfully in warmer climates, while a soft merino or bamboo yarn is great for cooler weather. Look for yarns labeled sport or fingering weight for best drape.
Next, choose a crochet hook that matches your yarn’s weight—usually between 3.5 mm and 4.5 mm. The tutorial will often recommend the ideal hook size for tension and stitch clarity, but feel free to adjust based on your own tension.
You’ll also need scissors and a tapestry needle for weaving in ends. Stitch markers may come in handy if you’re working the floral sections separately or if you need help keeping track of rows in the body of the wrap.
For the climbing rose motifs, consider using a contrasting or complementary color to make the roses stand out. Some crafters even add beads or embroidery to enhance the 3D look of the floral design.
Don’t forget to prepare your workspace. A flat surface with good lighting is ideal, especially when working on detailed motifs. A printed or digital version of the Climbing Rose Wrap – TUTORIAL should be within easy reach to reference while crocheting.
With your materials ready and your pattern loaded, you’re set for a relaxing and rewarding crochet journey.
The Climbing Rose Wrap – TUTORIAL is designed to guide you from start to finish with clear instructions and visual references. Even if you’re a beginner, the process is surprisingly accessible once you break it down into manageable steps.
The foundation chain sets the length of your wrap. You’ll begin by creating a long base chain, followed by rows of elegant stitches—such as double crochet, half double crochet, or chain spaces—depending on the chosen pattern style.
Next comes the floral section. The climbing rose motifs are usually made with circular patterns, often starting with a magic ring and worked outward with petal-like stitches. You may be instructed to crochet the flowers separately and sew them onto the finished wrap, or you might incorporate them directly into the body of the fabric.
As you build the length of your wrap, repeat the stitch pattern to maintain a consistent texture. Keep your tension even, and use stitch markers if needed to help with alignment. The tutorial often includes helpful images or videos to show exactly how to shape each motif.
Once the body of the wrap is complete, you can block it to achieve a beautiful drape. Blocking involves wetting the wrap, shaping it to the desired size, and letting it dry flat. This step enhances the appearance of your stitch work and helps your wrap maintain its form.
Finally, attach your roses if they were made separately, and weave in any loose ends. The result is a soft, flowing, and floral-accented wrap that’s ready to wear or gift.
The beauty of the Climbing Rose Wrap – TUTORIAL is that it gives you the foundation to personalize your wrap in countless ways. Whether you prefer neutral tones or vibrant colors, there’s room to reflect your unique taste.
If you love bohemian fashion, consider making your wrap in earth tones like olive green, dusty rose, or soft ivory. Pair it with flowing skirts, sandals, and a wide-brimmed hat for a timeless festival look.
For a more elegant style, use solid, deep hues like burgundy, navy, or charcoal. Adding metallic or pearl beads to the rose motifs can elevate the wrap and make it suitable for formal occasions.
You can also play with the size. If you want a larger shawl, increase the number of rows or widen the body section. For a short scarf version, reduce the length and attach fewer flowers.
Feeling adventurous? Try making a multicolor version with each rose motif in a different hue, creating a whimsical garden theme that brings joy and energy to your outfit.
The wrap is also a fantastic handmade gift idea. Tailor it to the recipient’s favorite colors and yarn textures, and you’ll give a present they’ll cherish for years to come.
Whatever direction you take, the Climbing Rose Wrap – TUTORIAL is your canvas for creativity.
Q: Is the Climbing Rose Wrap – TUTORIAL suitable for beginners?
A: Yes! While the floral motifs add a touch of complexity, the tutorial is beginner-friendly and includes helpful visuals. Even newcomers can create this wrap with a bit of patience.
Q: What type of yarn is best for this project?
A: Lightweight yarns such as cotton, bamboo, or soft wool blends are ideal. Choose yarn with good drape and stitch definition.
Q: Can I wash the wrap once it’s finished?
A: Most handmade wraps should be hand-washed in cold water and laid flat to dry. Always check your yarn label for care instructions.
Q: How long does it take to complete the wrap?
A: Depending on your skill level and daily time commitment, it can take anywhere from a few days to two weeks to complete.
Q: Can I modify the pattern size?
A: Absolutely! You can easily adjust the length and width of the wrap by adding or subtracting rows or stitches.
Q: Are there video instructions included in the tutorial?
A: Many versions of the tutorial include video steps for both the wrap body and the flower motifs, making it easier to follow along visually.
The Climbing Rose Wrap – TUTORIAL is more than just a crochet project—it’s an invitation to create something elegant, romantic, and personal. With floral details, versatile styling options, and accessible instructions, this pattern is perfect for any crocheter looking to craft a meaningful accessory.
We hope this article has inspired you to pick up your hook and yarn and begin your journey with the Climbing Rose Wrap. If you’ve tried the pattern or plan to start soon, leave your honest opinion and share your suggestions—we love hearing from fellow crafters!