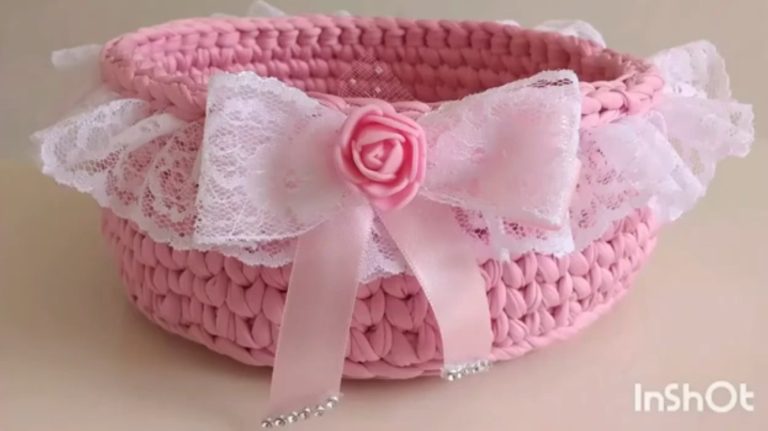
Crocheted Basket - Tutorial

The Christmas Tree Crochet Pattern is a joyful and creative project that brings the spirit of the holidays to life with your own hands. Whether you’re decorating your home, making a handmade gift, or crafting for a festive market, this pattern is the perfect way to add warmth and charm to your Christmas season. Crocheting your own Christmas tree is not only fun — it’s also a beautiful way to personalize your holiday decor.
In this Christmas Tree Crochet Pattern tutorial, you’ll learn how to create a stunning tree that can stand on its own or be used as an ornament, garland decoration, or even a table centerpiece. The steps are simple and beginner-friendly, making this project ideal for crocheters of all levels. All you need is your favorite yarn, a crochet hook, and a touch of Christmas spirit!
Let’s go through the complete guide to making your crochet Christmas tree, from choosing materials to adding festive finishing touches that make your creation sparkle.
Before you start crocheting, gather the right materials to ensure a beautiful and durable final result. Here’s what you’ll need:
Choosing the right color combination will give your crochet tree personality. A classic green with red and gold accents looks traditional, while white, silver, and blue create a modern winter wonderland effect.
Follow these easy steps to make your Christmas Tree Crochet Pattern come to life:
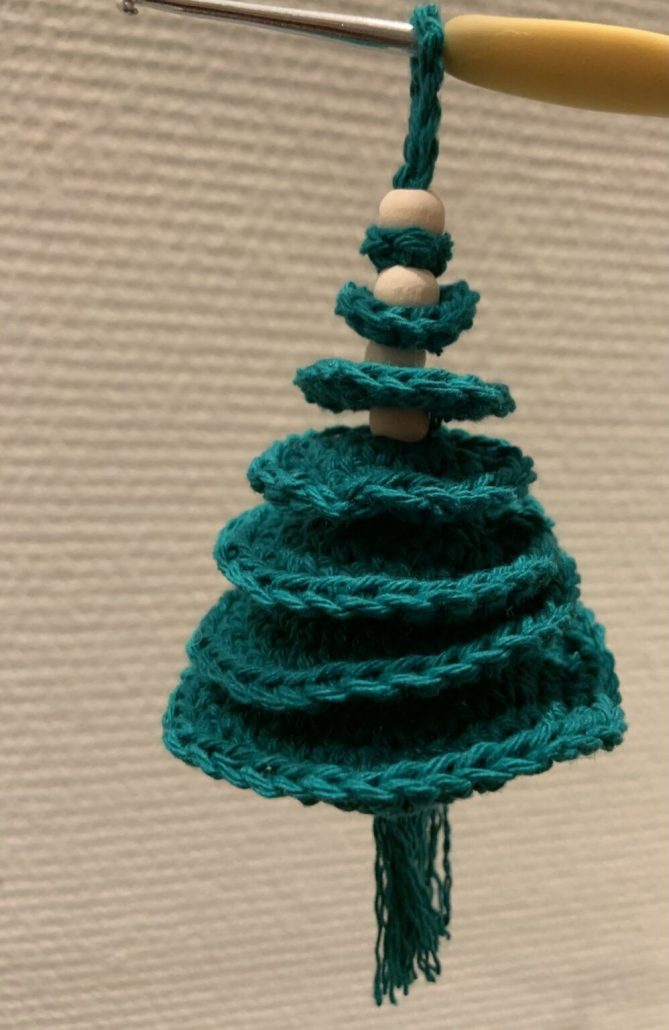
Start with a magic ring and crochet 6 single crochets (sc) into it. Pull tight to close the ring. This forms the base of your tree.
In the next round, increase evenly to double your stitches (12 sc). Continue working in rounds, increasing gradually on each row until your circle measures about 3 inches (7–8 cm) in diameter.
Now, begin decreasing slightly to form the cone shape of the tree. You can alternate rounds of single crochet with rounds that include a few decreases. This will create a gentle tapering effect as you move upward.
If you want a taller or shorter tree, simply adjust the number of rounds. A typical mini tree has about 12–15 rounds total.
Before closing the top, fill your tree with stuffing to give it volume and help it stand upright. Add just enough stuffing so it’s firm but not overfilled.
Once stuffed, continue crocheting until the top closes completely. You can fasten off and weave in the remaining yarn with a needle.
To make your tree look more realistic, you can crochet layered branches using chains and slip stitches around different rows. For example, attach your yarn to a middle round, chain 5, then slip stitch in the next stitch. Repeat around to form a wavy, textured branch layer.
Repeat this technique higher up with shorter chains to create a tiered effect that mimics real pine branches.
Now comes the most exciting part — decorating your handmade tree! Here are some creative ideas to make your Christmas Tree Crochet Pattern truly magical:
Each tree you make can have its own personality — classic, rustic, or modern — depending on how you decorate it. That’s the beauty of handmade crafts!
Your crochet Christmas tree is more than just a decoration — it’s a piece of art made with love. Here’s how to keep it looking perfect year after year:
These simple care steps ensure your Christmas Tree Crochet Pattern can be used every holiday season for years to come.
1. Can beginners make this crochet tree?
Yes! This pattern is perfect for beginners. It uses basic stitches like single crochet, increases, and decreases.
2. What size will the finished tree be?
The size depends on your yarn thickness and the number of rounds you make. A small tree usually measures 5–7 inches tall.
3. Can I make a flat version of this tree?
Absolutely! Skip the stuffing and make two identical triangle pieces, then sew them together for a 2D version. It’s perfect for hanging on walls or gifts.
4. How long does it take to make one?
A small crochet Christmas tree takes about 1–2 hours to complete, making it a great last-minute holiday project.
5. Can I sell the trees I make from this pattern?
Yes, you can sell your finished trees as long as you credit the pattern source if required by the designer. Handmade trees make wonderful market crafts or gifts!
Creating your own Christmas Tree Crochet Pattern is a wonderful way to celebrate the holidays with creativity and love. Each stitch adds warmth and character, turning yarn into something truly festive. Whether you make one or an entire forest of crochet trees, they’ll bring handmade charm and cozy cheer to any home.
We hope this tutorial inspires you to pick up your hook and start crocheting today. Don’t forget to share your finished creations and experiences in the comments — we’d love to see your holiday magic come to life!