The Wavy Crochet Blanket is a classic and stylish piece that adds a touch of warmth and elegance to any room. This blanket features the beautiful wavy stitch pattern, which creates a soothing flow of waves across the fabric, making it perfect for both beginners and more advanced crocheters.
Whether you’re looking for a throw to add color to your living room or a cozy blanket for your bed, the Wavy Crochet Blanket is an excellent choice.
In this article, we’ll guide you through the steps of creating your own Wavy Crochet Blanket. From choosing the perfect yarn to mastering the wavy stitch, we’ll cover everything you need to know. This project is not only fun but also rewarding, giving you a versatile piece that you’ll love using for years to come.
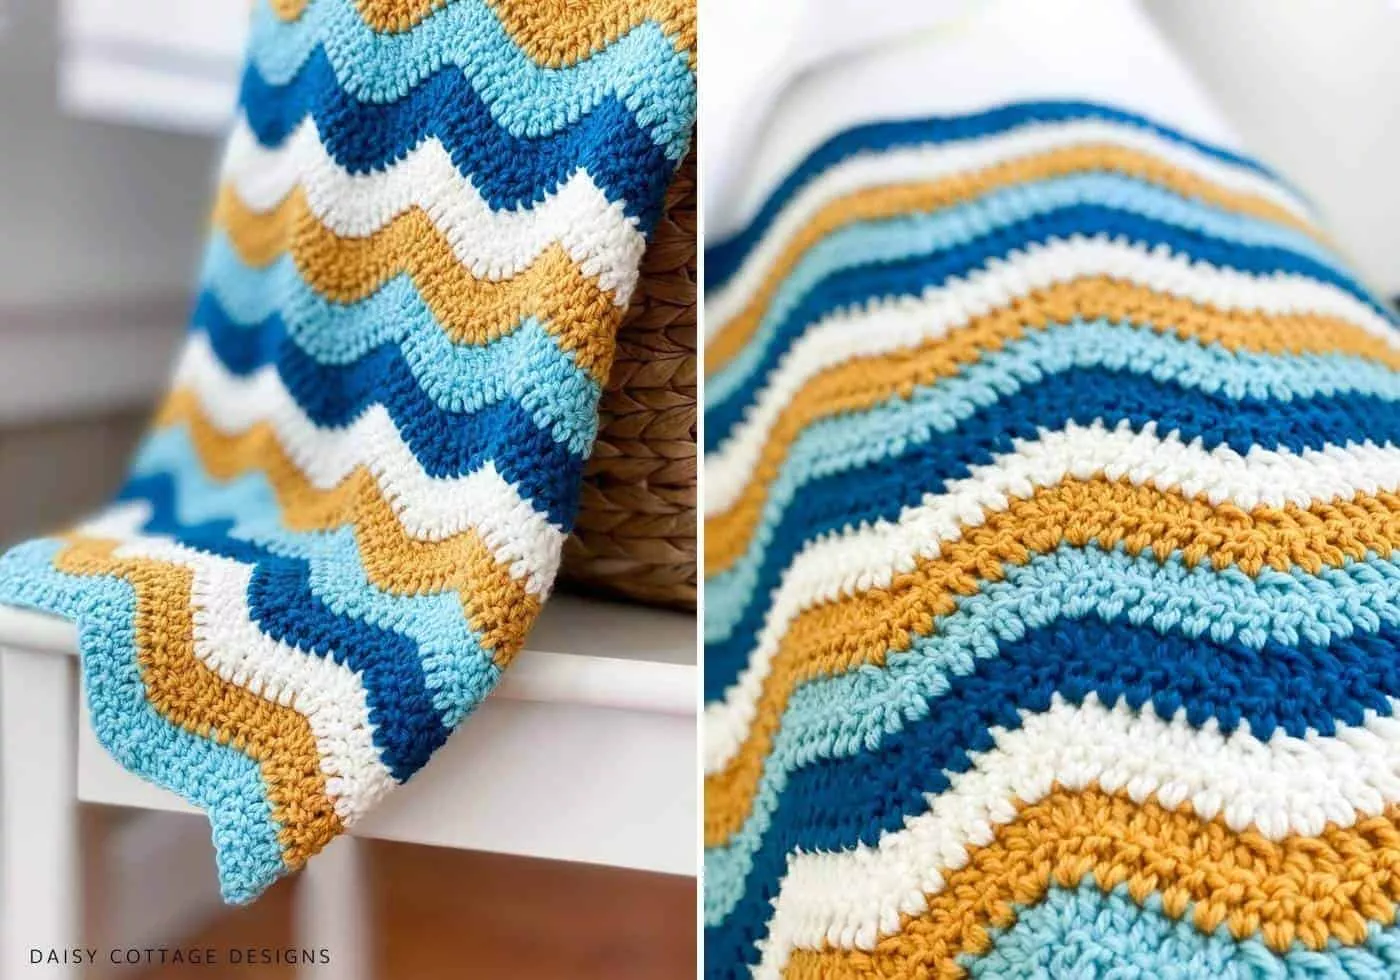
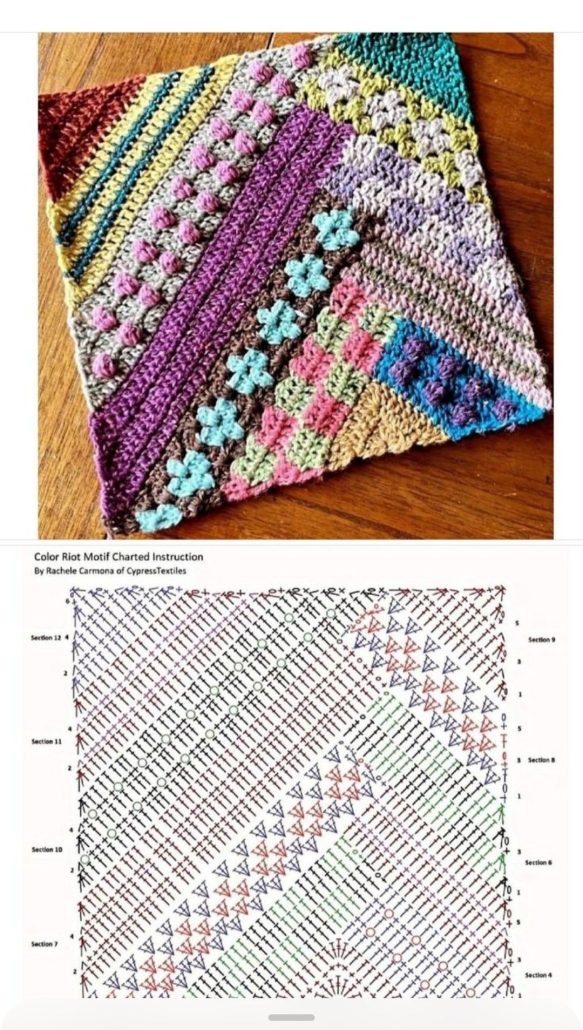
Image From Pinterest
1. Materials You’ll Need for the Wavy Crochet Blanket
Before you begin, make sure you have all the necessary materials. Here’s what you will need for this project:
DISCOVER MORE FREE PATTERNS HERE!
- Yarn:
- Choose a soft, medium-weight yarn like worsted weight (4). This ensures that the blanket is soft, durable, and the stitches will show up beautifully.
- For a typical blanket, you’ll need around 1000–1500 yards of yarn, depending on the desired size and the width of the waves. You can use a single color for a more subtle look or multiple colors for a vibrant and fun pattern.
- Crochet Hook:
- A 5mm (H-8) crochet hook is perfect for worsted weight yarn, but you can adjust this if you’re using a different yarn weight.
- Scissors:
- A sharp pair of scissors will be necessary to trim your yarn once you finish a section or the entire blanket.
- Yarn Needle:
- You’ll need a yarn needle to weave in loose ends when you finish your project.
- Measuring Tape:
- Keep a measuring tape handy to track your progress and ensure the blanket reaches the desired size.
- Stitch Markers (Optional):
- If you’re new to crochet or want to keep track of your stitch count, stitch markers can help you stay organized.
2. Step-by-Step Instructions for the Wavy Crochet Blanket
The beauty of the Wavy Crochet Blanket lies in its simple yet striking wave pattern, which gives the blanket its texture and charm. Follow these steps to create your own wavy masterpiece:
2.1. Foundation Chain
- Start with a Foundation Chain:
- Begin by chaining a multiple of 14, then add 3 more stitches to your chain. For example, you could start with 140 chains plus 3, giving you a total of 143 chains. This will form the base of the wavy pattern.
- The foundation chain will determine the width of the blanket, so you can adjust the number of chains for a wider or narrower blanket. Be sure to remember that the stitch pattern will repeat every 14 stitches.
- Skip the First 3 Chains:
- After you complete the foundation chain, skip the first 3 chains, as these will form the height of the first stitch in the pattern.
2.2. Wavy Stitch Pattern
- First Row – Start with Double Crochet:
- In the 4th chain from the hook, make a double crochet (dc). Continue by making a double crochet into each chain across the row.
- This will give you a smooth base to begin the wavy pattern.
- Second Row – Begin the Wave:
- Turn your work. To begin the wave, chain 3 (this counts as the first double crochet of the next row).
- Then, make 2 more double crochets in the same stitch to create the first “peak” of the wave.
- Skip 2 stitches from the previous row, and in the next stitch, make 5 double crochets to form the next “valley” of the wave.
- Skip 2 stitches again, and repeat this pattern (3 double crochets in each valley and 5 double crochets in each peak) across the row.
- Continue the Pattern:
- Once you complete the second row, turn your work and repeat the pattern. For each row, make sure you continue the same wave pattern: 3 double crochets in the valleys and 5 double crochets in the peaks, skipping 2 stitches between each set.
- Continue crocheting back and forth, following the wave pattern, until the blanket reaches your desired length.
2.3. Changing Colors (Optional)
If you want to add multiple colors to your blanket to create a striped effect, here’s how you can change colors:
- Finish the Previous Row:
- When you reach the end of a row, finish the last double crochet stitch but leave the final loop on your hook.
- Change Colors:
- At this point, drop the old color and introduce the new color by pulling it through the final loop of the last double crochet stitch.
- Continue crocheting in the new color.
- Alternate Colors:
- Continue following the wave pattern with the new color. You can change colors after every few rows or as often as you prefer to create a striped effect.
2.4. Border (Optional)
To give your Wavy Crochet Blanket a finished look, you may want to add a border. A simple single crochet border works perfectly for this project.
- Start the Border:
- Once you’ve completed the body of the blanket, go around the perimeter with single crochet stitches.
- Work evenly along each side and in the corners, placing 3 single crochets to maintain a smooth curve around the blanket’s edges.
- Finish the Border:
- After completing the border, fasten off the yarn and use a yarn needle to weave in any loose ends.
3. Tips for Creating the Perfect Wavy Crochet Blanket
- Choose the Right Yarn:
- For the best results, choose yarn that’s soft yet durable, such as acrylic or cotton blends. These fibers are easy to work with and wash well.
- Use a Tension You’re Comfortable With:
- Make sure your stitches are even and consistent, but don’t be too hard on yourself if they’re not perfect. The wavy stitch will naturally hide minor imperfections.
- Create a Bigger Blanket:
- To make a larger blanket, simply increase the number of foundation chains to get the desired width. Continue following the pattern as you build the length.
- Play with Colors:
- Don’t be afraid to get creative with color. You can use complementary colors, gradients, or go with a classic look using neutral shades like white, gray, or beige.
- Count Your Stitches:
- Keep count of your stitches, especially when changing colors or adjusting the width of your blanket. This will help you maintain a consistent wavy pattern throughout.
PATTERN HERE
4. FAQ
1. How do I adjust the size of the Wavy Crochet Blanket?
To make the blanket bigger or smaller, adjust the number of foundation chains to change the width. The pattern repeats every 14 chains, so make sure you have a multiple of 14, plus 3 extra chains.
2. Can I make the blanket with different colors?
Absolutely! You can switch colors every few rows or create a rainbow pattern for a fun and vibrant blanket. Just make sure to carry the new yarn color when changing.
3. What kind of yarn is best for a Wavy Crochet Blanket?
Soft, medium-weight yarn like worsted weight (4) is ideal for this blanket. Acrylic or cotton yarn blends work well and are easy to care for.
4. How do I add a border to my Wavy Crochet Blanket?
Once the main body of your blanket is finished, go around the edges with single crochet stitches. Place 3 single crochets in the corners to create a smooth curve and finish the border.
5. How long will it take to complete this project?
The time it takes depends on your skill level and the size of the blanket. A standard baby or lap blanket might take a few days to a week, while a larger blanket could take longer.
Conclusion
The Wavy Crochet Blanket is a timeless project that’s both easy to create and visually striking. Whether you choose a single color or multiple shades, the wavy pattern adds texture and beauty to your finished piece. By following the step-by-step instructions and tips in this article, you’ll be able to create a blanket that is both cozy and stylish. Enjoy the process, and don’t forget to share your results with us in the comments below!