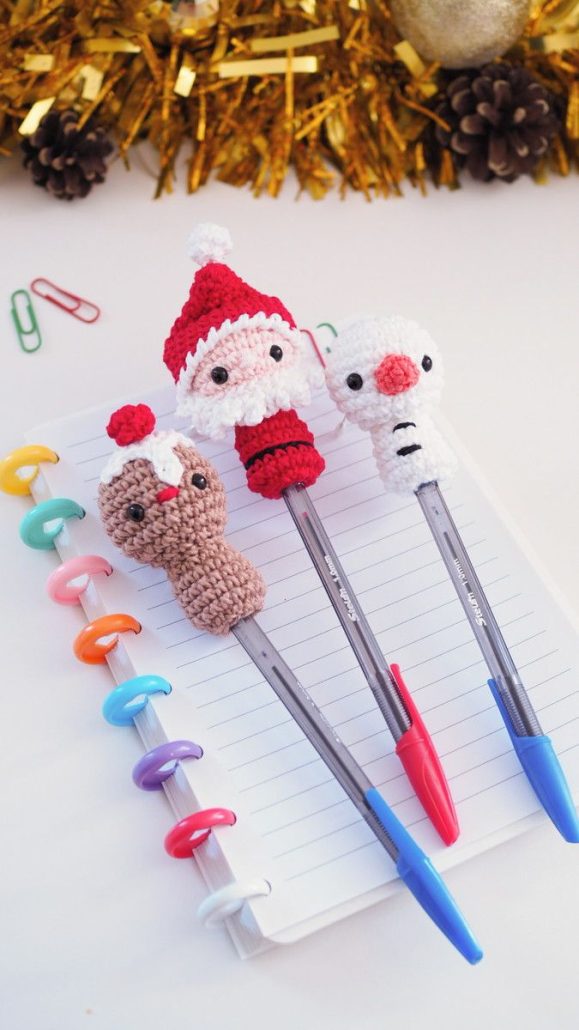
Amigurumi Christmas Pointer - TUTORIAL

Crochet enthusiasts and crafters alike will find immense joy in creating their own Happy Bears Free Crochet Pattern. This delightful pattern allows you to create a charming teddy bear that’s perfect for gifts, decorations, or personal enjoyment. Whether you are a beginner or an experienced crocheter, this guide will walk you through the steps of making a bear that’s both adorable and full of personality.
The Happy Bears Free Crochet Pattern is not just a project; it’s an opportunity to tap into your creativity and explore the world of crochet. With its straightforward instructions and customizable features, it makes a great project for those who love making handmade gifts or adding something special to their own collection. From choosing the right yarn to the final assembly, this guide will provide the support you need to complete your bear with ease and excitement.
Additionally, crochet patterns like these serve as a wonderful way to unwind and express your creativity. The repetitive nature of crochet can help reduce stress, and creating something as cute as a bear will certainly bring joy. Now, let’s dive deeper into the world of the Happy Bears Free Crochet Pattern and explore how you can bring this adorable project to life.
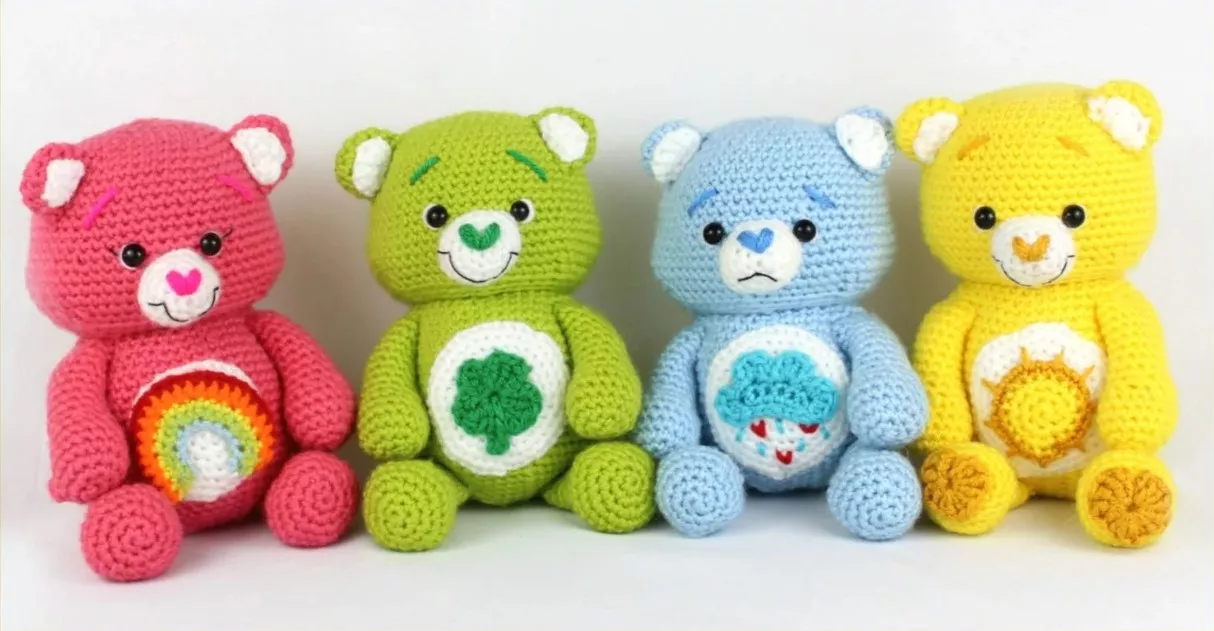
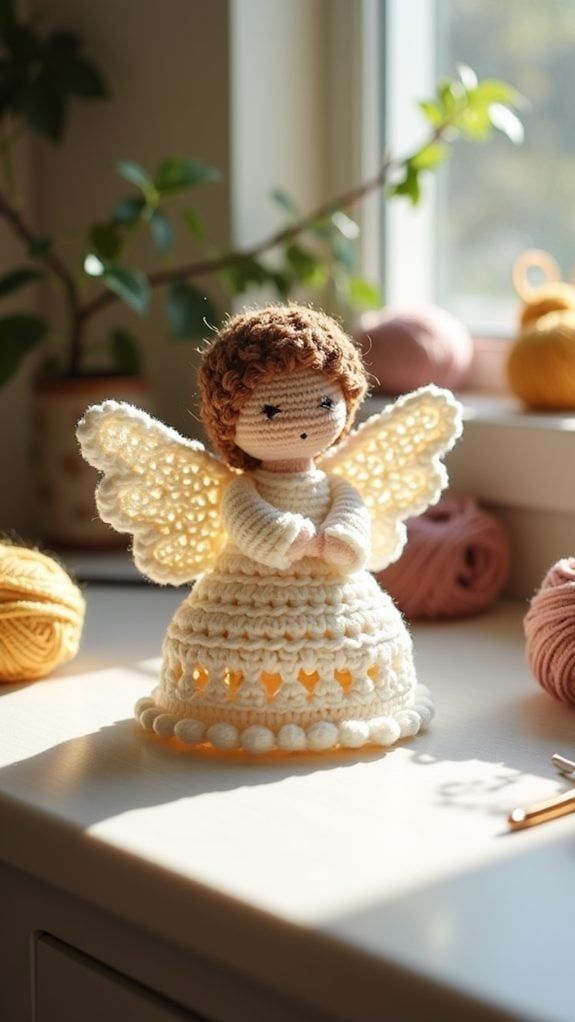
Image From Pinterest
Before starting your Happy Bears Free Crochet Pattern, it’s essential to gather the right materials. Here is a list of what you’ll need to begin:
DISCOVER MORE FREE PATTERNS HERE!
Now that you’ve gathered your materials, you’re ready to start crafting your bear. Remember, crochet is all about creativity and personal touch, so feel free to experiment with different yarns and colors!
Creating the Happy Bears Free Crochet Pattern requires a bit of patience, but the end result is worth the effort. Let’s break down the process step by step:
The head of the bear is usually worked in the round, starting with a magic ring. Begin by creating six single crochet stitches into the magic ring and continue increasing to form a rounded shape. As you progress, continue to add stitches in each round to keep the shape growing evenly.
Once the head is complete, you will move on to the body. Like the head, the body is worked in rounds, and you will gradually increase stitches to create a smooth cylindrical shape. Pay attention to the stitch count in each round to ensure the proportions are correct.
The ears of the bear are small and rounded, usually worked in a flat, circular pattern. Attach them to the sides of the head once they’re completed. You can customize the ears by making them larger or adding unique detailing, such as a contrasting color around the edges.
Arms and legs are worked in rounds, with the arms being shorter and the legs slightly longer. The arms can be stitched to the sides of the body, and the legs are sewn on at the bottom. Be sure to stuff them lightly with fiberfill for a plush, adorable finish.
Once the basic body is assembled, it’s time to add the facial features. If you’re using safety eyes, secure them firmly to the face. You can also crochet a simple nose using black yarn or an embroidered stitch. Don’t forget to sew the mouth using a simple curved stitch to give your bear a cute smile!
Once all the parts are complete, it’s time to sew everything together. Be sure to securely attach the head, limbs, and ears to the body. After the bear is fully assembled, use the tapestry needle to weave in any loose yarn ends, and give your bear a final fluffing with the fiberfill stuffing.
While the Happy Bears Free Crochet Pattern provides a basic outline, there are plenty of ways you can make your bear unique. Here are a few customization ideas:
Crochet a small scarf, sweater, or outfit for your bear to add some personal style. You can choose colors and patterns that match your taste or create seasonal outfits for your bear.
Experiment with different yarns for the bear’s body, such as textured or variegated yarns, to give the bear a different look. A fuzzy yarn could create a plush, teddy-bear effect, while smooth yarns might give a more polished, sleek finish.
To create a smaller version of the bear, simply reduce the size of the stitches or use a lighter weight yarn. A tiny version of your bear can serve as a keychain, charm, or small gift for friends.
You can personalize your bear’s face by using different yarns or stitching techniques for the eyes and nose. Consider adding additional embroidery or a unique design on the body to give your bear an even more special touch.
These customization ideas allow you to make your Happy Bears Free Crochet Pattern truly your own. Whether you keep it simple or go all out with decorations, the possibilities are endless.
As you embark on making the Happy Bears Free Crochet Pattern, keep these helpful tips in mind to ensure a smooth crafting experience:
By following these tips, your crafting journey will be both efficient and enjoyable. Take your time and remember that the joy of creating something with your own hands is one of the most rewarding aspects of crochet.
This pattern is suitable for crocheters with basic to intermediate skills. If you can crochet in the round and know how to increase and decrease stitches, you should be able to follow the pattern with ease.
Yes, you can experiment with different yarns! However, make sure to match the yarn weight and hook size for consistent stitch tension and size. Yarn with different textures can also create unique finishes.
To help your bear stand, you can add additional stuffing to the bottom of the legs and ensure that the body is firm enough to support the weight of the head. Some crafters even add a small weight or sand at the bottom for stability.
Yes, you can sell bears made from the Happy Bears Free Crochet Pattern, but be sure to credit the pattern creator. Make sure to comply with any licensing requirements if specified by the pattern source.
To make the face appear extra cute, use small safety eyes or crochet the eyes with a contrast color. You can also use a small embroidered stitch for the nose and mouth, ensuring a friendly, joyful expression.
The time it takes to complete your bear depends on your skill level and how much time you dedicate to the project. On average, it may take a few hours over the course of a couple of days, making it a great project for leisure time.
In this article, we’ve covered everything you need to know to make your very own Happy Bears Free Crochet Pattern. From gathering materials and following step-by-step instructions to adding creative touches and customizing your bear, you now have all the tools to create an adorable, one-of-a-kind crochet bear. Remember, crochet is about fun, creativity, and self-expression, so don’t be afraid to try new things and make the pattern your own.
We’d love to hear your thoughts on the pattern! Please leave your honest opinion or suggestions in the comments below. Your feedback helps us create more fun and helpful content for fellow crafters!