Amigurumi Christmas Pointer - TUTORIAL

Creating a Crochet Caterpillar Amigurumi is a fun and delightful project that will bring a little whimsy to your crochet collection. This charming little caterpillar can be made with a variety of colors, making it a perfect addition to any amigurumi collection or a lovely gift for friends and family.
Whether you’re new to amigurumi or a seasoned crocheter, this step-by-step pattern will help you craft a cute caterpillar that will surely steal hearts.
In this article, we will walk you through the process of crocheting your own Caterpillar Amigurumi, with detailed instructions and tips to ensure your project turns out perfectly. Get your hooks and yarn ready—let’s begin!
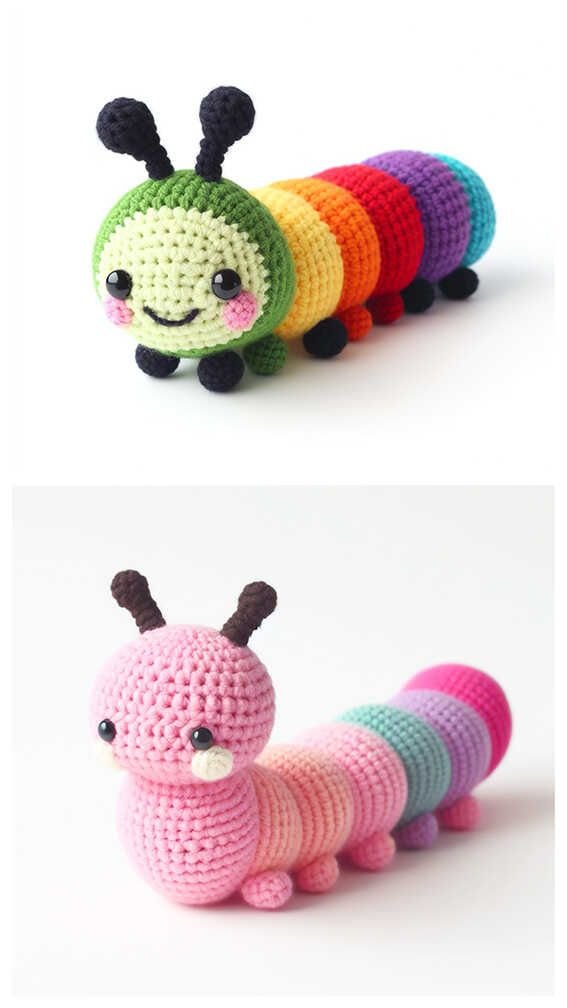
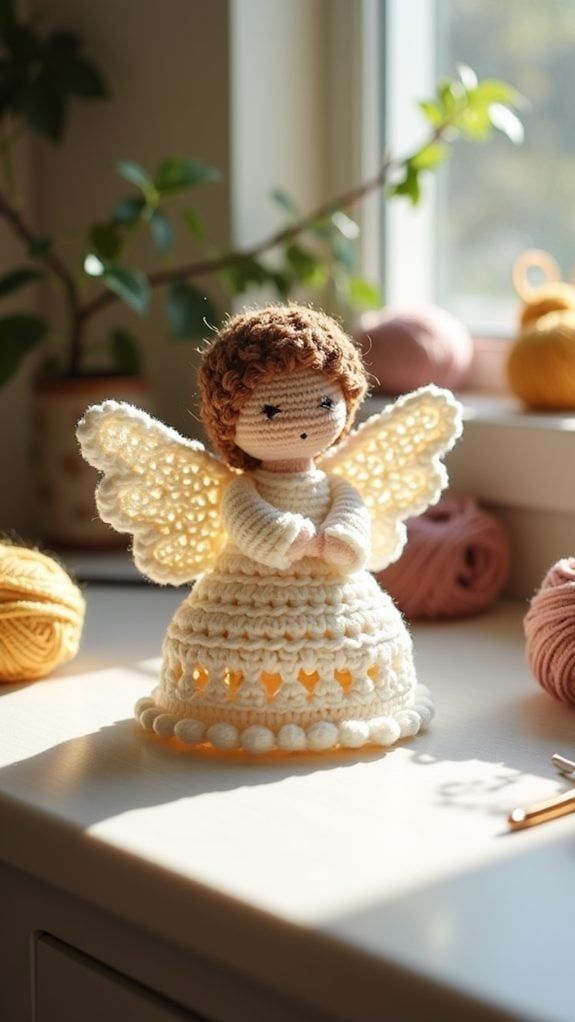
Image From Pinterest
Before you start crocheting, make sure you have all the necessary materials to bring your Caterpillar Amigurumi to life. Here’s what you’ll need:,
DISCOVER MORE FREE PATTERNS HERE!
Once you have your materials ready, it’s time to start crocheting!
Now that you have everything you need, let’s dive into the step-by-step process of crocheting your Caterpillar Amigurumi. We’ll guide you through making the body, head, legs, and antennae.
The caterpillar’s body is made up of several segments, each crocheted in the round. For each body segment:
For a traditional caterpillar, aim for 6 to 8 segments, but you can make more or fewer segments depending on how long you want your caterpillar to be. Stuff each segment lightly as you go, ensuring it’s evenly filled but still flexible.
Once you’ve completed the body segments, it’s time to crochet the head. The head is just a slightly larger segment of the same shape as the body.
Now it’s time to crochet the caterpillar’s legs. A caterpillar typically has several pairs of legs along its body. You can crochet the legs as small tubes and sew them onto the body segments.
A fun and whimsical touch to your Caterpillar Amigurumi is its antennae. You can crochet two small, curved pieces to form the caterpillar’s antennae.
Now that all the parts are crocheted, it’s time to assemble your caterpillar!
Once all the parts are in place, adjust the positioning to make sure everything looks natural and balanced.
Now that you’ve completed your Caterpillar Amigurumi, it’s time to get creative! Here are some ideas to customize your caterpillar and make it unique:
While a traditional caterpillar is green, you can use any color combination you like! Use rainbow yarn for a fun, colorful caterpillar, or mix in pastel shades for a soft, spring-like look.
Make your caterpillar even more adorable by adding extra features. You can embroider a smile or tiny spots along its body to give it more character.
Why not crochet a whole family of caterpillars? Create different sizes or color patterns to make them unique. You could also create different personalities by adjusting their expressions or positions.
You can add texture to your caterpillar by using different stitches. Try using the puff stitch or shell stitch to add visual interest to the body or legs for a more detailed look.
If you want to make your caterpillar more practical, turn it into a keychain! Simply add a small chain to the top of the head, and you’ll have a cute accessory that can go with you wherever you go.
With these customizations, your Caterpillar Amigurumi can become even more unique and tailored to your personal style!
Here are some tips to help you perfect your Caterpillar Amigurumi:
For amigurumi projects, it’s important to keep your stitches tight so the stuffing doesn’t peek through. This will also help your caterpillar hold its shape better and look more professional.
When working in the round, use stitch markers to help keep track of where each round starts. This ensures your body segments and head are evenly shaped and aligned.
Be sure to stuff each segment of the caterpillar with fiberfill lightly. Overstuffing can cause the body to look too stiff, while understuffing can make it look flat.
When attaching the legs, antennae, and body parts, make sure they are sewn on securely. This will help your caterpillar stay intact and prevent any parts from falling off.
Amigurumi projects like this one are best enjoyed when you take your time. Don’t rush through it—enjoy the process of creating each part and watching your caterpillar come to life.
The time it takes to complete your caterpillar will vary depending on your skill level and how much time you dedicate to it. On average, this project can take a few hours to a day to complete.
Yes! You can adjust the size by using thicker yarn and a larger hook for a bigger caterpillar, or thinner yarn and a smaller hook for a tiny caterpillar.
Absolutely! If you prefer a softer or fluffier look, you can use different types of yarn like chenille or velvet yarn. Just be sure to use a matching hook size for your chosen yarn.
Definitely! You can add small accessories like a bow, a little scarf, or tiny shoes to give your caterpillar even more charm. Accessories are a great way to personalize your amigurumi.
To keep the legs attached securely, make sure you sew them on tightly with the tapestry needle. Reinforce the stitches and check for stability before moving on to the next part of your project.
Crocheting a Caterpillar Amigurumi is a fun and rewarding project that results in a cute and colorful creature perfect for any crochet collection. By following the steps in this guide, you’ll be able to create your own adorable caterpillar with ease. Don’t forget to customize your creation to make it as unique