Amigurumi Christmas Pointer - TUTORIAL

Creating an Amigurumi Lion is a fun and rewarding project that brings the majestic beauty of this wild animal into the world of crochet. With its fluffy mane, strong body, and charming personality, the lion is a perfect subject for an amigurumi project. Whether you’re an experienced crocheter or a beginner, this project will guide you through the steps to create a huggable, adorable lion.
An Amigurumi Lion is not only a great crochet project for personal enjoyment, but it also makes a fantastic gift. Lions symbolize strength, courage, and royalty, making this little crocheted creature an ideal gift for a loved one. With just a few crochet techniques and patience, you can create your own cuddly version of this majestic animal.
In this guide, we’ll cover everything you need to know to crochet a Lion Amigurumi, from gathering supplies to assembling all the different parts. By following along with these detailed instructions, you’ll be able to create a stunning crochet lion that’s sure to impress!
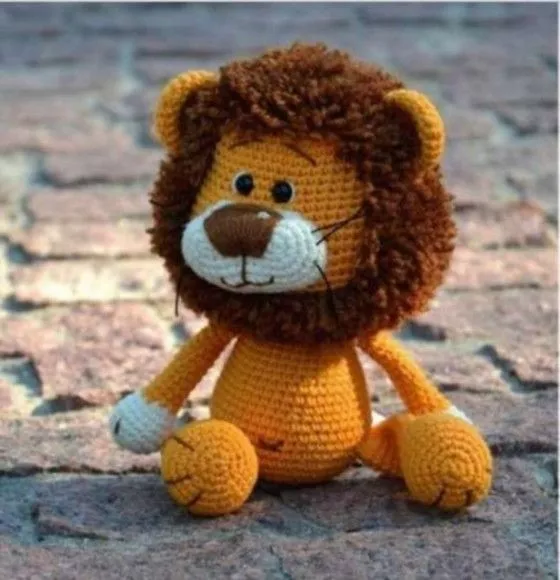
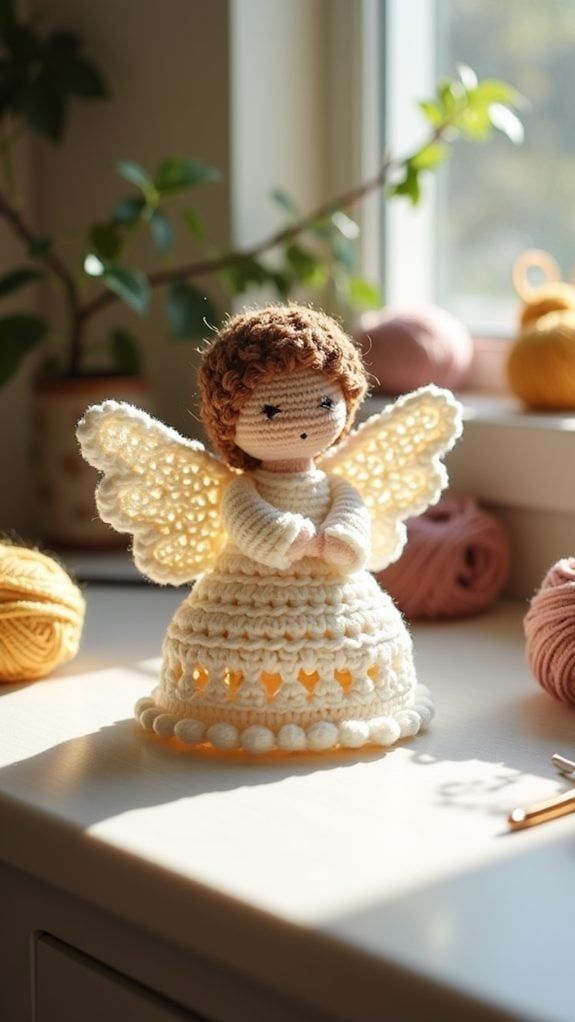
Image From Pinterest
Before you start crocheting your Amigurumi Lion, it’s important to gather all the necessary materials. With the right tools and supplies, your lion will come together smoothly and beautifully.
DISCOVER MORE FREE PATTERNS HERE!
Having these materials ready will make the crocheting process smoother and more enjoyable, so let’s get started!
Now that you have all the materials, let’s begin creating your Amigurumi Lion. The process is broken down into easy-to-follow steps, so you can create each part of the lion and then assemble them for the final product.
To start, you will crochet the lion’s head, which forms the foundation for the rest of the body. Begin with a magic ring and make six single crochet (sc) stitches into it. From here, increase each round until the head reaches the size you want. The head should be round and smooth, so keep your tension even as you work.
Once the head is complete, move on to the body. The body will be slightly larger than the head and cylindrical in shape. Work in continuous rounds to form the body, increasing stitches as needed to maintain a smooth, even shape. As you crochet, stuff the body with fiberfill to give it a soft, firm texture.
The mane is one of the most recognizable features of the Amigurumi Lion, and it’s essential for giving the lion its majestic look. To make the mane, you will crochet several pieces of yarn and attach them around the head. These pieces can be created using long chains of yarn, then trimmed and fluffed to create a full, voluminous mane. The lion’s mane can be made with different shades of brown, orange, and yellow to add depth and texture.
The lion’s ears are small but important to give it a balanced look. Crochet two small oval shapes for the ears using a combination of yellow and brown yarn. Attach the ears to the sides of the head. Make sure they are positioned symmetrically for a cute and proportional look.
For the lion’s arms and legs, you will crochet small tubes. Start with a magic ring and crochet a few rounds of single crochet (sc) before adding a few increases and decreases to form the limbs. The arms and legs should be proportionate to the body and slightly smaller than the torso. Once the limbs are finished, stuff them lightly with fiberfill and attach them securely to the body.
To create the lion’s tail, crochet a long, thin tube of yellow or brown yarn. Add a tuft of yarn at the end of the tail to give it a playful, fluffy appearance. Attach the tail to the back of the body, ensuring it’s securely fastened.
Now that all the parts are complete, it’s time to sew them together. Start by attaching the head to the body, making sure it’s centered and secure. Next, sew on the arms and legs, positioning them evenly on the body. Finally, attach the ears, mane, and tail. Once everything is in place, you’ll have a fully assembled Amigurumi Lion ready for display!
While the basic Amigurumi Lion pattern is already adorable, there are several ways you can personalize your lion to make it unique. Here are a few ideas for customizing your crochet lion:
The lion’s mane can be customized by using different shades of yarn. You can create a lion with a darker or lighter mane or even experiment with a multicolored mane for a more playful look. The variety of colors will give your lion a distinctive and fun personality.
You can give your lion a personalized touch by crocheting accessories. A small crown, a scarf, or even a little vest could be adorable additions. If you want to create a “royal lion,” consider adding a crown or a cape for a majestic flair.
Crochet a family of lions! You can make a larger lion for the parent and smaller lions for the cubs. This is a fun way to create a set of characters that tell a story. You can adjust the size of the lion by changing the yarn thickness or hook size.
While the traditional lion face is quite simple, you can customize the expression. Change the position of the eyes and mouth to create different moods. A smiling lion, a serious lion, or even a playful expression will give your lion character and personality.
Add small features, like embroidered whiskers, to make your lion even cuter. You can also stitch around the ears or eyes to add extra texture and details, making your lion stand out more.
These customizations will help you create a Amigurumi Lion that’s as unique and special as you want it to be!
Here are a few tips to ensure that your Amigurumi Lion turns out as cute and professional-looking as possible:
Keep your tension even throughout the project to ensure that your stitches are uniform. This will help create a smooth and tight texture, especially when working with the head and body.
Stitch markers are a great tool for keeping track of where each round starts and ends. This is especially helpful when working in continuous rounds to avoid any mistakes or uneven stitching.
The lion’s mane is one of the most important features, so take your time to make it full and voluminous. Use a variety of yarn colors to add depth and texture, and trim the pieces after attaching them to get the perfect look.
When sewing parts together, be sure to use a strong yarn and sew each part securely. This will prevent the head, limbs, ears, and tail from coming loose during use.
Stuff your lion with enough fiberfill to give it shape, but don’t overstuff it. The lion should have a soft, squishy feel, and overstuffing can cause the stitches to stretch or distort.
The time to make a lion will depend on your experience and how much time you dedicate to the project. On average, it should take a few hours over the course of a couple of days.
Absolutely! You can experiment with different colors for the mane to create a lion with a unique look. Feel free to mix and match different shades to make your lion stand out.
Yes! While worsted weight yarn is ideal for this project, you can use any yarn you prefer. Just keep in mind that the size of the lion may change depending on the yarn thickness.
Yes, you can adjust the size of your lion by using thicker yarn and a larger hook for a bigger lion or thinner yarn and a smaller hook for a smaller version
. This will change the overall size of the finished product.
Yes! You can crochet accessories like a crown, scarf, or even a small vest to personalize your lion and make it even more special.
Creating an Amigurumi Lion is a fun and creative project that brings a little bit of the wild into the world of crochet. By following the steps in this guide, you can create your own adorable lion that’s perfect for gifting or displaying. With customization options, you can make your lion as unique as you want it to be.
We’d love to hear your thoughts and ideas! Feel free to leave a comment below and share your finished Amigurumi Lion with us. We also appreciate any feedback or suggestions for future projects! Happy crocheting!