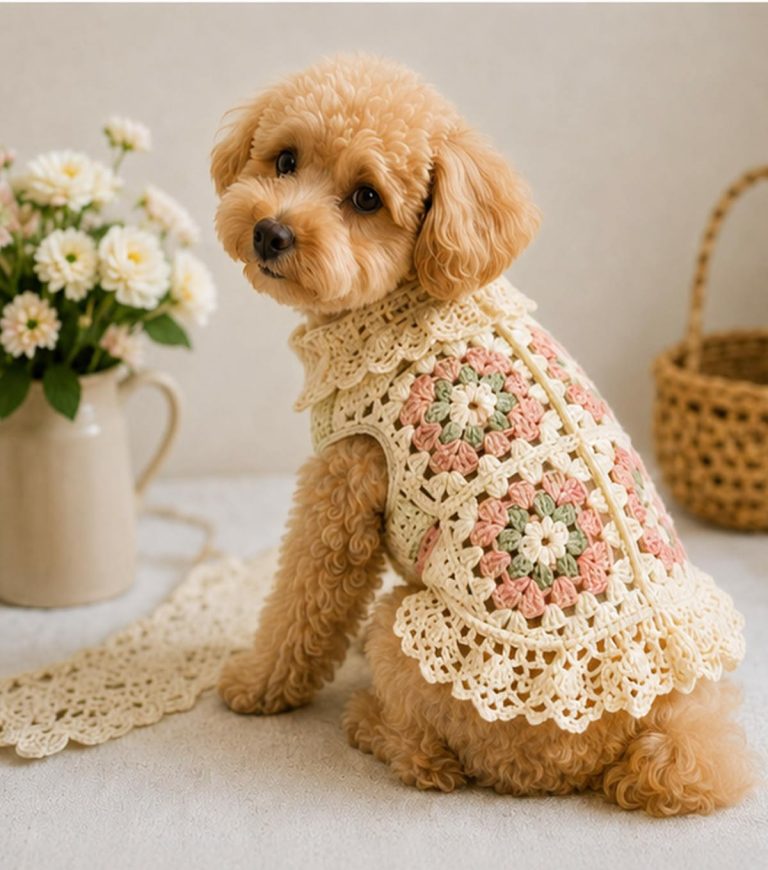
Easy Crocheted Dog Sweater

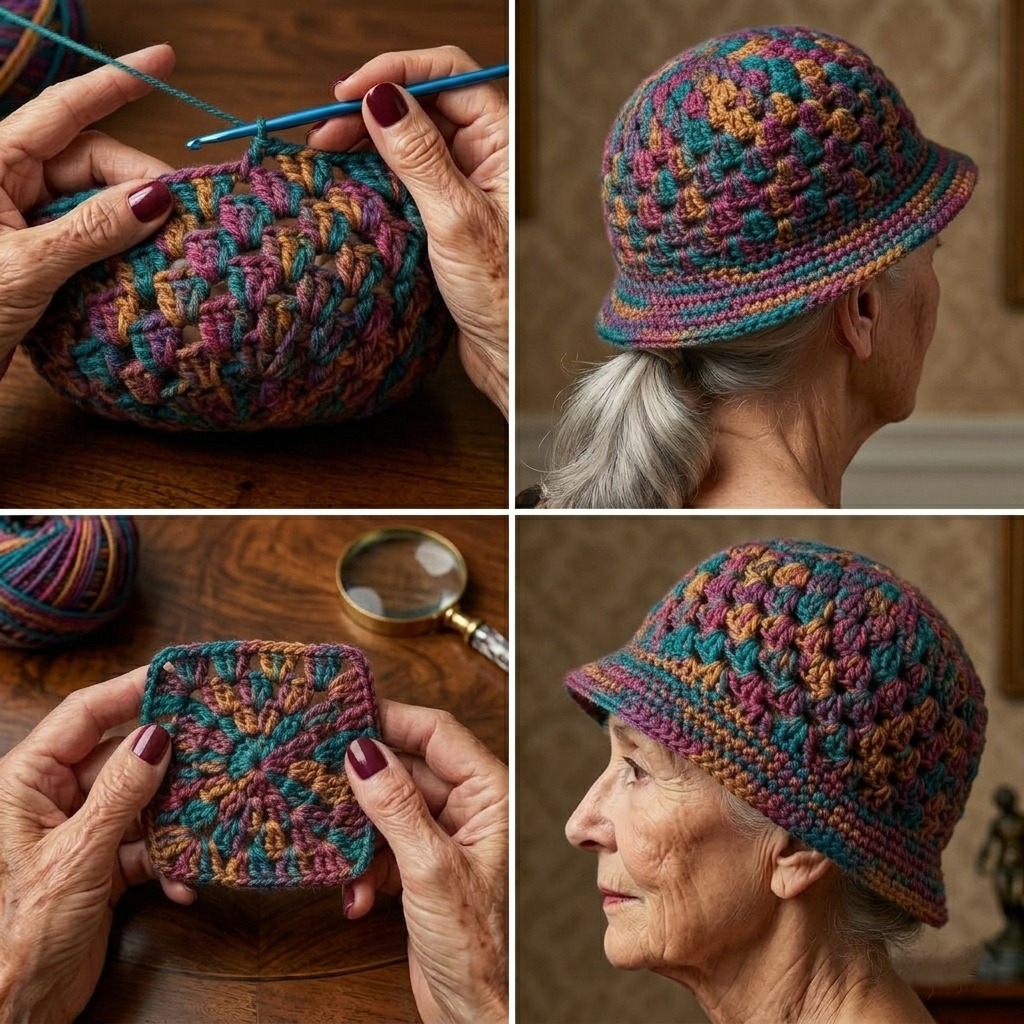
The Crochet Bucket Hat Tutorial is a stylish and creative crochet project that combines fashion, comfort, and handmade charm into one versatile accessory. Whether you are a beginner learning wearable crochet techniques or an experienced crafter looking for a trendy project, following a Crochet Bucket Hat Tutorial is both enjoyable and rewarding.
Creating a Crochet Bucket Hat Tutorial allows you to transform yarn into a fashionable hat that can be worn in every season. Crochet bucket hats have become increasingly popular because they are comfortable, customizable, and perfect for casual outfits, beach days, festivals, or everyday wear.
One of the best things about the Crochet Bucket Hat Tutorial is its versatility. You can experiment with different yarn types, stitch patterns, and color combinations to create a hat that perfectly reflects your personality and style. In this guide, you will learn step by step how to make a crochet bucket hat while discovering creative ways to personalize your design.
Selecting the right materials is essential for creating a comfortable and durable Crochet Bucket Hat Tutorial. Since hats need to maintain their shape while remaining breathable, yarn choice is very important.
Cotton yarn is one of the most recommended options because it is lightweight, breathable, and provides excellent stitch definition. It is especially suitable for warm-weather bucket hats.
Acrylic yarn is another popular choice because it is soft, affordable, and available in a wide variety of colors. It works well for cooler seasons.
Medium-weight yarn is commonly used because it creates a sturdy structure without making the hat too heavy.
A crochet hook between 4 mm and 6 mm is generally recommended depending on the yarn thickness and desired stitch tension.
Additional tools include scissors, stitch markers, measuring tape, and a yarn needle for weaving in loose ends.
Choosing washable yarn is helpful since bucket hats are frequently worn outdoors and may require regular cleaning.
Before starting your project, it is important to understand how the Crochet Bucket Hat Tutorial is constructed. Most crochet bucket hats are made in three main sections: the crown, the body, and the brim.
The crown is usually worked in rounds, starting from the center and gradually increasing stitches to create a flat circular top.
The body of the hat is built downward from the crown and determines the depth and fit around the head.
The brim extends outward from the body and gives the bucket hat its signature shape and sun-protective design.
Different stitch techniques can be used to create texture, structure, or decorative effects throughout the hat.
Understanding the structure beforehand helps ensure your Crochet Bucket Hat Tutorial fits comfortably and maintains its shape properly.
Once your materials are ready, you can begin creating your Crochet Bucket Hat Tutorial. Maintaining even tension and accurate stitch counts will help you achieve a polished result.
Start by creating a magic ring or foundation circle to begin the crown section.
Work rounds of crochet stitches while gradually increasing to create a flat circular shape. Stitch markers can help track the beginning of each round.
Once the crown reaches the desired diameter, continue crocheting without increases to form the body of the hat.
Adjust the length of the body according to your preferred fit and style.
To create the brim, begin increasing stitches gradually again so the edges extend outward naturally.
Continue crocheting the brim until it reaches your desired width, then finish the edge neatly using slip stitches or decorative borders.
Weave in all loose ends carefully to complete your Crochet Bucket Hat Tutorial.
The final stage is where your Crochet Bucket Hat Tutorial becomes truly unique. Personal touches allow you to create a hat that reflects your creativity and fashion preferences.
Color combinations can dramatically change the look of the hat. Neutral shades create a minimalist style, while bright colors and stripes make the design playful and trendy.
You can experiment with textured stitches, granny square motifs, or floral details for a more decorative appearance.
Adding embellishments such as appliqués, ribbons, buttons, or beads can personalize the hat even further.
Seasonal versions are another great option. Lightweight cotton hats are ideal for summer, while thicker yarn creates cozy fall and winter styles.
Matching accessories like crochet bags or scarves can help create a coordinated handmade outfit.
The versatility of the Crochet Bucket Hat Tutorial makes it one of the most popular wearable crochet projects.
Yes, many crochet bucket hat patterns are beginner-friendly and mainly use basic stitches worked in rounds.
Cotton yarn is highly recommended because it is breathable and helps the hat maintain its shape.
Measure the head circumference before starting and adjust the crown diameter and body length accordingly.
Yes, most hats made with washable yarn can be cleaned gently in a washing machine or by hand.
Depending on the design complexity, many hats can be completed within a day or weekend.
Yes, crochet bucket hats are very popular handmade fashion accessories and sell well online and at craft markets.
Creating a Crochet Bucket Hat Tutorial is a wonderful way to combine crochet skills, creativity, and modern fashion into one practical handmade project. From selecting yarn and understanding the structure to crocheting and decorating the final hat, every step contributes to a stylish and wearable result.
This project is perfect for personal use, gifts, seasonal fashion, or even small handmade businesses. A crochet bucket hat offers individuality and handmade charm that make it truly special.
PATTERN VIDEO
We hope this guide has inspired you to create your own Crochet Bucket Hat Tutorial with confidence. If you have already made one or are planning to start, feel free to share your honest opinion and suggestions—we would love to hear your creative ideas and experiences.