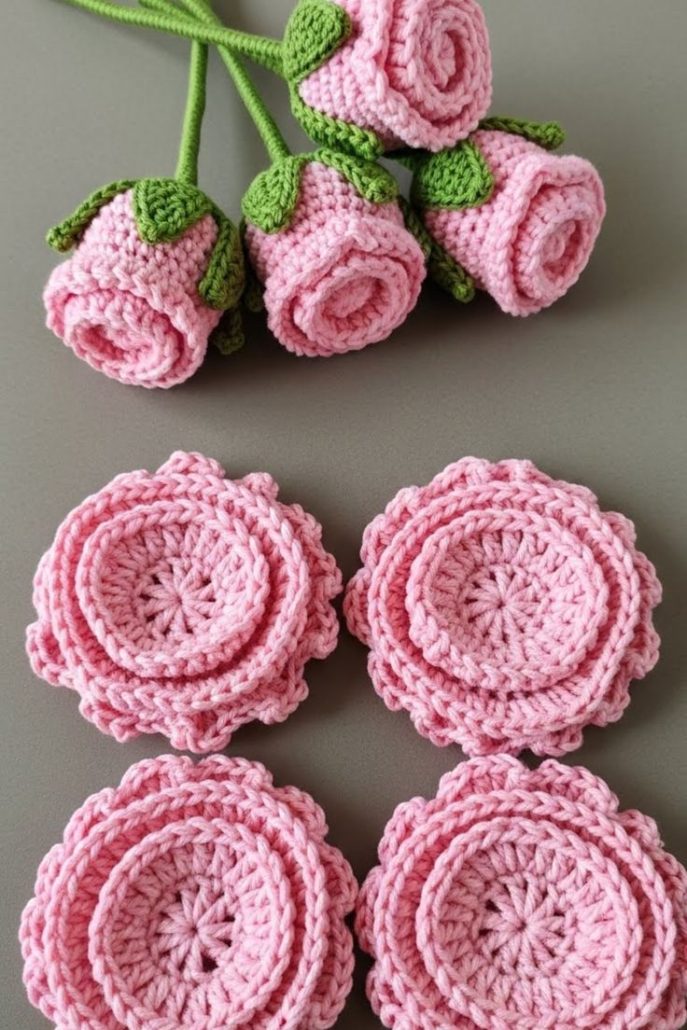
Small Stem Flower - TUTORIAL

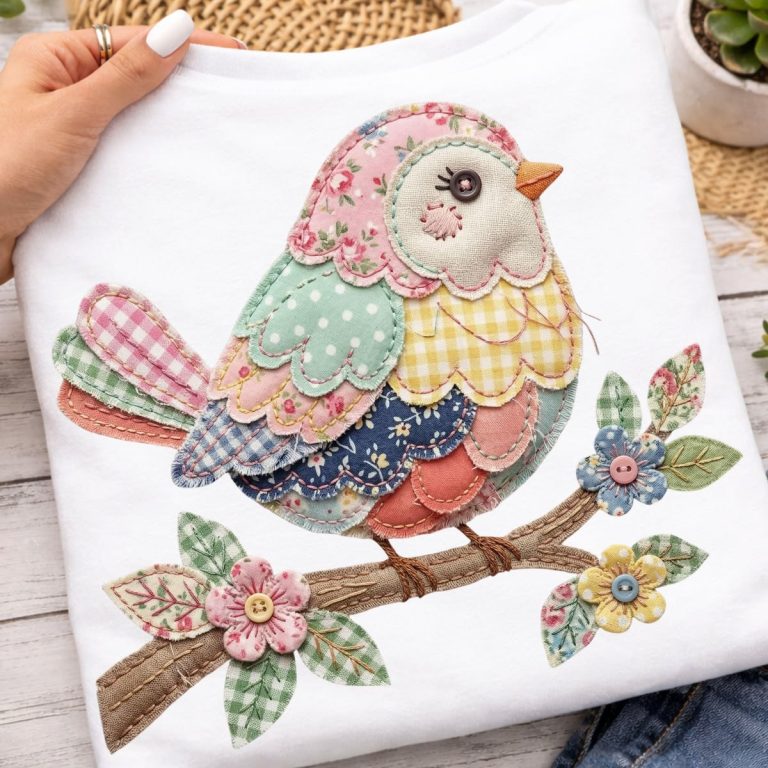
Bird and Branch – TUTORIAL is a beautiful and artistic crochet project that captures the elegance of nature through delicate stitches and thoughtful design. This pattern is perfect for crafters who want to create something unique, combining the charm of a small bird with the organic flow of a branch in a single handcrafted piece.
The appeal of the Bird and Branch – TUTORIAL lies in its versatility and visual impact. It can be used as a wall decoration, appliqué for blankets, or even as part of a larger crochet artwork. With the right color choices and techniques, this pattern can look realistic, whimsical, or modern.
In this complete guide, you will learn everything you need to master the Bird and Branch – TUTORIAL, including understanding the structure, selecting materials, following a step-by-step process, and exploring creative customization ideas.

The Bird and Branch – TUTORIAL is a crochet design that typically combines appliqué techniques with shaping methods to create a nature-inspired motif.
The pattern usually consists of two main components: the bird and the branch. Each is crocheted separately and then joined together.
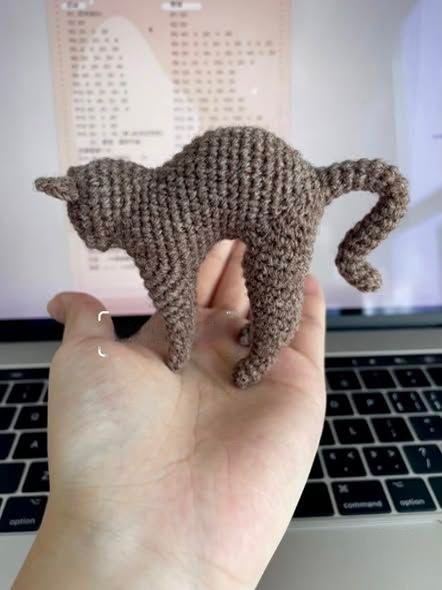
The bird is often made using basic amigurumi or flat appliqué techniques, depending on the desired style and dimension.
The branch is typically crocheted using chain stitches and surface crochet to create a natural, slightly curved appearance.
One of the defining features of the Bird and Branch – TUTORIAL is its detail. Elements like wings, beak, and tail feathers add personality to the bird.
Understanding how these elements come together will help you achieve a balanced and visually pleasing final design.
Choosing the right materials is essential for creating a high-quality Bird and Branch – TUTORIAL.
Lightweight yarn such as DK or sport weight is ideal for achieving fine details, especially for the bird’s features.
Cotton yarn is highly recommended because it provides structure and clean stitch definition, which is important for appliqué work.
A smaller crochet hook helps maintain tight and precise stitches, giving your project a polished look.
Color selection plays a significant role. Natural tones like browns and greens work well for the branch, while brighter or varied colors can bring the bird to life.
Additional tools include a yarn needle for sewing pieces together and embroidery thread for adding details like eyes or feather accents.
Using quality materials ensures that your finished piece looks professional and lasts over time.
Creating your own Bird and Branch – TUTORIAL becomes manageable when broken into clear steps.
Start by crocheting the branch using chain stitches. You can add texture by working slip stitches or single crochet along the chain.
Next, create the bird’s body using a magic ring and basic stitches. Increase and decrease stitches to shape the body.
Crochet additional parts such as wings, tail, and beak separately. These details give character and depth to your bird.
Assemble the bird by sewing the pieces together securely, ensuring proper placement for a balanced look.
Attach the bird to the branch using a yarn needle or by crocheting them together with slip stitches.
Finally, add finishing touches such as embroidery details or light blocking to refine the overall appearance.
The Bird and Branch – TUTORIAL offers endless creative possibilities for customization.
You can experiment with different bird species by changing colors and shapes, creating anything from robins to fantasy birds.
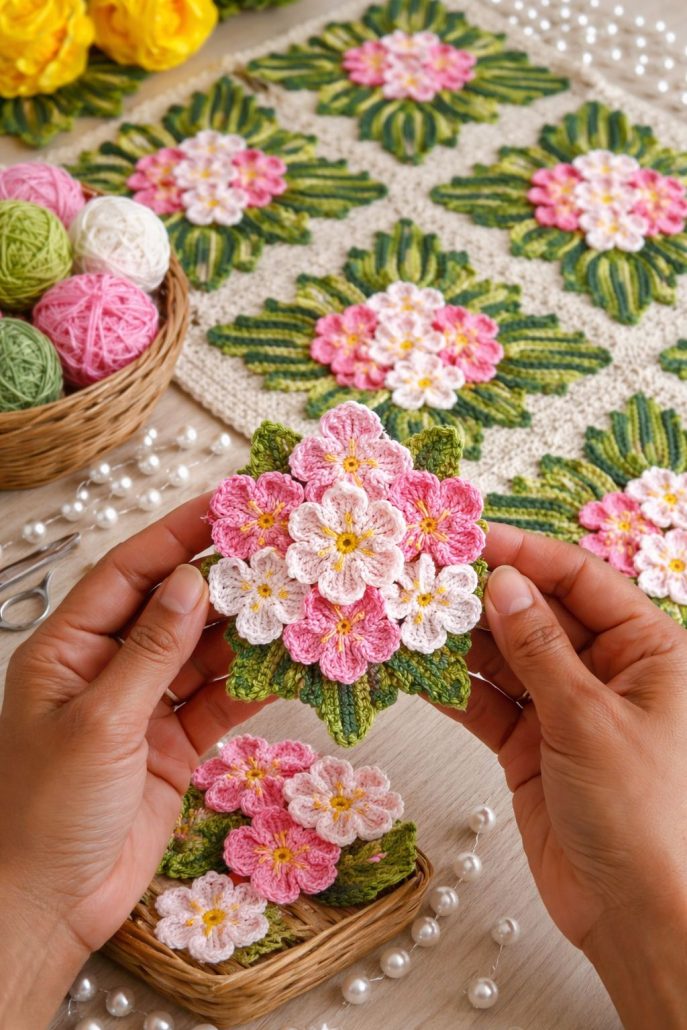
Adding flowers or leaves to the branch enhances the natural theme and creates a more detailed composition.
This pattern can be used in various projects, such as wall hangings, cushion covers, or decorative panels.
The Bird and Branch – TUTORIAL is also perfect for seasonal décor. Use pastel colors for spring or warm tones for autumn themes.
You might consider creating a series of birds on branches to form a larger artwork or storytelling piece.
Personalizing your design with unique color combinations and textures makes each project truly one of a kind.
Is the Bird and Branch – TUTORIAL suitable for beginners?
Yes, beginners can try this pattern if they are comfortable with basic stitches and simple shaping techniques.
How long does it take to complete this project?
It usually takes a few hours to a day, depending on the level of detail and size.
What type of yarn is best?
Cotton yarn is highly recommended for its structure and stitch clarity.
Can I make this pattern in 3D?
Yes, you can adapt the bird into an amigurumi style for a more dimensional effect.
How do I attach the bird to the branch securely?
Use a yarn needle and strong stitching, or crochet them together for added durability.
Can I sell items made from this tutorial?
Yes, handmade items using this pattern are popular and can be sold, especially when customized.
The Bird and Branch – TUTORIAL is a creative and elegant crochet project that allows you to bring a piece of nature into your handmade work. Throughout this guide, you learned how to understand the structure, choose the best materials, follow a step-by-step process, and explore creative ideas for customization.
This pattern is perfect for expressing your artistic side while developing your crochet skills. Whether used as décor or a thoughtful gift, it offers both beauty and versatility.
Now it’s your turn to create your own Bird and Branch – TUTORIAL. Explore different styles, experiment with colors, and enjoy the creative process. Don’t forget to leave your honest opinion and share your suggestions—your feedback helps inspire even more amazing ideas!