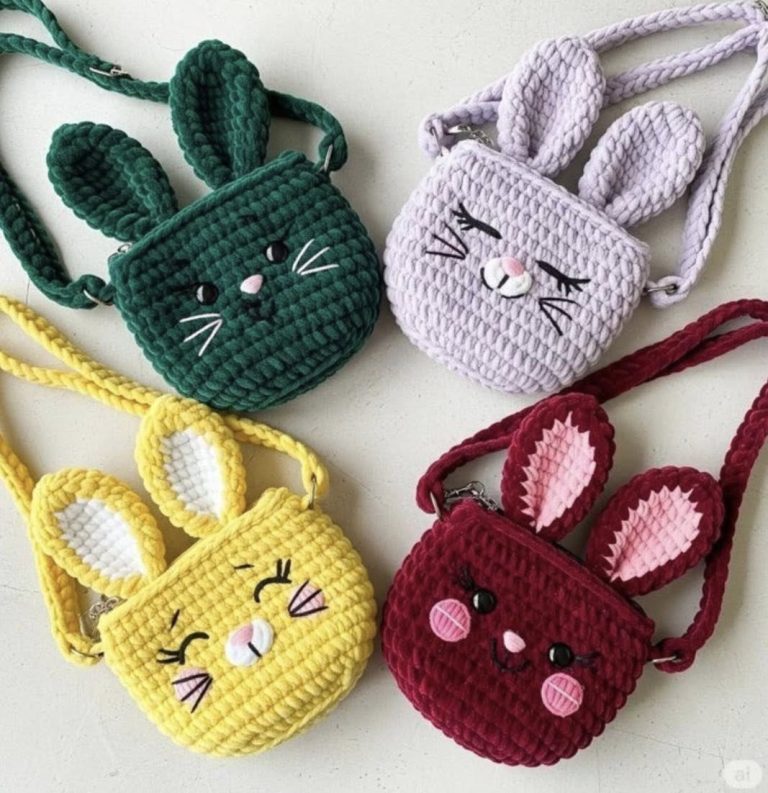
Adorable Bunny Bag Crochet Pattern

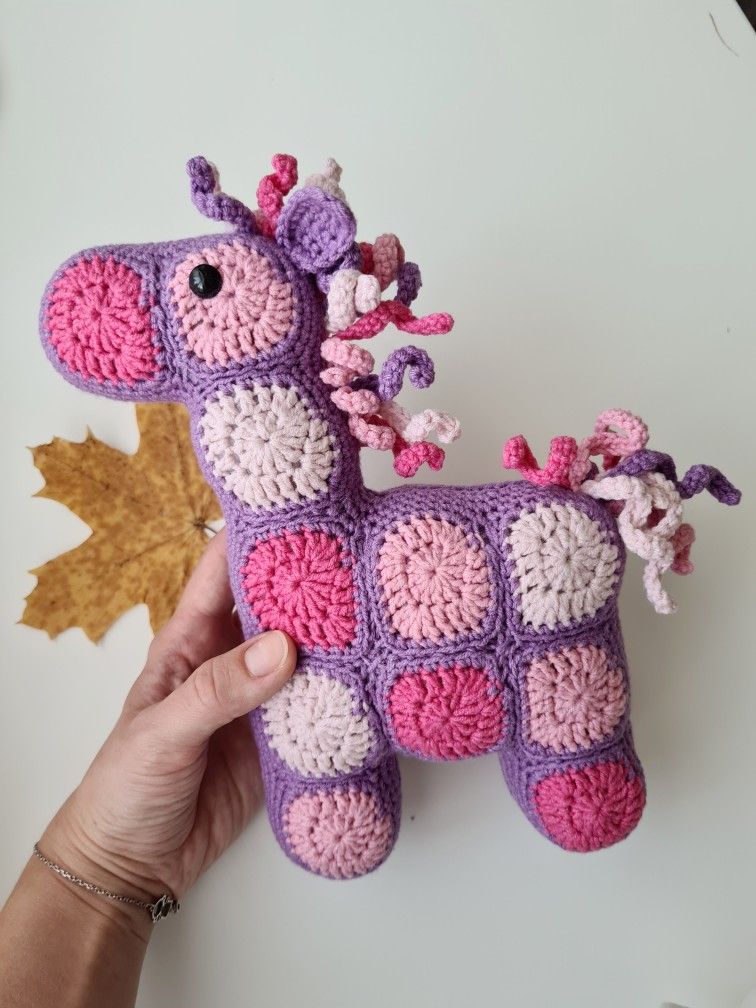
The Sewing a Crochet Horse – PATTERN is a delightful and creative project that blends the softness of crochet with simple sewing techniques to create an adorable handmade toy. Whether you are crafting for children, decorating a space, or making a thoughtful gift, this project offers both charm and versatility.
By following the Sewing a Crochet Horse – PATTERN, you can fully customize your creation. From yarn textures to color choices and small decorative details, each horse can become a unique piece that reflects your personal style.
In this complete guide, you will learn how to create your own Sewing a Crochet Horse – PATTERN step by step. This tutorial is designed for all skill levels, making it accessible whether you are new to crochet or already experienced.
To begin your Sewing a Crochet Horse – PATTERN, selecting the right yarn is essential. Soft cotton or acrylic yarn works best because it provides both structure and comfort.
Choosing your color palette is an exciting part of the process. You can opt for natural tones like brown, beige, or white, or experiment with more playful and colorful combinations.
You will need a crochet hook suitable for your yarn weight. Using the correct hook ensures even stitches and a well-shaped final result.
Basic tools such as scissors, a yarn needle, stitch markers, and sewing needles are necessary. These will help you assemble and finish your project neatly.
Stuffing material, such as polyester fiberfill, is important for shaping your horse. It gives the toy a soft yet stable structure.
Before starting, review your pattern carefully. Understanding each section will make the Sewing a Crochet Horse – PATTERN easier to follow and more enjoyable.
The Sewing a Crochet Horse – PATTERN typically begins with crocheting individual parts such as the body, head, legs, and ears. These components are often worked in the round.
Start with the main body and head, as these are the largest pieces. Use consistent stitches to ensure a smooth and even texture.
Next, crochet the smaller parts like legs and ears. These details add character and complete the overall shape of the horse.
Once all pieces are finished, begin assembling them. Use a yarn needle to sew each part securely to the body.
Carefully stuff each section before closing it. Proper stuffing ensures your horse maintains its shape and stands or sits properly.
Finally, add finishing touches such as the mane, tail, and facial features to complete your Sewing a Crochet Horse – PATTERN.
One of the most enjoyable aspects of the Sewing a Crochet Horse – PATTERN is the opportunity to personalize your creation. You can experiment with different yarn colors and textures.
For a realistic look, use natural shades and add subtle details like embroidered eyes or stitched nostrils.
If you prefer a more playful design, try bright colors or even patterned yarn. This makes your horse more fun and unique.
Adding a mane and tail using yarn strands or fringe techniques can enhance the appearance. These features bring movement and life to your project.
You can also create accessories such as saddles, scarves, or bows. These details make your Sewing a Crochet Horse – PATTERN even more special.
Adjusting the size is another option. By changing yarn weight or hook size, you can create larger or smaller versions of the horse.
Finishing your Sewing a Crochet Horse – PATTERN properly ensures durability and a polished look. Make sure all seams are secure and neatly stitched.
Weave in all loose ends carefully. This step prevents unraveling and keeps your project looking clean.
Check the balance of your horse. Adjust the stuffing if necessary to ensure it sits or stands properly.
This project has many practical uses. It can be used as a toy, a decorative item, or even a collectible piece.
The Sewing a Crochet Horse – PATTERN also makes a thoughtful handmade gift. Its unique and personal nature makes it suitable for all ages.
Additionally, this project helps improve your crochet and sewing skills, making it both educational and enjoyable.
Is this project suitable for beginners?
Yes, the Sewing a Crochet Horse – PATTERN can be adapted for beginners with basic crochet knowledge.
What type of yarn is best?
Soft cotton or acrylic yarn is recommended for comfort and durability.
How do I assemble the parts?
Use a yarn needle to sew each piece securely, making sure they are aligned properly.
Can I wash the finished horse?
Yes, but hand washing is recommended to maintain its shape and details.
How long does it take to complete?
Depending on complexity, it may take several hours to a couple of days.
Can I customize the design?
Absolutely. You can change colors, add accessories, and adjust size to create a unique piece.
The Sewing a Crochet Horse – PATTERN is a creative and rewarding project that combines crochet and sewing techniques to produce a charming handmade piece. In this guide, you’ve learned how to select materials, create each component, customize your design, and finish your project professionally.
With endless possibilities for personalization, this project allows you to create something truly special. Whether for yourself or as a gift, a handmade crochet horse is always meaningful.
PATTERN VIDEO:
Now it’s your turn to try the Sewing a Crochet Horse – PATTERN. Share your honest opinion and leave your suggestions—your feedback can inspire even more creative crochet projects!