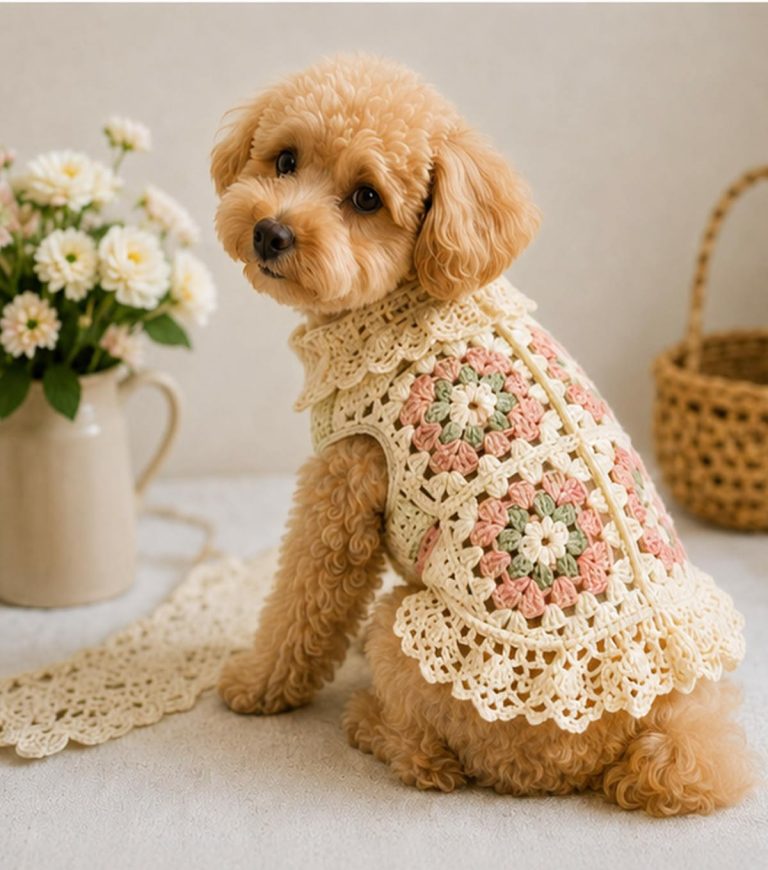
Easy Crocheted Dog Sweater

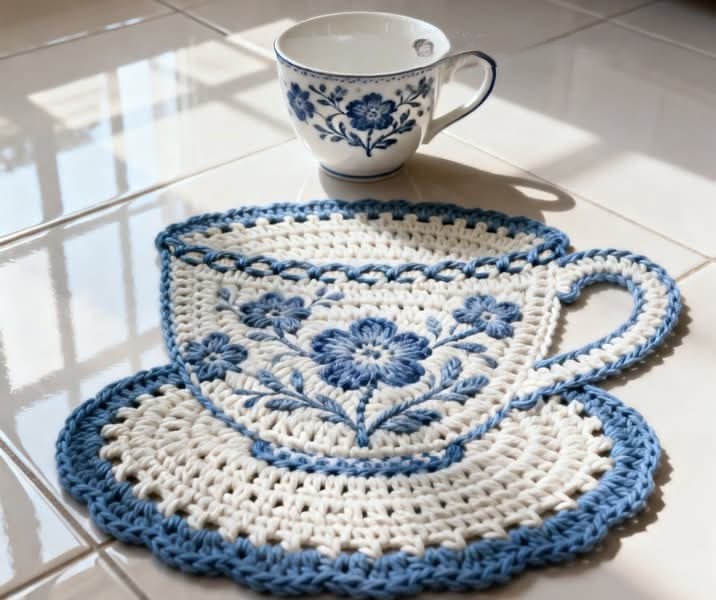
The Detailed Crochet Tutorial: Floral Teacup Mat is a charming and elegant crochet project that brings a delicate, handmade touch to your home décor. Inspired by floral motifs and the cozy feel of a teacup setting, this mat is perfect for protecting surfaces while adding beauty to your table.
With the Detailed Crochet Tutorial: Floral Teacup Mat, you can explore different textures, stitches, and color combinations to create a truly unique piece. Whether you prefer soft pastel tones or vibrant floral shades, this project offers endless creative possibilities.
In this complete guide, you will learn how to create your own Detailed Crochet Tutorial: Floral Teacup Mat step by step. Designed for both beginners and experienced crocheters, this tutorial will help you achieve a polished and visually appealing result.
To begin your Detailed Crochet Tutorial: Floral Teacup Mat, selecting the right yarn is essential. Cotton yarn is highly recommended because it is durable, absorbent, and ideal for items used on tables.
Choosing your color palette is an important step. Floral designs look beautiful with combinations of soft pinks, yellows, greens, and neutrals, but you can customize the colors to suit your style.
You will need a crochet hook that matches your yarn weight. Using the correct hook size ensures even stitches and a smooth finish.
Basic tools such as scissors, a yarn needle, and stitch markers will help you stay organized and complete your project neatly.
A pattern reference or diagram can be very helpful. It guides you through each round and ensures your Detailed Crochet Tutorial: Floral Teacup Mat maintains its shape.
Before starting, make sure your materials are ready and your workspace is comfortable. This preparation will make the process more enjoyable.
The Detailed Crochet Tutorial: Floral Teacup Mat usually begins at the center, often with a magic ring or chain loop to create a solid foundation.
Work in the round, gradually increasing stitches to form a flat circular base. This ensures the mat lies evenly on the surface.
Next, begin incorporating floral stitch patterns. Petal shapes can be created using clusters, chains, or puff stitches to add texture and dimension.
As you continue, alternate between solid rounds and decorative rounds. This balance creates a structured yet intricate design.
Maintain consistent tension throughout the project. This helps your mat keep its shape and prevents curling or uneven edges.
Once the desired size is reached, finish with a decorative border. This final step enhances the look of your Detailed Crochet Tutorial: Floral Teacup Mat.
One of the most enjoyable aspects of the Detailed Crochet Tutorial: Floral Teacup Mat is the ability to personalize the design. You can experiment with different flower patterns and stitch combinations.
Using gradient yarn can create a smooth transition between colors, giving your mat a soft and artistic look.
You can also adjust the size depending on your needs. Smaller mats are perfect for teacups, while larger ones can be used for plates or centerpieces.
Adding layered petals or raised stitches can create a more detailed and textured effect.
For a modern style, use neutral tones and simple patterns. This creates a clean and elegant version of the Detailed Crochet Tutorial: Floral Teacup Mat.
You might also create matching sets for a cohesive table setting, combining multiple mats in coordinating colors.
Finishing your Detailed Crochet Tutorial: Floral Teacup Mat properly ensures a professional and long-lasting result. Blocking is highly recommended to shape the mat and define the stitch pattern.
To block your mat, gently dampen it and lay it flat, adjusting the edges evenly. Allow it to dry completely before use.
Weave in all loose ends carefully. This step ensures durability and a clean appearance.
This project is both decorative and functional. It protects surfaces from heat and moisture while adding a handmade touch to your table.
The Detailed Crochet Tutorial: Floral Teacup Mat also makes a thoughtful gift. Its beauty and practicality make it suitable for many occasions.
Additionally, it’s a great way to use leftover yarn, making it an eco-friendly and budget-friendly project.
Is this project suitable for beginners?
Yes, the Detailed Crochet Tutorial: Floral Teacup Mat can be adapted for beginners using simple stitches.
What type of yarn is best?
Cotton yarn is ideal because it is durable and absorbent.
Do I need to block the mat?
Blocking is recommended to achieve a neat and flat finish.
Can I adjust the size?
Yes, you can increase or decrease rounds to change the size.
How long does it take to complete?
Most mats can be finished in a few hours.
Can I wash the mat?
Yes, hand washing and air drying are recommended to maintain shape.
The Detailed Crochet Tutorial: Floral Teacup Mat is a creative and rewarding project that combines beauty and functionality. In this guide, you’ve learned how to choose materials, follow step-by-step instructions, customize your design, and finish your mat professionally.
With endless possibilities for colors and patterns, this project allows you to create something truly unique for your home or as a gift. It’s a perfect way to practice crochet skills while making a useful and decorative item.
Now it’s your turn to try the Detailed Crochet Tutorial: Floral Teacup Mat. Share your honest opinion and leave your suggestions—your feedback can inspire even more creative crochet ideas!