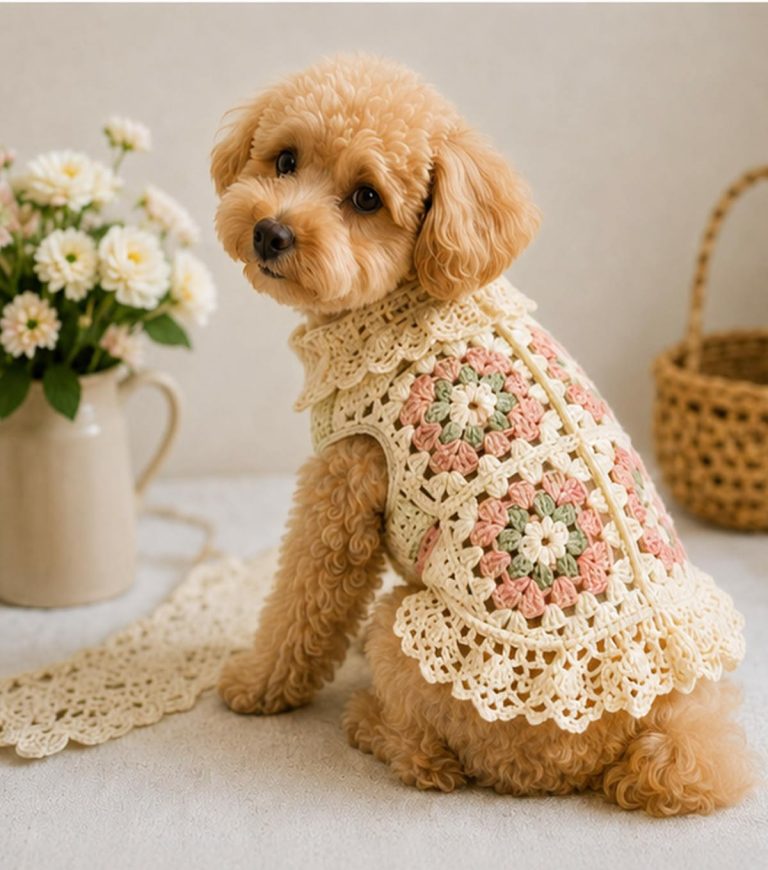
Easy Crocheted Dog Sweater

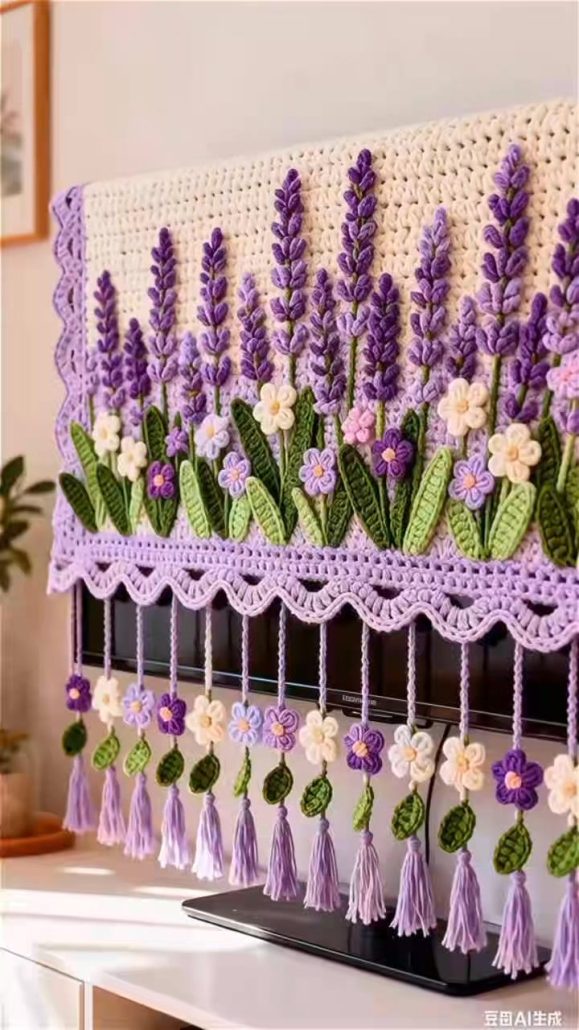
The Complete Lavender Valance Crochet Tutorial is a beautiful and elegant project designed to bring a soft, calming touch to your home décor. Inspired by the delicate tones of lavender, this crochet valance is perfect for adding charm and personality to windows in kitchens, bedrooms, or cozy living spaces.
Creating your own Complete Lavender Valance Crochet Tutorial allows you to fully customize the design to match your interior style. From choosing the perfect shade of purple to selecting stitch patterns and edging details, this project gives you the freedom to craft something truly unique.
In this detailed guide, you will learn how to make a Complete Lavender Valance Crochet Tutorial step by step. Whether you are a beginner or an experienced crocheter, this tutorial will help you achieve a polished and professional result.
To begin your Complete Lavender Valance Crochet Tutorial, selecting the right yarn is essential. Lightweight cotton yarn is highly recommended because it provides structure while still allowing the fabric to drape beautifully.
Color choice is key for this project. Soft lavender shades create a calming atmosphere, but you can also combine different tones for a gradient or layered effect.
You will need a crochet hook that matches your yarn weight. Using the correct hook ensures even stitches and a consistent texture throughout your valance.
Basic tools such as scissors, a yarn needle, and stitch markers are also necessary. These tools help keep your work organized and ensure clean finishing.
A measuring tape is important for determining the width of your window. Accurate measurements ensure your Complete Lavender Valance Crochet Tutorial fits perfectly.
Before starting, review your pattern and plan your stitch sequence. This preparation will make the process smoother and more enjoyable.
The Complete Lavender Valance Crochet Tutorial typically begins with a foundation chain that matches the width of your window. This forms the base of your valance.
Next, work in rows using simple stitches such as single crochet, double crochet, or a combination of both. This creates the main body of the valance.
As you continue, you can incorporate decorative stitch patterns. Shell stitches, lace designs, or openwork patterns add elegance and visual interest.
Maintaining consistent tension is important throughout the process. This ensures your valance hangs evenly and looks professional.
Once the main panel is complete, you can add an edging. This border enhances the design and gives your Complete Lavender Valance Crochet Tutorial a finished look.
Finally, weave in all loose ends and prepare the valance for hanging. This completes the crochet portion of the project.
One of the best aspects of the Complete Lavender Valance Crochet Tutorial is the ability to personalize the design. You can experiment with different stitch patterns to create unique textures.
Combining multiple shades of purple can create a gradient effect, adding depth and dimension to your valance.
You can also adjust the length depending on your preference. A shorter valance offers a subtle accent, while a longer one creates a more dramatic look.
Adding decorative elements such as picot edging or scalloped borders can enhance the overall appearance.
For a more modern style, use neutral colors with simple patterns. This creates a clean and minimalistic version of the Complete Lavender Valance Crochet Tutorial.
You might also create matching home décor items, such as table runners or cushion covers, for a coordinated look.
Finishing your Complete Lavender Valance Crochet Tutorial properly ensures a polished result. Blocking is highly recommended to shape the fabric and define the stitch pattern.
To block your valance, gently dampen it and lay it flat, adjusting the edges evenly. Allow it to dry completely before use.
You can also add a rod pocket or loops along the top edge. This makes it easy to hang your valance securely.
This project offers both decorative and functional benefits. It softens natural light while adding warmth and character to your space.
The Complete Lavender Valance Crochet Tutorial is also an eco-friendly option, especially if you use leftover yarn from previous projects.
Additionally, it makes a thoughtful handmade gift. Its elegant design and practical use make it suitable for many occasions.
Is this project suitable for beginners?
Yes, the Complete Lavender Valance Crochet Tutorial can be adapted for beginners using simple stitch patterns.
What type of yarn is best?
Lightweight cotton yarn is ideal because it provides structure and durability.
How do I measure my window?
Measure the width of the window and decide how much coverage you want for the valance.
Do I need to block the valance?
Blocking is recommended to achieve a neat and professional finish.
Can I wash the valance?
Yes, most cotton yarn valances can be gently washed and air dried.
How long does it take to complete?
Depending on size and complexity, it may take a few days to finish.
The Complete Lavender Valance Crochet Tutorial is a creative and rewarding project that enhances your home with a handmade touch. In this guide, you’ve learned how to choose materials, follow step-by-step instructions, customize your design, and finish your valance professionally.
With endless possibilities for colors and patterns, this project allows you to create a piece that reflects your personal style while adding elegance to your space. Whether for your own home or as a gift, a crochet valance is always a beautiful addition.
Now it’s your turn to try the Complete Lavender Valance Crochet Tutorial. Share your honest opinion and leave your suggestions—your feedback can inspire even more creative crochet projects!