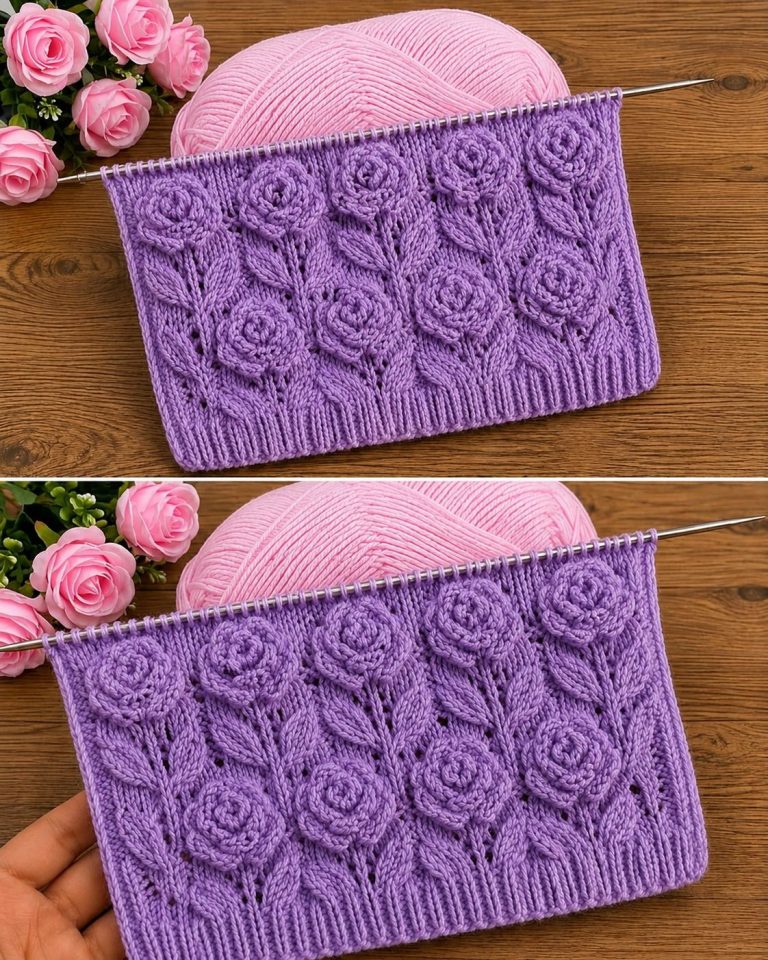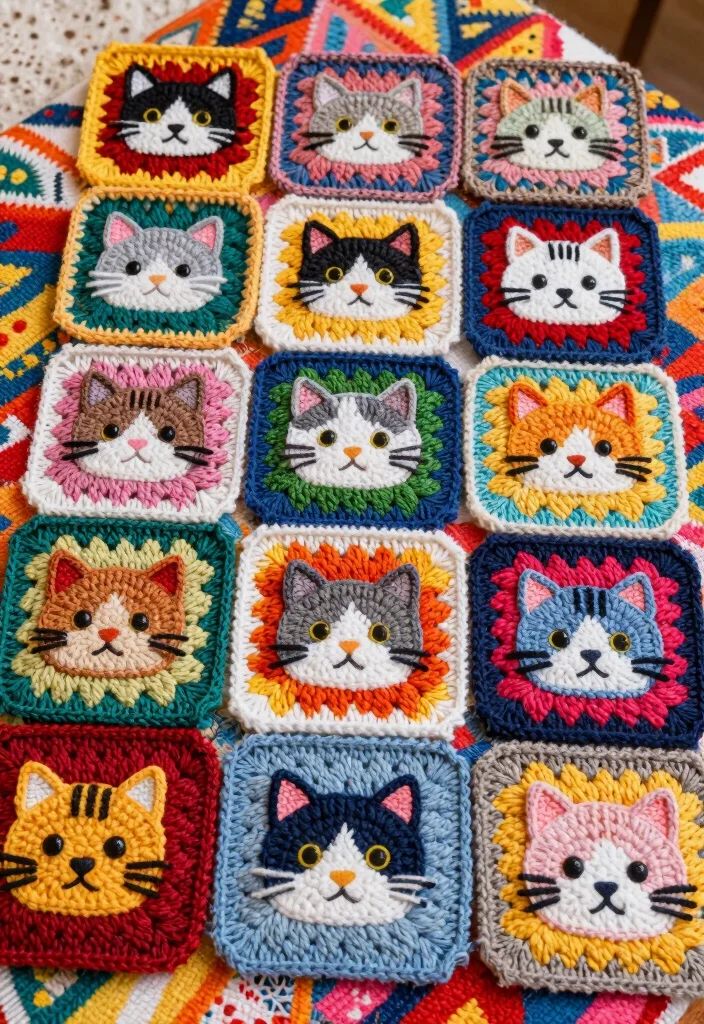
Crochet Cat Face Granny Squares - TUTORIAL

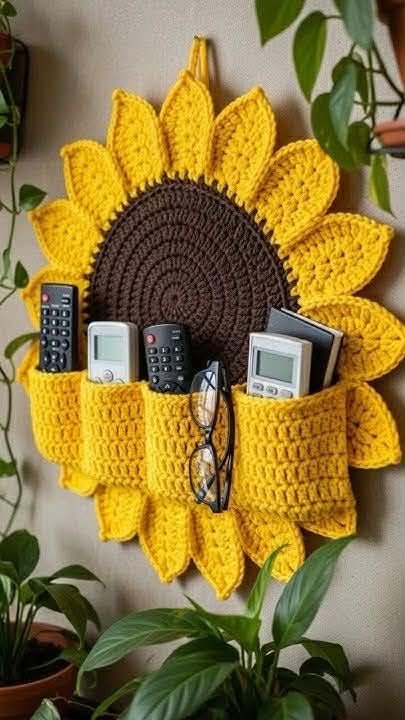
The Sunflower Wall Organizer – TUTORIAL is a beautiful and functional crochet project that combines decorative charm with everyday practicality. Inspired by the bright and cheerful look of sunflowers, this handmade organizer is perfect for adding warmth and personality to your home while keeping small items neatly stored.
Creating your own Sunflower Wall Organizer – TUTORIAL allows you to personalize every detail, from yarn colors to pocket sizes. Whether you want a rustic farmhouse vibe or a vibrant modern accent, this project can easily be adapted to suit your style and space.
In this complete guide, you will learn how to make a Sunflower Wall Organizer – TUTORIAL step by step. From choosing the right materials to assembling and finishing your piece, this tutorial is designed to help both beginners and experienced crocheters achieve a stunning result.
To begin your Sunflower Wall Organizer – TUTORIAL, selecting the right materials is essential for durability and visual appeal. Cotton yarn is highly recommended because it provides structure and holds its shape well over time.
Choose classic sunflower colors such as yellow for the petals, brown for the center, and green for the leaves and pockets. These color combinations will give your project a natural and vibrant look.
You will also need a crochet hook that matches your yarn weight. Using the correct hook size ensures even stitches and a professional finish for your Sunflower Wall Organizer – TUTORIAL.
Additional tools include scissors, a yarn needle for weaving in ends, and stitch markers if needed. These basic supplies will make the process smoother and more enjoyable.
For structure, consider using a wooden dowel or stick for hanging. This adds stability and helps your organizer maintain its shape on the wall.
Lastly, prepare a clear pattern or diagram before starting. Having a visual reference will guide you through each step and help you stay organized.
The construction of the Sunflower Wall Organizer – TUTORIAL begins with the center of the flower. Typically, this is worked in the round using basic stitches like single crochet or half double crochet.
Once the center is complete, you will crochet the sunflower petals around it. Petals are often created using double crochet stitches and chain spaces to achieve a textured and dimensional look.
After finishing the flower portion, move on to the base panel. This section serves as the foundation for your organizer and is usually crocheted in rows to create a rectangular shape.
Next, create the pockets that will hold your items. These can be simple squares or slightly shaped pieces that are later sewn onto the base panel.
Attach the pockets securely using a yarn needle or slip stitch method. Make sure they are evenly spaced and strong enough to hold small objects.
Finally, assemble all components by attaching the sunflower to the base and adding a hanging mechanism. This completes your Sunflower Wall Organizer – TUTORIAL.
One of the most exciting aspects of the Sunflower Wall Organizer – TUTORIAL is the ability to customize it. You can experiment with different yarn textures and colors to create a unique piece.
For a more realistic look, use gradient yarns or mix shades of yellow and brown. This adds depth and makes the sunflower appear more lifelike.
You can also adjust the number and size of pockets depending on your needs. Larger pockets are great for notebooks, while smaller ones are perfect for keys or accessories.
Adding decorative elements such as buttons, beads, or embroidery can enhance your design. These details give your organizer a personalized and artistic touch.
If you prefer a minimalist style, opt for neutral colors and simple stitches. This creates a clean and modern version of the Sunflower Wall Organizer – TUTORIAL.
You can even create a themed set by making multiple organizers in different flower designs to decorate various rooms in your home.
The Sunflower Wall Organizer – TUTORIAL is not just decorative—it’s highly functional. It helps keep your space tidy by providing a designated place for small everyday items.
This organizer is perfect for entryways, kitchens, bedrooms, or craft rooms. You can use it to store mail, tools, cosmetics, or crochet supplies.
Another benefit is its space-saving design. By utilizing wall space, you free up surfaces and reduce clutter in your home.
Handmade organizers are also eco-friendly. You can use leftover yarn from previous projects, making this a sustainable crafting option.
The Sunflower Wall Organizer – TUTORIAL also makes a thoughtful handmade gift. Its combination of beauty and usefulness makes it suitable for many occasions.
Finally, working on this project can be relaxing and rewarding. It’s a great way to practice crochet skills while creating something meaningful.
Is this project suitable for beginners?
Yes, the Sunflower Wall Organizer – TUTORIAL is beginner-friendly, especially if you are familiar with basic crochet stitches.
What type of yarn is best?
Cotton yarn is recommended because it provides structure and durability for wall organizers.
Can I adjust the size of the organizer?
Absolutely. You can modify the base panel and pockets to suit your needs and available space.
How do I hang the organizer?
You can use a wooden dowel, rod, or even crochet loops to hang it securely on the wall.
Can I wash the organizer?
Yes, most cotton yarn projects are washable. Hand washing is recommended to maintain shape and quality.
How long does it take to complete?
Depending on your experience, the project can take a few hours to a couple of days.
The Sunflower Wall Organizer – TUTORIAL is a creative and practical crochet project that brings both beauty and organization into your home. Throughout this guide, you’ve learned how to select materials, follow step-by-step instructions, customize your design, and understand the many benefits of this handmade piece.
With endless possibilities for personalization, this project allows you to express your creativity while making something functional and decorative. Whether for your own space or as a gift, it’s a rewarding experience from start to finish.
Now it’s your turn to try the Sunflower Wall Organizer – TUTORIAL. Share your honest opinion about the project and feel free to leave suggestions or ideas—your feedback can inspire even more creative designs!