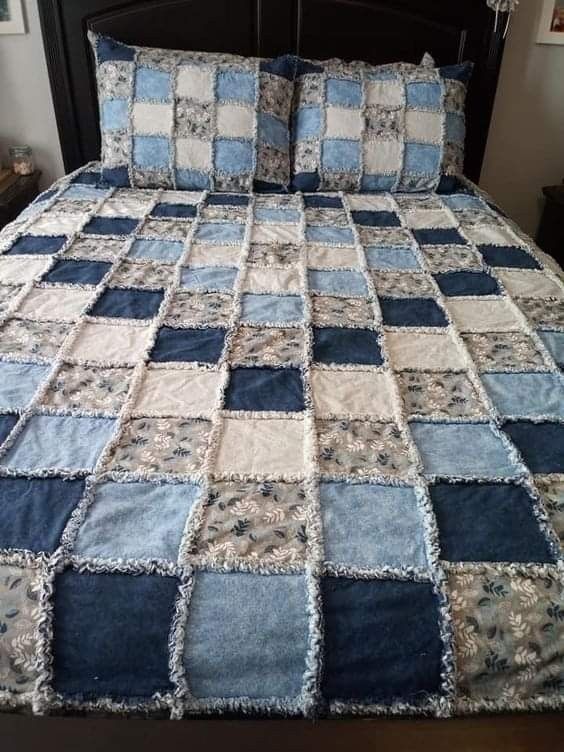
Easy Cross-Shaped Quilt

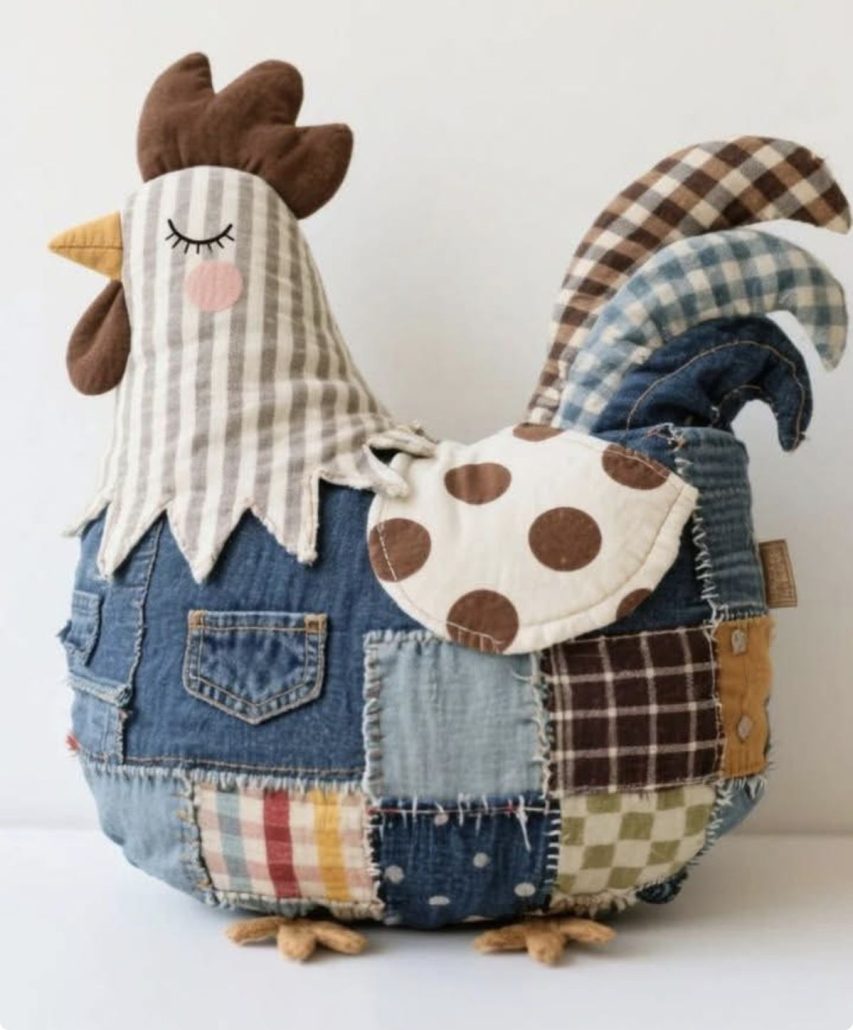
The Chicken Doorstop – Tutorial is a delightful and practical sewing project that combines creativity with functionality. If you enjoy crafting unique home décor items, this project is perfect for you. Not only does it add a charming farmhouse touch to your space, but it also serves a useful purpose by keeping doors securely in place.
Creating your own Chicken Doorstop – Tutorial project allows you to personalize fabrics, colors, and details according to your style. Whether you prefer a rustic country look or a more modern aesthetic, this handmade piece can easily be adapted. Plus, it’s an excellent project for beginners and experienced crafters alike.
In this comprehensive guide, you’ll learn everything you need to successfully complete your own Chicken Doorstop – Tutorial, from selecting materials to assembling and finishing the piece. By the end, you’ll have a beautiful and sturdy doorstop that you can proudly display or gift to someone special.
To begin your Chicken Doorstop – Tutorial, gathering the right materials is essential. Choosing quality fabrics and durable fillings will ensure your doorstop lasts a long time and maintains its shape.
Start with cotton or linen fabric, as these materials are easy to sew and provide a sturdy structure. You can select patterned fabric for the body and contrasting colors for the wings and comb to make your chicken visually appealing.
You will also need basic sewing tools such as scissors, pins, a sewing machine or needle, and matching thread. Having these tools ready will streamline the process and make your crafting experience more enjoyable.
For the filling, a combination of polyester stuffing and a weighted material like rice, sand, or small pebbles works best. This combination ensures that your Chicken Doorstop – Tutorial is both soft and heavy enough to hold a door in place.
Don’t forget additional decorative elements such as buttons for eyes or felt for the beak and comb. These small details bring your chicken to life and add personality to your finished piece.
Lastly, prepare a printed or hand-drawn pattern. Having a clear pattern will help you cut fabric pieces accurately and assemble them with confidence.
The construction process of the Chicken Doorstop – Tutorial is straightforward and enjoyable. Begin by cutting out all your fabric pieces according to your pattern.
Once your pieces are ready, start by sewing the smaller components such as the wings, comb, and beak. These elements should be assembled first so they can be attached seamlessly to the main body later.
Next, align the main body fabric pieces with the right sides facing each other. Sew along the edges, leaving a small opening for turning and filling. This step forms the core structure of your doorstop.
After sewing, carefully turn the fabric right side out. Use a blunt tool to push out corners and curves, ensuring a smooth and well-defined shape for your chicken.
Now it’s time to fill your doorstop. Start with the weighted material at the bottom, then add polyester stuffing on top. This layering technique ensures stability while maintaining a soft appearance.
Finally, close the opening using a hidden stitch. Make sure the seam is secure, as this will keep the filling safely inside your Chicken Doorstop – Tutorial.
One of the best parts of making a Chicken Doorstop – Tutorial is the opportunity to customize it. You can experiment with different colors, textures, and patterns to create a truly unique piece.
Consider using floral or gingham fabrics for a classic farmhouse look. These patterns are timeless and add warmth to any room.
You can also personalize your chicken by adjusting its size or shape. A larger doorstop works well for heavy doors, while a smaller version can be used as a decorative accent.
Adding embroidery details is another great way to enhance your design. Simple stitches can create feathers, outlines, or even initials for a personalized touch.
If you want a more playful design, use bright colors and bold patterns. This approach is perfect for children’s rooms or creative spaces.
Lastly, consider adding a handle or loop at the top. This makes your Chicken Doorstop – Tutorial easier to move and adds an extra functional element.
The Chicken Doorstop – Tutorial is not just a decorative item—it’s highly functional. Its primary purpose is to keep doors open or prevent them from slamming shut.
This handmade doorstop is also a great way to add personality to your home. Unlike store-bought items, your creation reflects your style and creativity.
Another benefit is its versatility. You can place it in various rooms, including kitchens, bedrooms, or living areas, and it will blend seamlessly with your décor.
Additionally, making your own doorstop is a cost-effective alternative to buying one. You can use leftover fabric scraps, making it an eco-friendly project.
The Chicken Doorstop – Tutorial also makes a thoughtful handmade gift. Friends and family will appreciate the effort and creativity behind such a unique item.
Finally, crafting this project can be relaxing and rewarding. It’s a great way to unwind while creating something useful and beautiful.
What is the best filling for a chicken doorstop?
A combination of weighted materials like rice or sand with polyester stuffing works best. This ensures stability and a soft finish.
Is this project suitable for beginners?
Yes, the Chicken Doorstop – Tutorial is beginner-friendly. Basic sewing skills are enough to complete the project successfully.
Can I wash the chicken doorstop?
It depends on the filling. If you use removable inserts, the fabric cover can be washed. Otherwise, spot cleaning is recommended.
How heavy should a doorstop be?
The weight depends on your door type. Generally, adding 1–2 kilograms of filling is sufficient for most standard doors.
Can I make this project without a sewing machine?
Absolutely. You can sew everything by hand using simple stitches, although it may take more time.
What fabrics are best for durability?
Cotton, canvas, or linen are ideal choices for a sturdy and long-lasting Chicken Doorstop – Tutorial.
The Chicken Doorstop – Tutorial is a creative and practical project that combines functionality with charm. Throughout this guide, you’ve learned how to select materials, follow step-by-step instructions, customize your design, and understand the many benefits of this handmade item.
By making your own doorstop, you not only enhance your home décor but also create something meaningful and unique. Whether you keep it for yourself or gift it to someone special, this project is sure to bring satisfaction and joy.
Now it’s your turn to try this Chicken Doorstop – Tutorial. Share your honest opinion about the process and results, and feel free to leave suggestions or ideas for future projects. Your feedback is always valuable and helps inspire even more creative designs!