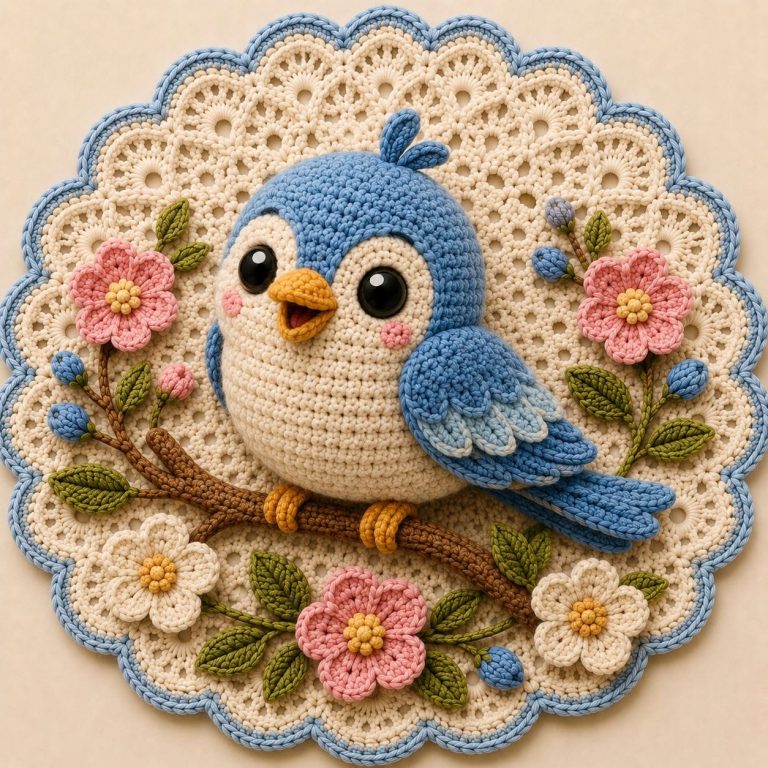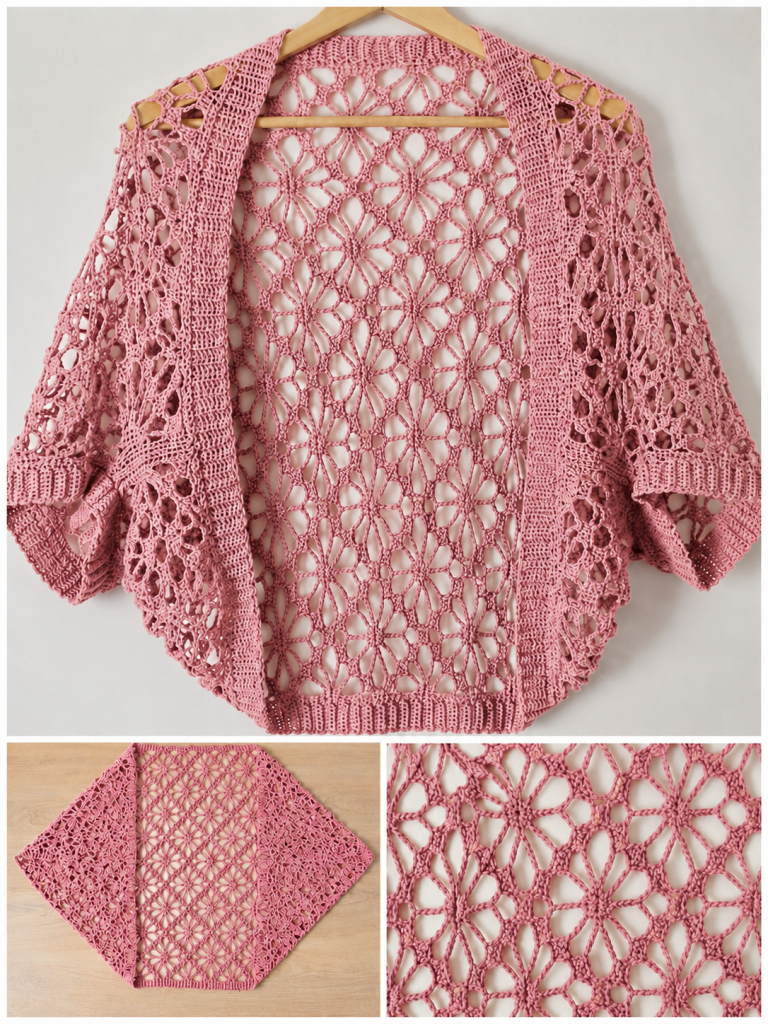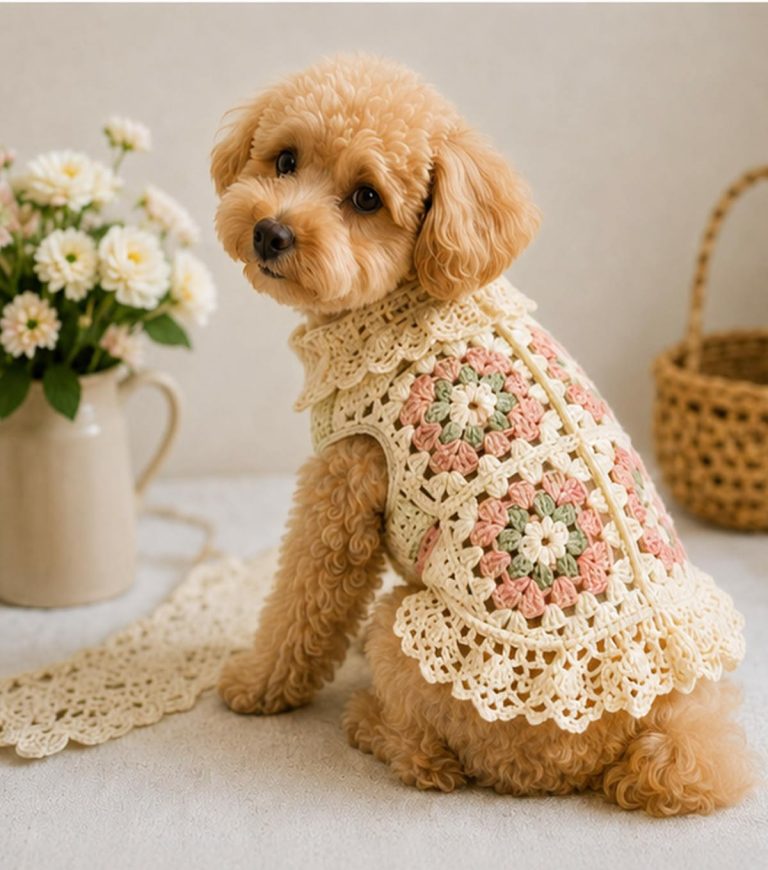
Easy Crocheted Dog Sweater

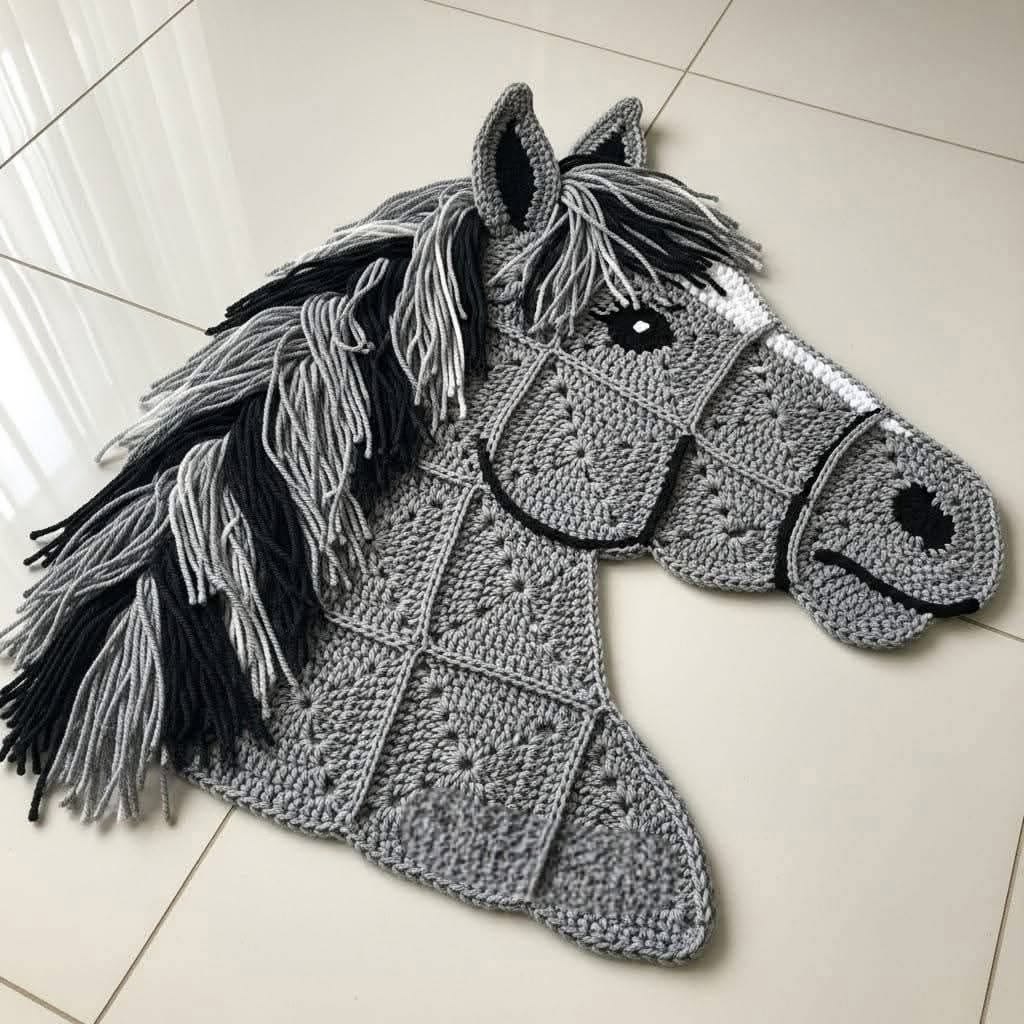
The Crochet Horse Rug – Full Tutorial is a creative and rewarding project that combines the beauty of crochet with the charm of equestrian-inspired design. Whether you’re making it for a child’s room, a themed space, or simply as a unique handmade décor piece, this tutorial will guide you through every step with clarity and confidence.
Working on a Crochet Horse Rug – Full Tutorial allows you to explore texture, color, and shape in a fun and engaging way. Unlike smaller crochet projects, a rug gives you the opportunity to create something both decorative and functional. It’s a perfect way to elevate your crochet skills while producing a standout piece.
In this detailed Crochet Horse Rug – Full Tutorial, you’ll learn how to select the right materials, understand the pattern structure, crochet each section step by step, and finish your rug professionally. With patience and creativity, you’ll be able to craft a stunning horse-themed rug that truly stands out.
Starting your Crochet Horse Rug – Full Tutorial begins with selecting the right materials. Since this is a rug, durability is key. Choose thick yarn such as cotton, t-shirt yarn, or bulky acrylic for a sturdy and long-lasting result.
The hook size should match your yarn choice. Typically, a larger hook (6mm to 10mm) works best for rugs, as it creates a flexible yet firm texture. Always check your yarn label for recommended hook sizes.
Color selection is essential for achieving the horse design. You’ll need a main color for the rug base and contrasting shades for the horse silhouette. Neutral tones like beige, brown, and white are popular choices.
Prepare your pattern in advance. A horse rug usually involves a graph or chart pattern that guides color changes. Having this printed or visible will make the process smoother.
Before you begin crocheting, ensure your workspace is clean and comfortable. Large projects like rugs require space to spread out your work without tangling yarn.
Taking the time to prepare properly will set a strong foundation for your Crochet Horse Rug – Full Tutorial and help prevent mistakes later.
The foundation of your Crochet Horse Rug – Full Tutorial lies in the base structure. Most crochet rugs start with a chain that determines the width of the piece.
Once the chain is complete, you will work in rows using basic stitches such as single crochet or half double crochet. These stitches create a dense and durable texture suitable for rugs.
The horse design is typically added using colorwork techniques. This means switching yarn colors according to a chart to form the shape of the horse as you crochet.
It’s important to maintain consistent tension throughout your work. Uneven tension can distort the design and affect the final appearance of the rug.
Count your stitches regularly to ensure accuracy. Missing or adding stitches can shift the pattern and disrupt the horse image.
By carefully following the pattern and maintaining consistency, your Crochet Horse Rug – Full Tutorial will develop a clean and recognizable design.
The most exciting part of the Crochet Horse Rug – Full Tutorial is forming the horse design. This is done by changing colors at specific points based on your pattern chart.
When switching colors, complete the last yarn-over of the stitch with the new color. This creates a smooth transition and keeps the stitches neat.
Carry unused yarn along the back of your work when possible. This technique avoids cutting yarn too often and keeps your rug more secure.
If the design includes intricate details, you may need to use bobbins or small yarn balls for different sections. This helps manage multiple colors without tangling.
Work slowly and follow the chart line by line. Colorwork requires attention to detail, but the results are incredibly rewarding.
As the horse shape becomes visible, you’ll see your Crochet Horse Rug – Full Tutorial come to life, making the effort worthwhile.
Once the main body of your Crochet Horse Rug – Full Tutorial is complete, it’s time to add finishing touches. Start by fastening off all yarn ends securely.
Weave in loose ends using a yarn needle. This step is crucial for durability and gives your rug a clean, professional look.
Consider adding a border around the rug. A simple single crochet or scalloped edge can frame the design beautifully and prevent curling.
Blocking your rug is highly recommended. Lightly dampen it and shape it to the correct dimensions, then allow it to dry completely.
For maintenance, clean your rug with gentle hand washing or spot cleaning. Avoid harsh detergents to preserve the yarn quality.
Proper finishing ensures your Crochet Horse Rug – Full Tutorial remains beautiful, functional, and long-lasting.
1. Is this project suitable for beginners?
The Crochet Horse Rug – Full Tutorial is better suited for beginners with some basic crochet knowledge, especially familiarity with stitches and color changes.
2. What type of yarn is best for a crochet rug?
Durable yarns like cotton or bulky acrylic are ideal because they can handle wear and maintain their shape.
3. How long does it take to complete the rug?
Depending on the size and complexity, it may take anywhere from several days to a couple of weeks.
4. Can I customize the horse design?
Yes, you can modify the pattern or create your own chart to personalize your rug.
5. Do I need special tools for colorwork?
No special tools are required, but bobbins can help manage multiple yarn colors more easily.
6. How do I prevent the rug from curling?
Adding a border and blocking the finished rug will help keep it flat and well-shaped.
The Crochet Horse Rug – Full Tutorial is a fulfilling project that blends creativity, technique, and functionality. Throughout this guide, you’ve learned how to select materials, understand the structure, create detailed colorwork, and apply professional finishing techniques.
This project is not only a great way to improve your crochet skills but also an opportunity to create a unique and meaningful piece for your home or as a gift. The combination of texture and design makes it truly special.
If you enjoyed this Crochet Horse Rug – Full Tutorial, share your honest opinion and leave your suggestions. Your feedback is always welcome and helps inspire even more creative tutorials!