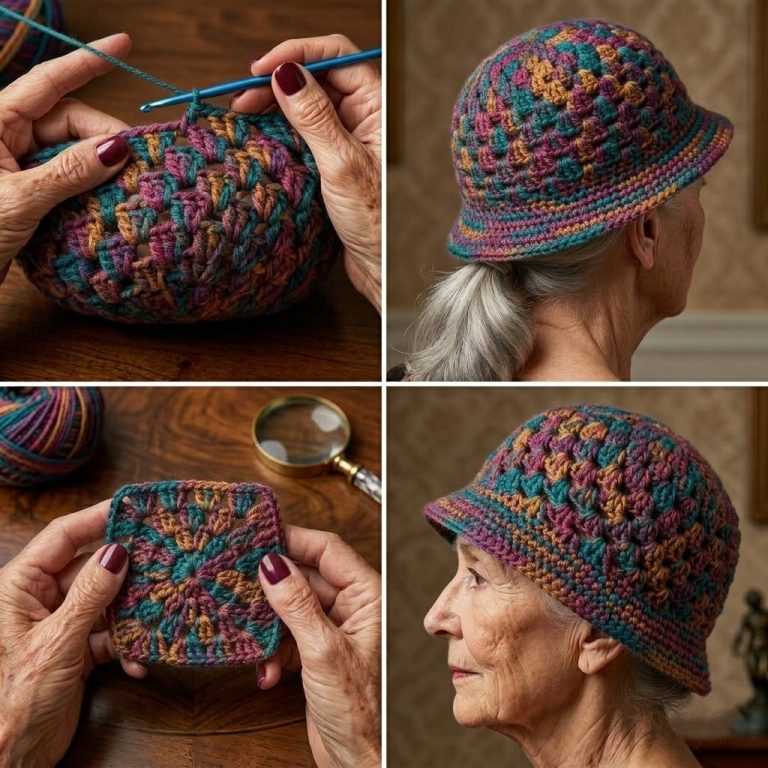
Crochet Bucket Hat Tutorial

The Crocheted bunny appliqué – TUTORIAL is a charming and versatile crochet project that allows you to create delicate bunny shapes perfect for decorating a variety of handmade items. Whether you want to embellish blankets, clothing, bags, or seasonal decor, this appliqué design is simple, adorable, and highly customizable.
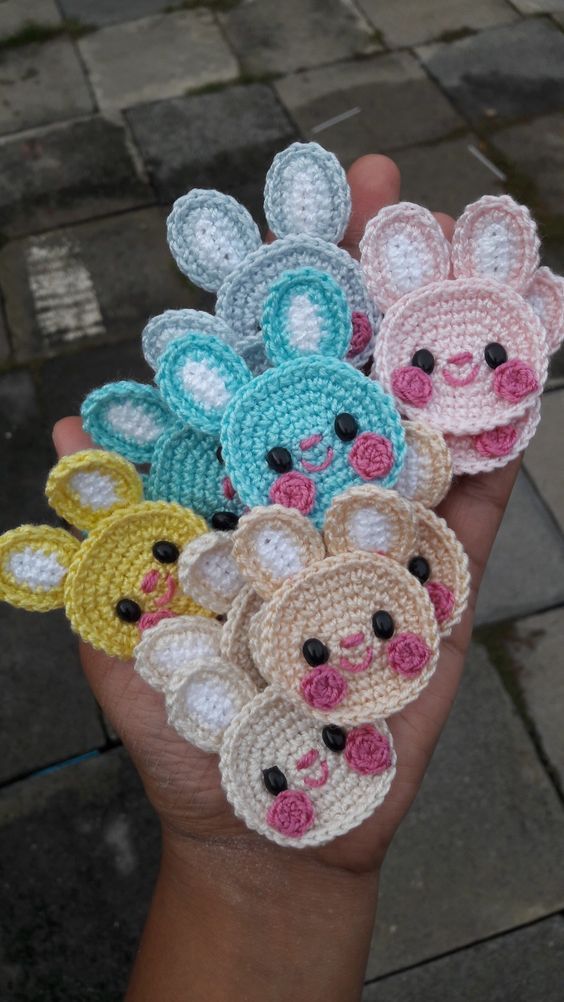
Crochet appliqués have become increasingly popular because they are quick to make and can instantly transform ordinary pieces into something unique. The Crocheted bunny appliqué – TUTORIAL is especially loved during spring and Easter seasons, but its cute and timeless design makes it suitable for use all year round.
In this complete guide, you’ll learn how to follow the Crocheted bunny appliqué – TUTORIAL, including the materials needed, step-by-step instructions, and creative ideas for customization. This project is ideal for both beginners and experienced crocheters looking for a quick and satisfying creation.
The Crocheted bunny appliqué – TUTORIAL is a crochet pattern used to create small, flat bunny shapes that can be attached to different surfaces. These appliqués are typically made using basic stitches and worked in simple rounds or rows.
One of the main reasons for its popularity is its simplicity. This project requires minimal yarn and can be completed quickly, making it perfect for beginners or those with limited time.
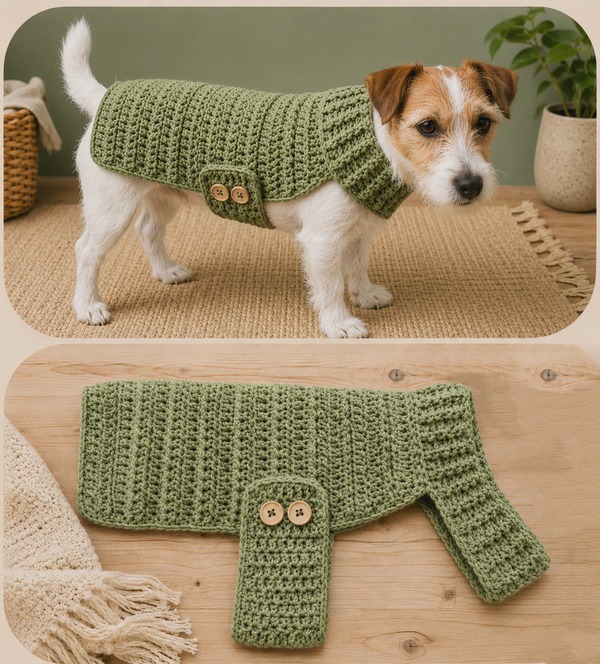
Another factor is its versatility. The bunny appliqué can be used on a wide range of items, including baby blankets, hats, pillows, and tote bags.
The Crocheted bunny appliqué – TUTORIAL is also ideal for seasonal decorations. It’s especially popular during Easter, adding a festive and handmade touch to projects.
Additionally, it encourages creativity. You can experiment with different colors, sizes, and yarn textures to create unique designs.
Finally, handmade appliqués add a personal and heartfelt element to any item, making them great for gifts and custom pieces.
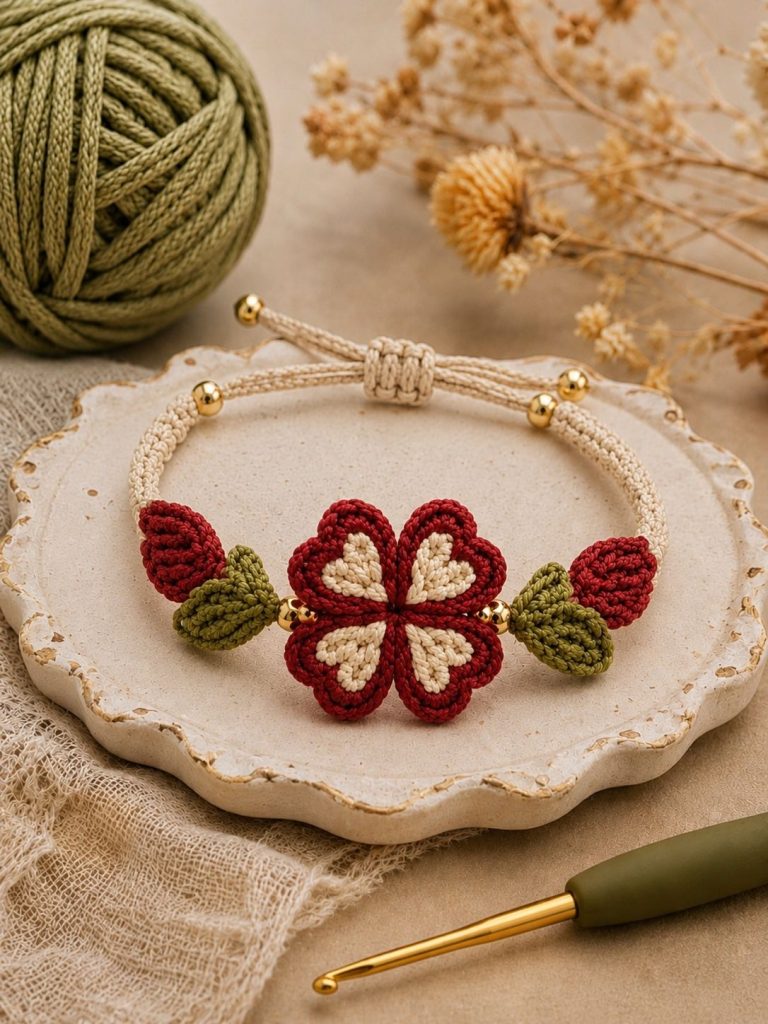
To begin your Crocheted bunny appliqué – TUTORIAL, you will need a small amount of yarn. Cotton yarn is often preferred because it provides a clean and defined shape.
A crochet hook that matches your yarn weight is essential. Smaller hooks are typically used to create tight and neat stitches.
You will also need scissors and a yarn needle for finishing and attaching the appliqué to your chosen surface.
Stitch markers can be helpful, especially if you are working in rounds or following a more detailed pattern.
Embroidery thread or small beads can be used to add facial details such as eyes and nose.
Optional additions like bows or tiny accessories can enhance the overall look of your Crocheted bunny appliqué – TUTORIAL.
Start your Crocheted bunny appliqué – TUTORIAL by creating a magic ring or a small chain loop, depending on your preferred method.
Work basic stitches such as single crochet or double crochet to form the bunny’s head and body. Keep your stitches consistent for a neat appearance.
To create the ears, crochet a small chain and work back along it using simple stitches. Repeat the process for the second ear.
Shape the body by adding or reducing stitches as needed, depending on the pattern you are following.
Once the main shape is complete, fasten off the yarn and weave in any loose ends carefully.
Finally, add facial details and attach the appliqué to your chosen item. Your Crocheted bunny appliqué – TUTORIAL is now complete.
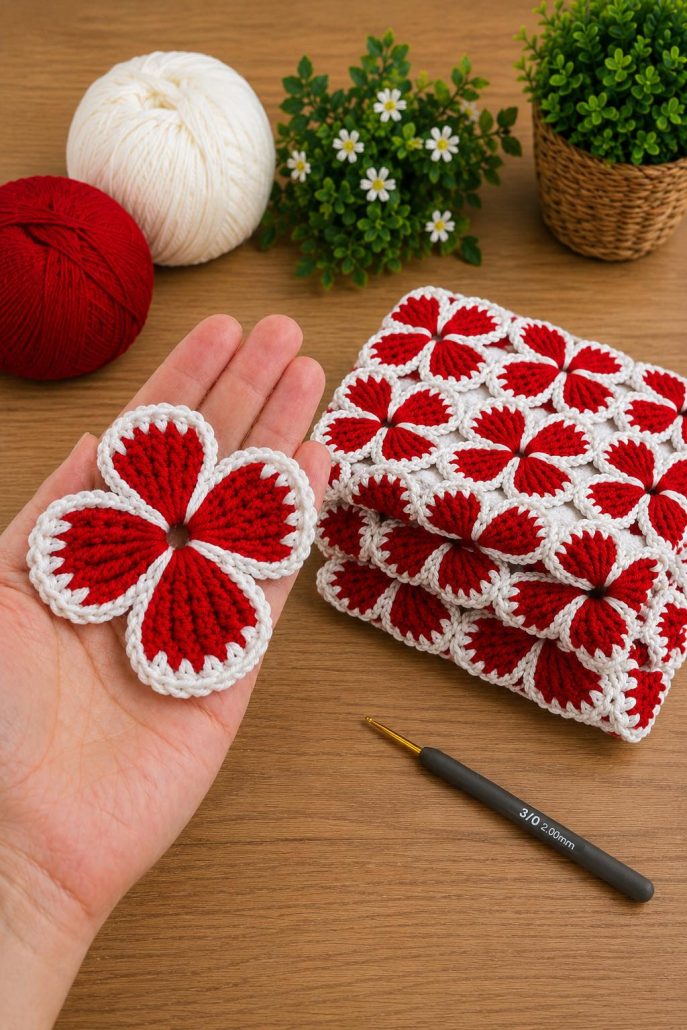
The Crocheted bunny appliqué – TUTORIAL offers endless customization possibilities. You can experiment with pastel colors for a soft look or bold shades for a modern twist.
Different yarn textures can also change the appearance. Soft yarn creates a plush effect, while cotton gives a more structured finish.
You can adjust the size by using thicker yarn or a larger hook, allowing you to create bigger appliqués for different projects.
Adding small details like bows, flowers, or embroidered features can make each bunny unique.
For those creating content, applying SEO techniques is essential. Use the keyword Crocheted bunny appliqué – TUTORIAL naturally throughout your article.
Structure your content with clear headings and short paragraphs to improve readability and search engine performance.
1. Is the Crocheted bunny appliqué – TUTORIAL suitable for beginners?
Yes, this project is beginner-friendly and uses basic crochet stitches.
2. How long does it take to make one appliqué?
Most appliqués can be completed in under an hour, depending on your experience.
3. What type of yarn works best?
Cotton yarn is recommended for its structure, but other yarn types can also be used.
4. Can I make different sizes?
Yes, simply adjust the hook size and yarn thickness to scale your appliqué.
5. How do I attach the appliqué to fabric?
You can sew it on using a yarn needle or attach it with fabric glue.
6. Can I sell items made with this pattern?
Yes, as long as you follow any applicable pattern usage guidelines.
The Crocheted bunny appliqué – TUTORIAL is a simple yet rewarding crochet project that allows you to add charm and personality to a variety of handmade items. Throughout this article, you’ve learned about the materials, step-by-step process, and creative customization options.
By following this guide, you can create beautiful bunny appliqués that enhance your projects and showcase your creativity. Whether for personal use or as thoughtful gifts, these small details can make a big impact.
PATTERN VIDEO:
If you enjoyed this tutorial, feel free to share your honest opinion and leave your suggestions. Your feedback is valuable and helps inspire more creative crochet ideas in the future.