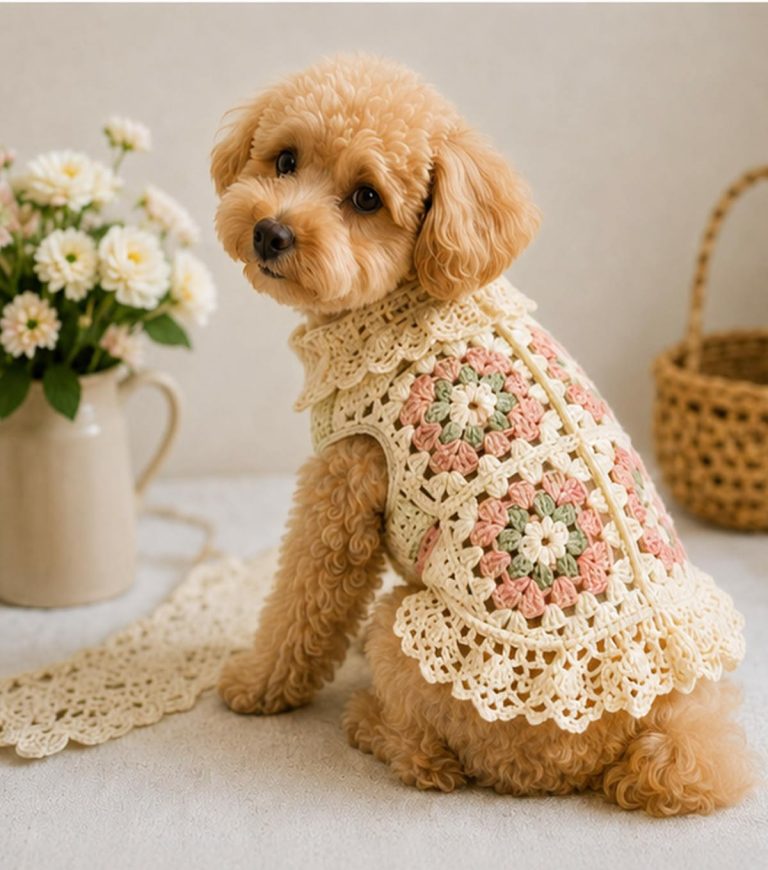
Easy Crocheted Dog Sweater

The Fingerless Glove Tutorial – DIY is a perfect project for anyone who loves crochet and wants to create something both stylish and practical. These gloves are ideal for keeping your hands warm while allowing full finger mobility, making them perfect for everyday activities like typing, texting, or crafting.
Crochet enthusiasts are increasingly drawn to wearable projects, and the Fingerless Glove Tutorial – DIY stands out as a beginner-friendly yet highly customizable option. Whether you want something simple or more decorative, this project allows you to explore creativity while improving your crochet skills.
In this complete guide, you’ll learn how to follow the Fingerless Glove Tutorial – DIY, including materials, step-by-step instructions, and helpful tips. By the end of this article, you’ll be ready to create your own pair of fingerless gloves with confidence and style.
The Fingerless Glove Tutorial – DIY is a crochet project that teaches you how to create gloves without covering the fingers. This design provides warmth while maintaining flexibility and functionality.
One reason these gloves are so popular is their practicality. They are perfect for cooler weather when you still need to use your hands freely for daily tasks.
Another advantage is their versatility. The Fingerless Glove Tutorial – DIY can be adapted to different styles, from elegant lace designs to chunky winter gloves.
They are also quick to make. Compared to larger crochet projects, fingerless gloves can often be completed in just a few hours, making them ideal for beginners or last-minute gifts.
Additionally, this project is budget-friendly. It requires minimal yarn, allowing you to use leftover materials from other projects.
Finally, handmade gloves add a personal touch. Creating your own accessories gives you full control over color, texture, and design.
To start your Fingerless Glove Tutorial – DIY, you will need yarn suitable for wearables. Soft acrylic, wool, or cotton blends are great choices depending on the season.
A crochet hook that matches your yarn weight is essential. Most patterns recommend sizes between 3.5 mm and 5 mm for comfortable results.
You’ll also need basic tools such as scissors, a yarn needle, and stitch markers. These help with finishing and keeping track of your stitches.
Choosing the right yarn is important for comfort. Make sure it’s soft against the skin, especially since the gloves will be worn for extended periods.
Elastic thread or ribbing techniques can be used to ensure a snug fit around the wrist. This helps the gloves stay in place during use.
Optional decorations like buttons, bows, or textured stitches can be added to personalize your Fingerless Glove Tutorial – DIY.
Begin your Fingerless Glove Tutorial – DIY by creating a foundation chain that fits comfortably around your wrist. Join it into a round, being careful not to twist the chain.
Next, work in rounds using basic stitches such as single crochet or half-double crochet. Continue building the length of the glove.
To create the thumb opening, you can either skip stitches and chain over the gap or work in rows for a portion of the glove.
After forming the thumb hole, continue crocheting in rounds until the glove reaches the desired height, typically just below the knuckles.
Finish the edges with a decorative border or ribbing to give the gloves a polished look and better elasticity.
Finally, weave in all loose ends and try on your gloves. Your Fingerless Glove Tutorial – DIY project is now complete.
The Fingerless Glove Tutorial – DIY can be customized in many ways. You can experiment with different stitch patterns to create unique textures.
Color choices also play a big role. Neutral tones offer a classic look, while bright colors can make your gloves stand out.
You can adjust the length to create shorter or longer gloves, depending on your preference and climate.
Adding embellishments like buttons or lace details can enhance the overall design and make your gloves more fashionable.
For those creating content, using SEO techniques is essential. Include the keyword Fingerless Glove Tutorial – DIY naturally throughout your article.
Structure your content clearly with headings and short paragraphs. This improves readability and helps your content rank better in search engines.
1. Is the Fingerless Glove Tutorial – DIY suitable for beginners?
Yes, it’s a great beginner project because it uses basic stitches and simple construction techniques.
2. How long does it take to make a pair?
Most people can complete a pair within a few hours, depending on their skill level.
3. What type of yarn is best?
Soft yarns like acrylic, wool, or cotton blends are recommended for comfort and durability.
4. Can I adjust the size?
Yes, you can easily adjust the size by changing the number of stitches or hook size.
5. How do I make the gloves tighter?
Use a smaller hook or incorporate ribbing techniques for a snug fit.
6. Can I sell gloves made from this tutorial?
Yes, as long as you follow any specific guidelines if using a proprietary pattern.
The Fingerless Glove Tutorial – DIY is a simple yet rewarding crochet project that combines functionality with creativity. Throughout this article, you’ve learned what makes these gloves popular, the materials required, step-by-step instructions, and customization ideas.
By following this guide, you can create comfortable and stylish gloves that suit your personal taste. Whether for yourself or as a handmade gift, this project offers endless possibilities.
PATTERN VIDEO:
If you found this tutorial helpful, feel free to leave your honest opinion and share your suggestions. Your feedback is important and helps inspire more creative crochet ideas in the future.