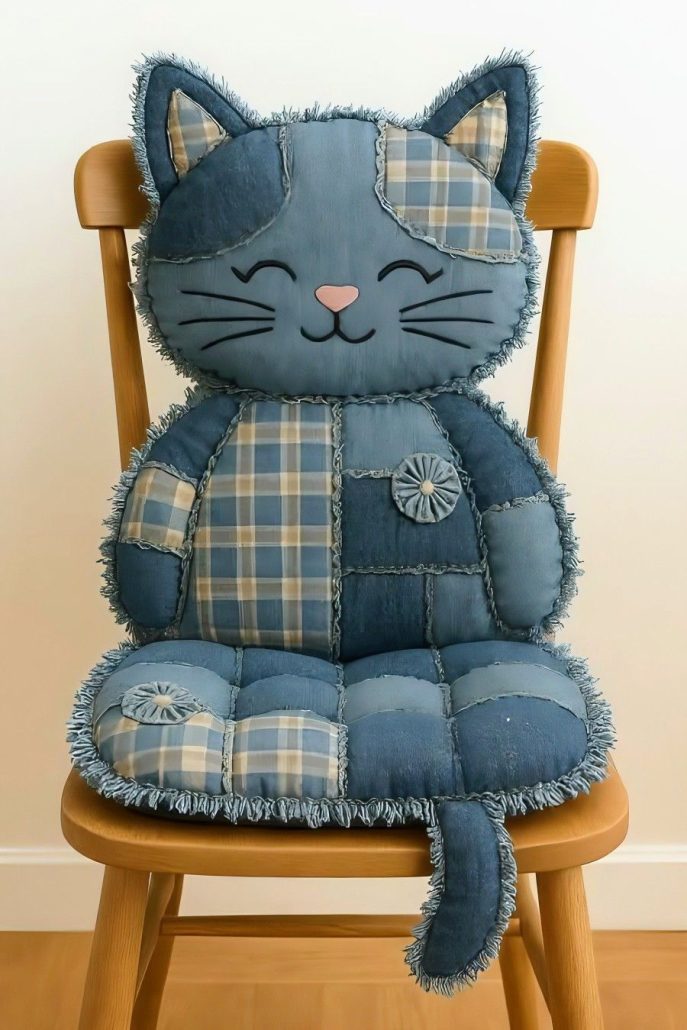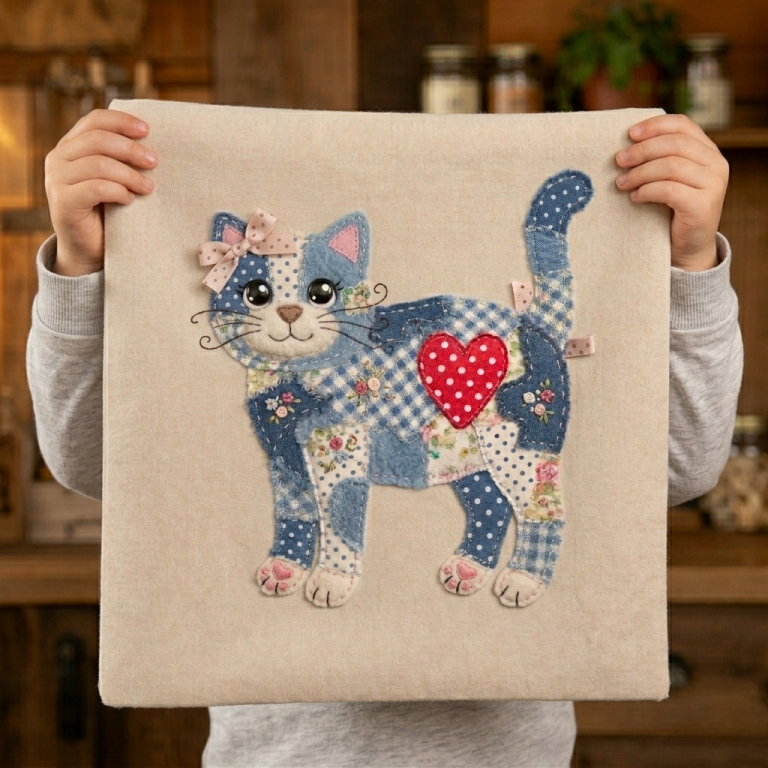
Patchwork Cat Appliqué Wall Art – Tutorial

The Easter Bunny Patchwork Quilt – Step-by-Step Tutorial is a delightful quilting project that brings together creativity, seasonal charm, and traditional craftsmanship. Perfect for celebrating spring, this quilt design features adorable bunny patterns combined with colorful patchwork, making it an ideal decorative piece or heartfelt handmade gift.
Quilting is a timeless craft that allows you to tell stories through fabric, and the Easter Bunny Patchwork Quilt – Step-by-Step Tutorial is a wonderful example of that. With soft pastel tones, playful bunny motifs, and intricate stitching, this project captures the essence of Easter while providing a rewarding hands-on experience.
In this guide, you’ll learn everything you need to create your own Easter Bunny Patchwork Quilt – Step-by-Step Tutorial, from selecting materials to assembling the quilt top and adding finishing touches. Whether you’re new to quilting or looking for a seasonal project, this tutorial will help you achieve beautiful results.
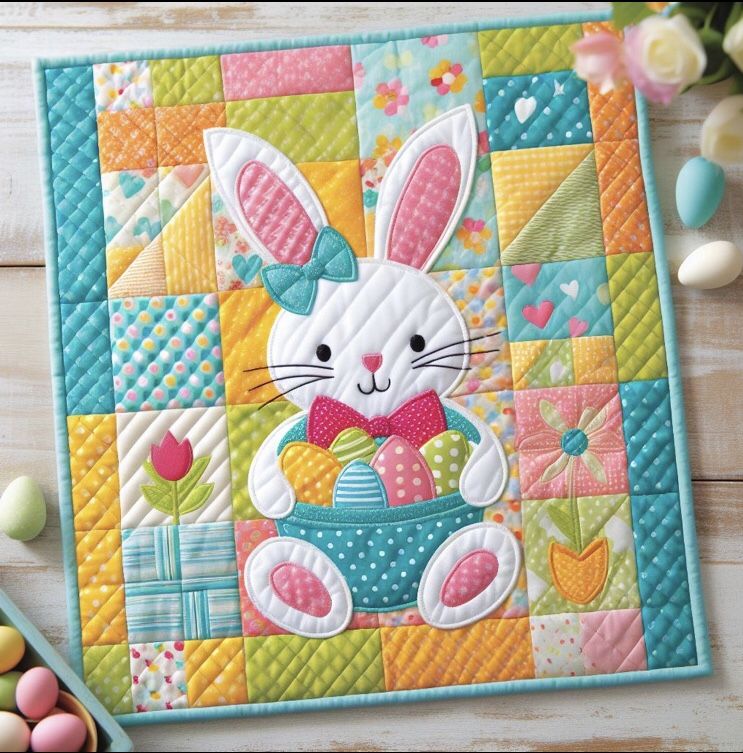
The Easter Bunny Patchwork Quilt – Step-by-Step Tutorial is a quilting project that combines patchwork techniques with themed appliqué or pieced bunny designs. It typically includes blocks featuring bunny shapes, floral accents, and spring-inspired colors.
One reason this quilt is so popular is its seasonal appeal. Easter is associated with renewal and joy, and this quilt reflects those themes beautifully through its design and color palette.
Another factor is its versatility. The quilt can be used as a decorative throw, a baby quilt, or even wall art during the Easter season, making it both functional and decorative.
Crafters also love this project because it allows for personalization. You can choose your own fabrics, adjust the size, and modify the bunny designs to suit your style.
The Easter Bunny Patchwork Quilt – Step-by-Step Tutorial is also a great way to use fabric scraps. This makes it budget-friendly and sustainable, which is increasingly important for modern quilters.
Finally, the charm of handmade holiday decor adds emotional value. Creating something with your own hands for a special occasion makes it even more meaningful.
To begin your Easter Bunny Patchwork Quilt – Step-by-Step Tutorial, you will need a selection of cotton fabrics in pastel or spring colors. These fabrics will form the patchwork blocks and background.
You’ll also need fabric for the bunny shapes. This can be a contrasting color or patterned fabric to make the design stand out.
Basic quilting tools are essential, including a rotary cutter, cutting mat, quilting ruler, and pins or clips. These tools ensure precision and accuracy.
Batting is required to give your quilt warmth and structure. Choose a lightweight or medium batting depending on your preference.
A sewing machine is highly recommended for efficiency, although hand quilting is also an option for those who prefer a traditional approach.
Finally, thread, fabric markers, and optional embellishments like embroidery floss or buttons can be used to add details to your Easter Bunny Patchwork Quilt – Step-by-Step Tutorial.
Start your Easter Bunny Patchwork Quilt – Step-by-Step Tutorial by cutting your fabric into squares or rectangles for the patchwork blocks. Consistent sizing is key for a clean layout.
Next, arrange your pieces into a pattern. Alternate colors and prints to create a balanced and visually appealing design.
Sew the patchwork pieces together to form quilt blocks. Press the seams flat to ensure a smooth surface for the next steps.
Create or attach the bunny shapes using appliqué or piecing techniques. Position them carefully within the blocks to maintain symmetry.
Once all blocks are ready, sew them together to form the quilt top. Take your time aligning seams for a professional finish.
Layer the quilt top with batting and backing fabric, then quilt through all layers. Finish by binding the edges to complete your Easter Bunny Patchwork Quilt – Step-by-Step Tutorial.
The Easter Bunny Patchwork Quilt – Step-by-Step Tutorial offers endless customization possibilities. You can experiment with different bunny styles, from simple silhouettes to detailed designs.
Color selection plays a big role in the final look. Soft pastels create a traditional Easter feel, while bold colors can give your quilt a modern twist.
Consider adding embroidery details to enhance the bunny features. Small touches like eyes, whiskers, or floral accents can bring your quilt to life.
You can also adjust the quilt size depending on its purpose. Make a small wall hanging or a full-sized quilt for practical use.
For content creators, using SEO techniques is essential. Incorporate the keyword Easter Bunny Patchwork Quilt – Step-by-Step Tutorial naturally throughout your article.
Structure your content with clear headings, engaging paragraphs, and helpful instructions. This improves readability and boosts search engine rankings.
1. Is the Easter Bunny Patchwork Quilt – Step-by-Step Tutorial beginner-friendly?
Yes, beginners can follow this tutorial, especially if they start with simple patchwork and basic appliqué techniques.
2. What size should I make my quilt?
It depends on your purpose. You can make a small decorative quilt or a larger one for practical use.
3. Can I use scrap fabric for this project?
Absolutely. This tutorial is perfect for using leftover fabric pieces creatively.
4. Do I need a sewing machine?
While not mandatory, a sewing machine makes the process faster and more durable.
5. How do I make the bunny design stand out?
Use contrasting fabrics, embroidery details, or textured materials to highlight the bunny shapes.
6. Can I wash the finished quilt?
Yes, use gentle washing methods and mild detergent to preserve the fabric and stitching.
The Easter Bunny Patchwork Quilt – Step-by-Step Tutorial is a charming and rewarding quilting project that celebrates creativity and seasonal joy. Throughout this article, you’ve learned about the materials, step-by-step process, and customization options that make this quilt unique.
By following this guide, you can create a beautiful handmade quilt that adds warmth and personality to your home or serves as a thoughtful gift. Quilting is not just about sewing fabric—it’s about expressing creativity and creating something meaningful.
If you enjoyed this tutorial, feel free to share your honest opinion and leave suggestions. Your feedback is valuable and helps inspire even more creative quilting ideas in the future.