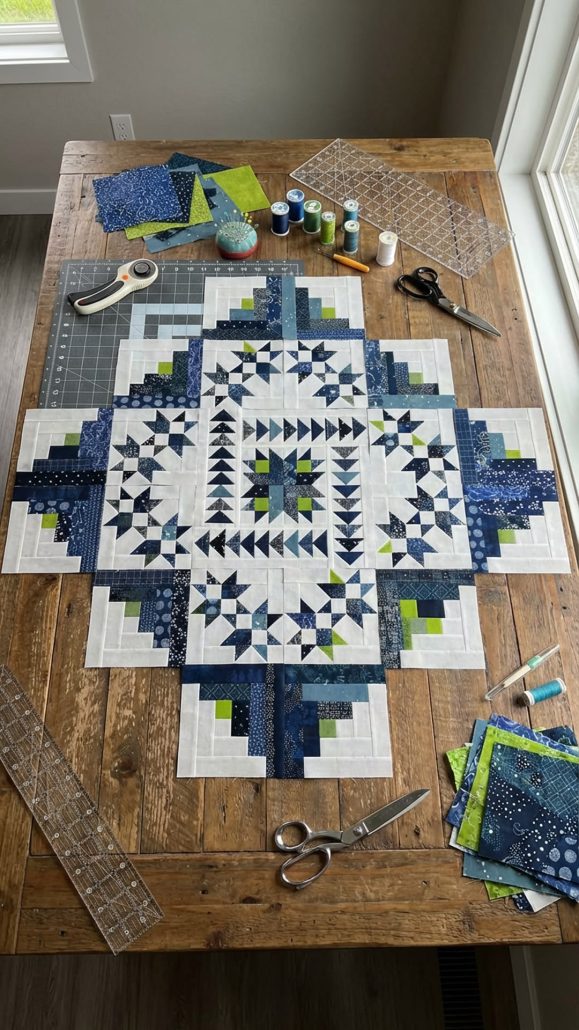
Easy Cross-Shaped Quilt

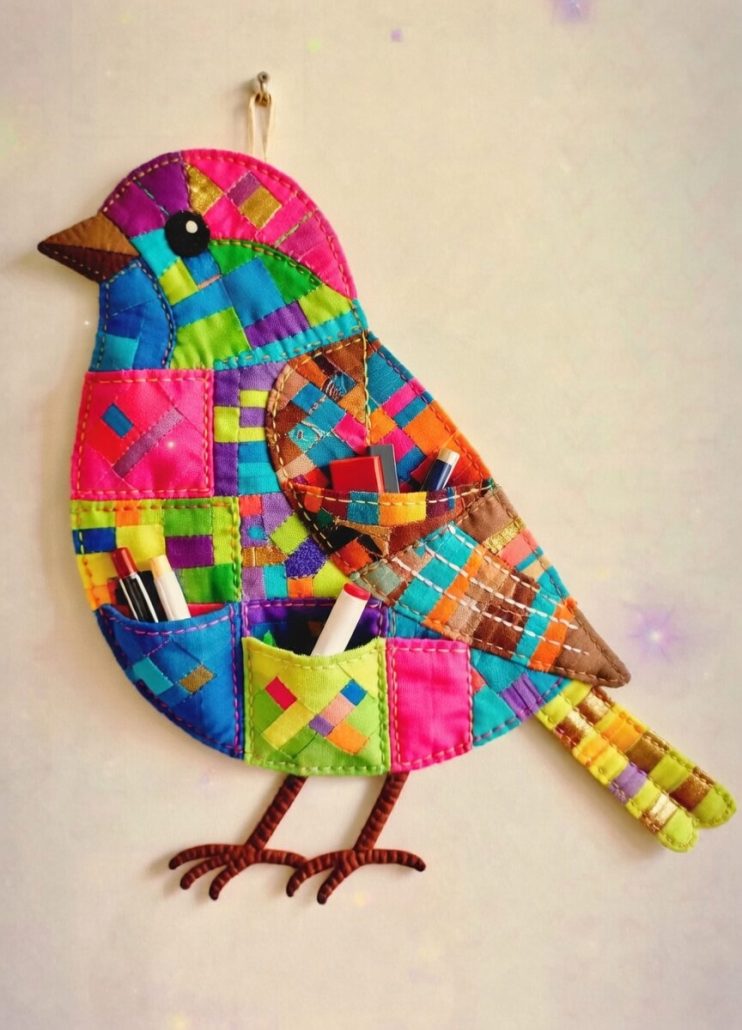
DIY Patchwork Bird Marker Organizer Wall Hanging – TUTORIAL is a creative and highly functional quilting project that allows you to organize your sewing or crafting tools while adding a decorative handmade touch to your space. By following the DIY Patchwork Bird Marker Organizer Wall Hanging – TUTORIAL, you can create a charming wall organizer featuring a bird-themed patchwork design with practical storage pockets.
One of the most appealing aspects of the DIY Patchwork Bird Marker Organizer Wall Hanging – TUTORIAL is its combination of beauty and utility. The bird motif adds a playful and artistic element, while the multiple compartments make it perfect for storing markers, scissors, rulers, or other crafting essentials.
In this complete DIY Patchwork Bird Marker Organizer Wall Hanging – TUTORIAL, you will learn how to select materials, prepare and assemble patchwork pieces, create storage pockets, and finish your wall hanging with professional details. This guide is suitable for beginners and experienced quilters alike.
The first step in the DIY Patchwork Bird Marker Organizer Wall Hanging – TUTORIAL is gathering all the necessary materials for a smooth quilting process.
Cotton fabric is highly recommended because it is easy to sew and provides a clean finish.
Choose a mix of colorful fabrics for the patchwork bird design.
A solid or neutral fabric works well for the background.
Batting or interfacing is essential to give structure and durability.
Basic tools such as scissors, rotary cutter, cutting mat, pins, and a sewing machine are required.
An iron is important for pressing seams and improving accuracy.
Wooden dowels or a hanging rod will be needed to display the organizer.
Preparation is a key stage in the DIY Patchwork Bird Marker Organizer Wall Hanging – TUTORIAL, ensuring all pieces are ready for assembly.
Start by cutting the base panel to your desired size.
Create small fabric pieces for the patchwork bird design.
In the DIY Patchwork Bird Marker Organizer Wall Hanging – TUTORIAL, precise cutting helps achieve a clean and balanced look.
Arrange the pieces to form the bird shape before sewing.
Cut additional rectangles for the storage pockets.
Prepare batting or interfacing and attach it to the main panel for stability.
Press all fabric pieces to remove wrinkles.
The next stage in the DIY Patchwork Bird Marker Organizer Wall Hanging – TUTORIAL is assembling the structure.
Sew the patchwork bird pieces onto the base panel using appliqué or piecing techniques.
Attach the storage pockets to the lower section of the panel.
In the DIY Patchwork Bird Marker Organizer Wall Hanging – TUTORIAL, spacing the pockets evenly ensures better organization.
Reinforce the pocket seams to handle weight.
Layer the backing fabric with the front panel and batting.
Quilt the layers together using simple lines or decorative stitching.
The final stage of the DIY Patchwork Bird Marker Organizer Wall Hanging – TUTORIAL focuses on finishing touches and display.
Trim the edges to ensure a clean shape.
Add binding around the edges for a polished finish.
In the DIY Patchwork Bird Marker Organizer Wall Hanging – TUTORIAL, a hanging sleeve at the top allows easy display.
Insert a wooden dowel or rod through the sleeve.
Attach a cord or ribbon for hanging.
Customize your organizer with labels, embroidery, or additional decorations.
Once completed, your wall hanging is ready to organize and beautify your space.
Is this project suitable for beginners?
Yes, the DIY Patchwork Bird Marker Organizer Wall Hanging – TUTORIAL is beginner-friendly with basic sewing skills.
What fabric works best?
Cotton fabric is ideal for ease of use and durability.
Can I adjust the size?
Yes, you can customize the dimensions based on your needs.
Do I need batting?
Yes, it helps add structure and stability.
How long does it take to complete?
It can be completed in a few hours or over a weekend.
Is it a good gift idea?
Absolutely, it makes a practical and decorative handmade gift.
The DIY Patchwork Bird Marker Organizer Wall Hanging – TUTORIAL is a creative and useful quilting project that combines organization with artistic expression. It allows you to create a decorative wall piece that also serves as a functional storage solution.
In this tutorial, you learned how to select materials, prepare patchwork elements, assemble the organizer, and finish it with professional details. Each step contributes to a durable and visually appealing final result.
Projects like the DIY Patchwork Bird Marker Organizer Wall Hanging – TUTORIAL show how quilting can transform simple fabrics into meaningful and practical handmade items.
If you enjoyed this tutorial, feel free to leave your honest opinion and share your suggestions. Your feedback helps inspire more creative quilting ideas and projects.