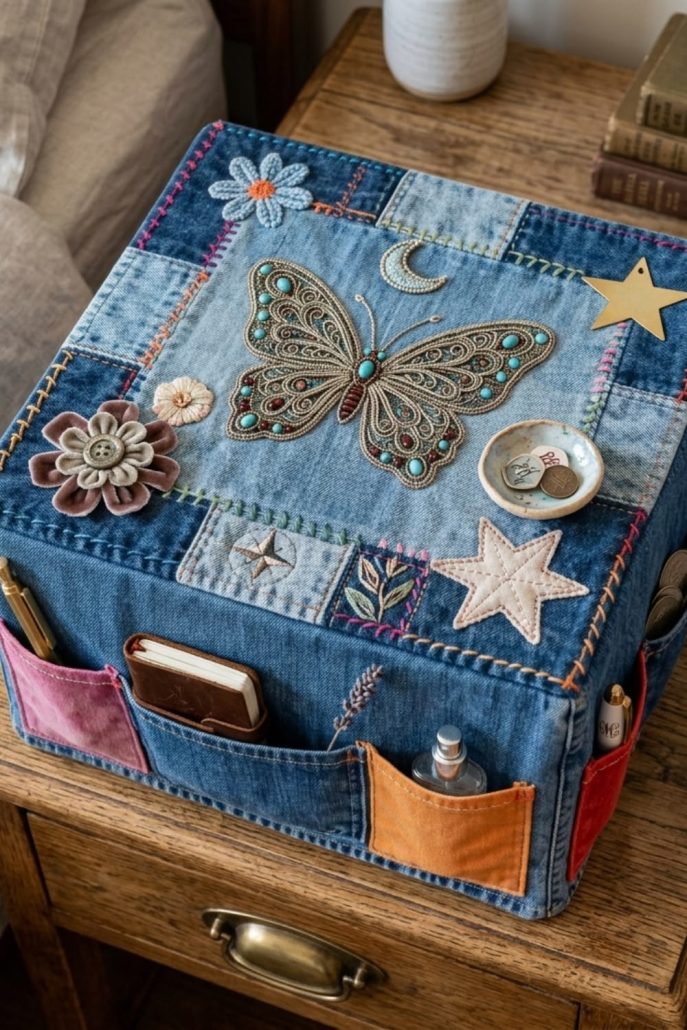
DIY - Denim Patchwork & Appliqué Pocket Box Tutorial

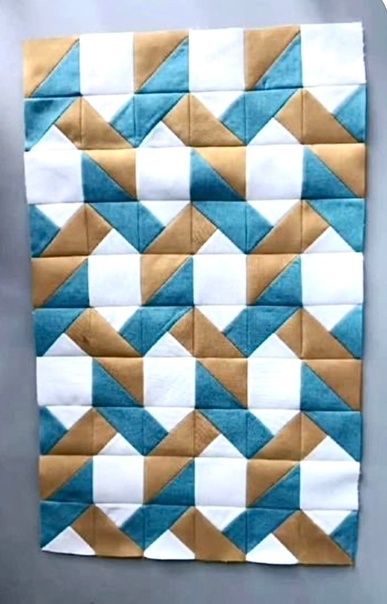
Twisted Quilt Block – TUTORIAL is a visually dynamic and creative quilting project that allows you to create a block with a stunning illusion of movement and depth. By following the Twisted Quilt Block – TUTORIAL, you can craft a design that appears to twist and turn, adding a modern and eye-catching effect to your quilt projects.
One of the most exciting aspects of the Twisted Quilt Block – TUTORIAL is how simple shapes can be arranged to create a complex visual result. With the right fabric placement and color contrast, this block can produce a three-dimensional appearance that enhances any quilt layout. It is perfect for quilters who enjoy combining traditional techniques with contemporary designs.
In this complete Twisted Quilt Block – TUTORIAL, you will learn how to select fabrics, cut precise pieces, assemble the twisted block, and finish it with professional quilting techniques. This project is suitable for beginners who want a challenge and experienced quilters looking to expand their design skills.
The first step in the Twisted Quilt Block – TUTORIAL is gathering all the necessary materials to ensure a smooth quilting process.
Cotton fabric is highly recommended because it is easy to handle and durable.
Choose contrasting colors to highlight the twisting effect.
A rotary cutter, cutting mat, and quilting ruler are essential for precise cutting.
Thread that matches your fabric helps create a clean finish.
An iron is important for pressing seams and maintaining accuracy.
Optional starch spray can help stabilize fabric for more precise piecing.
Preparation is a crucial part of the Twisted Quilt Block – TUTORIAL, ensuring all pieces are ready for assembly.
Cut your fabric into squares, rectangles, or triangles based on the block design.
Accurate measurements are essential for proper alignment.
In the Twisted Quilt Block – TUTORIAL, precision in cutting directly impacts the final visual effect.
Organize pieces by color to maintain the twisting pattern.
Press all fabric pieces before sewing.
Lay out the design to preview how the twist will appear.
The next stage in the Twisted Quilt Block – TUTORIAL is assembling the block to create the twisting illusion.
Begin by sewing smaller units together.
Combine these units into larger sections.
In the Twisted Quilt Block – TUTORIAL, consistent seam allowances ensure that pieces align perfectly.
Carefully arrange fabrics to maintain the twisting effect.
Press seams in the correct direction to reduce bulk.
Continue assembling until the full block is complete.
The final stage of the Twisted Quilt Block – TUTORIAL focuses on finishing and exploring creative uses.
Trim the block to ensure it is square and properly sized.
You can combine multiple blocks to create a full quilt.
In the Twisted Quilt Block – TUTORIAL, layout choices can enhance the illusion of movement.
Add borders or sashing to frame your design.
Quilt and bind your project to complete it.
Your finished block can also be used for pillows, wall hangings, or table décor.
Is this pattern suitable for beginners?
Yes, the Twisted Quilt Block – TUTORIAL can be done by beginners with careful attention to detail.
What fabrics work best?
Cotton fabrics with strong contrast are ideal.
How long does it take to complete one block?
It usually takes a few hours depending on experience.
Can I customize the design?
Yes, changing colors can create different visual effects.
Do I need special tools?
Basic quilting tools are sufficient.
What can I use the block for?
It can be used in quilts, cushions, or decorative items.
The Twisted Quilt Block – TUTORIAL is a creative and rewarding quilting project that allows you to experiment with movement and visual depth. It is a great way to enhance your quilting skills while creating something truly eye-catching.
In this tutorial, you learned how to select materials, prepare fabric pieces, assemble the twisted block, and finish it with professional techniques. Each step contributes to a visually striking and well-crafted result.
Projects like the Twisted Quilt Block – TUTORIAL demonstrate how quilting can transform simple geometric shapes into complex and beautiful designs.
If you enjoyed this tutorial, feel free to leave your honest opinion and share your suggestions. Your feedback helps inspire more creative quilting ideas and projects.