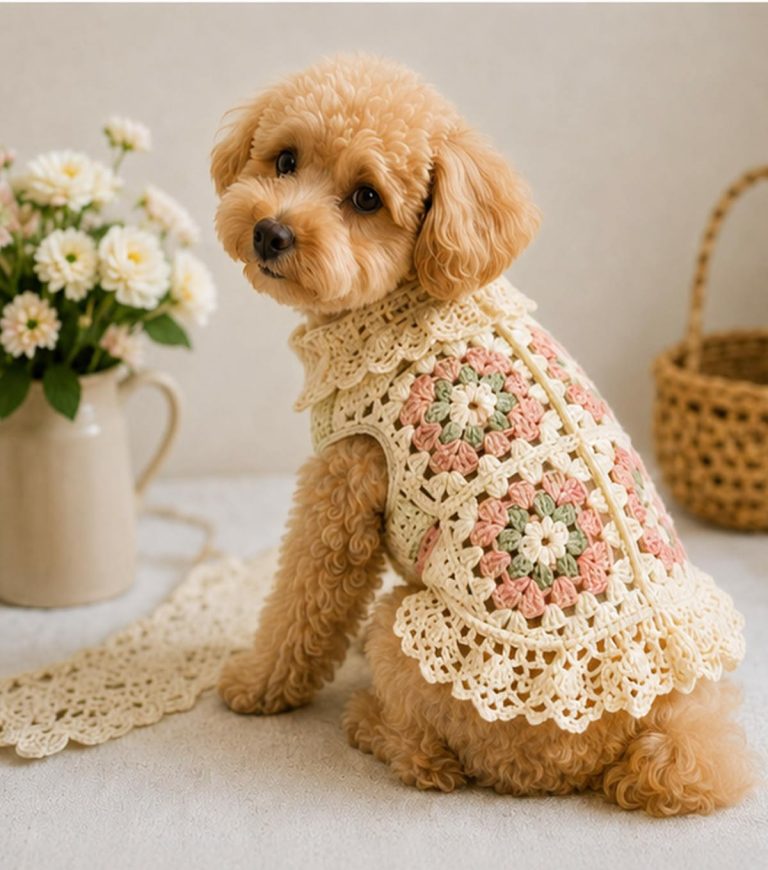
Easy Crocheted Dog Sweater

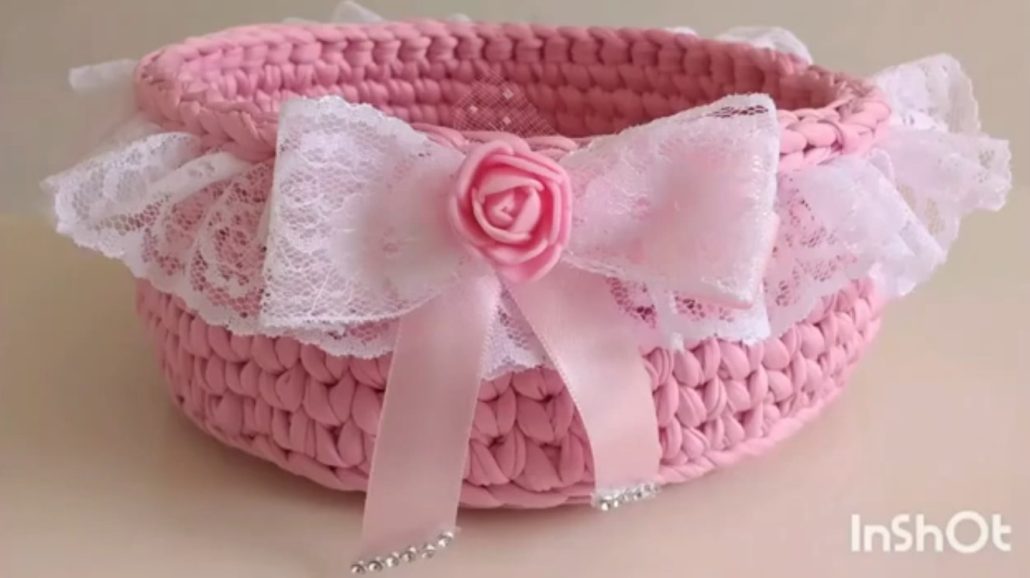
Crocheted Basket – Tutorial is a practical and stylish crochet project that allows you to create a durable and functional basket using simple techniques. By following the Crocheted Basket – Tutorial, you can craft a versatile storage solution that is perfect for organizing your home while adding a handmade decorative touch.
One of the most appealing aspects of the Crocheted Basket – Tutorial is its flexibility. You can easily adjust the size, shape, and color to match your needs and décor style. Whether you want a small basket for accessories or a larger one for blankets, this pattern can be customized to suit any purpose.
In this complete Crocheted Basket – Tutorial, you will learn how to select materials, crochet a sturdy base, build the basket walls, and finish your project with a professional look. This tutorial is ideal for beginners and intermediate crocheters who want to create something both useful and beautiful.
The first step in the Crocheted Basket – Tutorial is gathering all the necessary materials to ensure a smooth and enjoyable crochet process.
Cotton yarn is highly recommended because it provides structure and durability.
You can also use t-shirt yarn or thicker fibers for a sturdier basket.
A crochet hook that matches your yarn weight is essential for maintaining proper tension.
You will need scissors and a yarn needle for finishing and assembling.
Stitch markers are helpful for tracking rounds in continuous crochet.
Optional lining or stiffening materials can be used for extra support.
The base is the foundation of the Crocheted Basket – Tutorial, determining the size and stability of your basket.
Start with a magic ring to create a tight center.
Work in rounds, increasing stitches evenly to form a flat circle.
In the Crocheted Basket – Tutorial, consistent tension is key to preventing curling.
Continue increasing until the base reaches your desired diameter.
Use tight stitches such as single crochet for a firm structure.
Ensure the base remains flat and even throughout.
After completing the base, the next step in the Crocheted Basket – Tutorial is creating the sides of the basket.
Stop increasing and begin working stitches evenly around to build height.
This creates the vertical walls of the basket.
In the Crocheted Basket – Tutorial, even stitching ensures straight and sturdy sides.
You can experiment with different stitch patterns for texture.
Continue until the basket reaches your preferred height.
This stage gives your basket its functional shape.
The final stage of the Crocheted Basket – Tutorial focuses on finishing touches and personalization.
Weave in all loose ends carefully for durability.
Add handles by crocheting or attaching sturdy loops.
You can include decorative edges or borders for added style.
In the Crocheted Basket – Tutorial, customization allows you to create a unique piece.
Consider lining the basket for a more polished look.
Once completed, your basket is ready to use.
Is this pattern suitable for beginners?
Yes, the Crocheted Basket – Tutorial is beginner-friendly with basic crochet knowledge.
What yarn is best for baskets?
Cotton yarn or thick yarns provide the best structure.
How long does it take to complete?
Most baskets can be finished in a few hours.
Can I make different sizes?
Yes, simply adjust the base size and height.
Do I need to stiffen the basket?
It is optional but helps maintain shape.
Can I add handles?
Yes, handles are easy to incorporate.
The Crocheted Basket – Tutorial is a simple yet rewarding crochet project that combines functionality with creativity. It is perfect for organizing your space while adding a handmade touch to your home.
In this tutorial, you learned how to select materials, create a sturdy base, build the basket walls, and finish your project with personalized details. Each step contributes to a durable and attractive final result.
Projects like the Crocheted Basket – Tutorial show how crochet can be both practical and decorative, transforming yarn into useful everyday items.
If you enjoyed this tutorial, feel free to leave your honest opinion and share your suggestions. Your feedback helps inspire more creative crochet ideas and patterns.