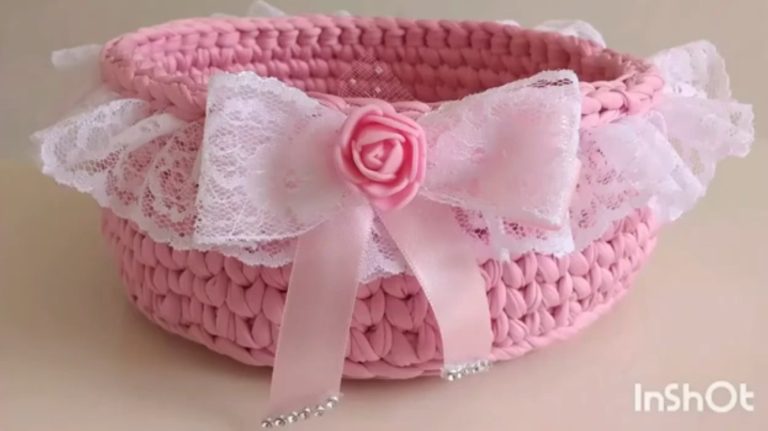
Crocheted Basket - Tutorial

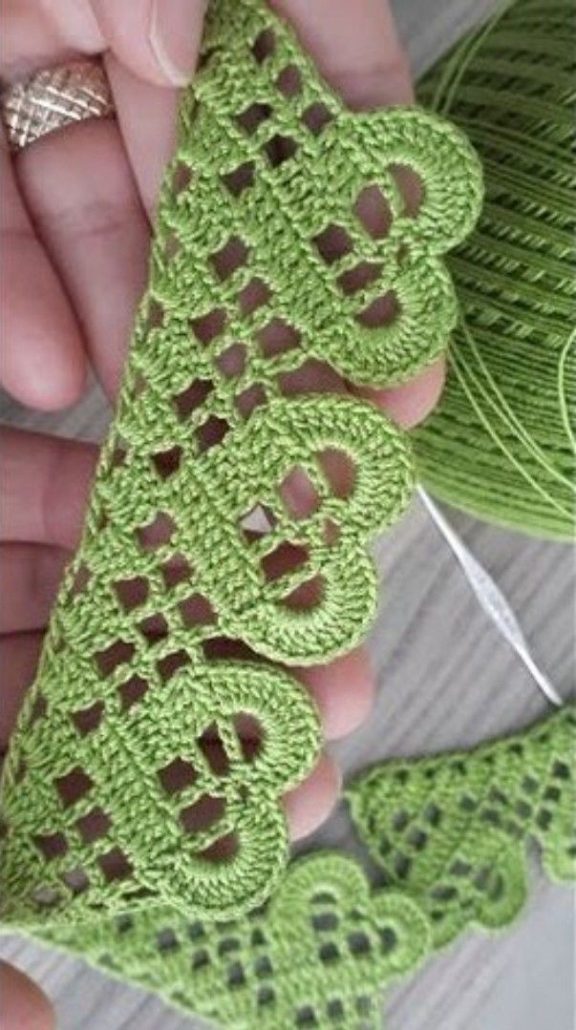
Heart-Shaped Crochet Borders – TUTORIAL is a delicate and charming crochet technique that allows you to add beautiful heart-shaped edges to a variety of projects. By following the Heart-Shaped Crochet Borders – TUTORIAL, you can transform simple pieces into romantic and eye-catching creations perfect for gifts, décor, or special occasions.
One of the most appealing features of the Heart-Shaped Crochet Borders – TUTORIAL is its versatility. This border can be applied to blankets, scarves, table runners, baby items, and more. The repeating heart motif adds a soft and decorative finish that enhances any crochet project.
In this complete Heart-Shaped Crochet Borders – TUTORIAL, you will learn how to choose the right materials, create the base edge, form the heart shapes, and finish your border neatly. This guide is suitable for beginners who are ready to try decorative stitches as well as experienced crocheters looking to elevate their work.
The first step in the Heart-Shaped Crochet Borders – TUTORIAL is gathering the necessary materials to ensure a smooth and enjoyable process.
Cotton yarn is highly recommended because it provides excellent stitch definition.
You can also use soft acrylic yarn for a more flexible and cozy finish.
A crochet hook that matches your yarn weight is essential for consistent tension.
You will need scissors and a yarn needle for finishing.
Stitch markers can help keep track of pattern repeats.
Choosing the right yarn color will highlight the heart shapes beautifully.
The foundation of the Heart-Shaped Crochet Borders – TUTORIAL begins with a solid base edge.
Start by working a row of single crochet evenly along the edge of your project.
This creates a stable foundation for the decorative border.
In the Heart-Shaped Crochet Borders – TUTORIAL, even spacing is key to achieving a balanced look.
Make sure your stitch count is consistent across the entire edge.
You can adjust the number of stitches to fit your pattern repeat.
This step ensures that the hearts will form evenly.
The next step in the Heart-Shaped Crochet Borders – TUTORIAL is creating the signature heart motifs.
Use a combination of stitches such as double crochet, chains, and slip stitches.
These stitches work together to form the curved top and pointed base of each heart.
In the Heart-Shaped Crochet Borders – TUTORIAL, repetition creates a continuous and flowing design.
Pay attention to stitch placement to maintain symmetry.
You can practice on a small sample before applying it to a larger project.
This stage brings the decorative border to life.
The final stage of the Heart-Shaped Crochet Borders – TUTORIAL focuses on finishing touches and customization.
Weave in all loose ends carefully for a clean appearance.
Light blocking can help define the heart shapes.
You can experiment with color changes to make the border more vibrant.
In the Heart-Shaped Crochet Borders – TUTORIAL, customization allows for unique and creative results.
Add additional rows if you want a wider border.
Once completed, your project will have a beautiful decorative edge.
Is this pattern suitable for beginners?
Yes, the Heart-Shaped Crochet Borders – TUTORIAL is beginner-friendly with basic stitch knowledge.
What projects can I use this border on?
It works well on blankets, scarves, clothing, and decorative items.
What yarn is best?
Cotton yarn is ideal for clear stitch definition.
How long does it take to complete?
It depends on the size of your project, but the border itself is quick to make.
Can I use multiple colors?
Yes, color changes can enhance the heart design.
Do I need to block the border?
Blocking is optional but recommended for a polished look.
The Heart-Shaped Crochet Borders – TUTORIAL is a simple yet elegant way to enhance your crochet projects with a decorative and meaningful touch. It adds beauty and personality to even the simplest designs.
In this tutorial, you learned how to select materials, create a base edge, form heart shapes, and finish your border with care. Each step contributes to a refined and visually appealing result.
Projects like the Heart-Shaped Crochet Borders – TUTORIAL show how small details can make a big impact in crochet. This technique is perfect for adding a special finishing touch to your handmade creations.
If you enjoyed this tutorial, feel free to leave your honest opinion and share your suggestions. Your feedback helps inspire more creative crochet patterns and ideas.